Quaralane
Well-Known Member
- Joined
- May 22, 2009
- Messages
- 11,263
Next up on the bench is my second entry for this year's Big Spring Contest:
The Iron Man Mk17 "Heartbreaker" by Dragon Models
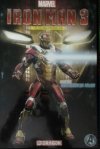
We start off with the obligatory proof of start pic:
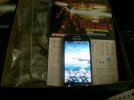
Torso start up went very quickly, with the first three steps practically falling together:
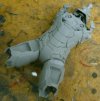
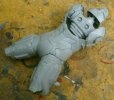
Torso build work was finished fairly quickly, along with the buildup of the helmet itself.
As there wasn't any detail behind the clear ARC reactor pices, I opted not to mask it off. Same went for the eyes in the helmet and the repulsors in the gloves
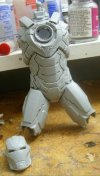
Main assembly was finished VERY quickly after that.
Kit is shown here with all major assemblies just test fitted into place prior to painting.
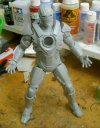
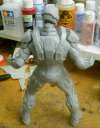
Using my airbrush, I primered all of the subassemblies using the Vallejo dark grey primer
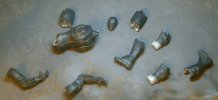
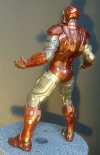
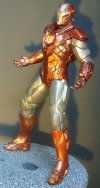
After that, all of the assemblies were given a coat of Testors Champagne Gold Metallic that was decanted for use in the airbrush
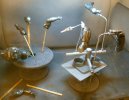
The gloves, shoulders, boots, torso, and most of the helmet were then given a coat of Tamiya Transparent Red
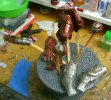
For final detail painting, I added some small details in silver to various parts of the model.
The ARC reactor, eyes, and repulsors were hand painted in white, and then coated with Tamiya Transparent red.
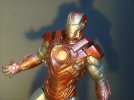
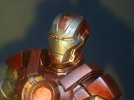
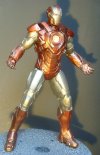
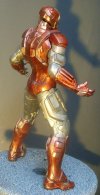
Final build pics:
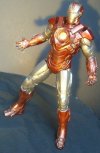
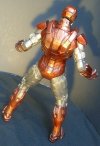
Youtube link:
http://www.youtube.com/watch?v=RP_KE5c6L54
I would like to point out that this build only actually took about five hours of actual construction as a testament to the superb engineering of the kit.
The painting took about three and a half hours.
The Iron Man Mk17 "Heartbreaker" by Dragon Models

We start off with the obligatory proof of start pic:

Torso start up went very quickly, with the first three steps practically falling together:


Torso build work was finished fairly quickly, along with the buildup of the helmet itself.
As there wasn't any detail behind the clear ARC reactor pices, I opted not to mask it off. Same went for the eyes in the helmet and the repulsors in the gloves

Main assembly was finished VERY quickly after that.
Kit is shown here with all major assemblies just test fitted into place prior to painting.


Using my airbrush, I primered all of the subassemblies using the Vallejo dark grey primer

After that, all of the assemblies were given a coat of Testors Champagne Gold Metallic that was decanted for use in the airbrush

The gloves, shoulders, boots, torso, and most of the helmet were then given a coat of Tamiya Transparent Red

For final detail painting, I added some small details in silver to various parts of the model.
The ARC reactor, eyes, and repulsors were hand painted in white, and then coated with Tamiya Transparent red.
Final build pics:


Youtube link:
http://www.youtube.com/watch?v=RP_KE5c6L54
I would like to point out that this build only actually took about five hours of actual construction as a testament to the superb engineering of the kit.
The painting took about three and a half hours.
