Late War Stug III Ausf G
- Thread starter Big-John
- Start date
Big-John
New Member
- Joined
- Sep 17, 2011
- Messages
- 1,052
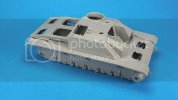
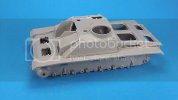
Here are a couple of shots of the major hull pieces and fenders dry fitted together. The kit has some minimal warping and wanted to test fit all the major player to see if I was going to have any problems. Every thing fits well and will only need some putty work on a few seams, mainly on the front plates.
Now I can take it back apart and start on the interior.


Now I can take it back apart and start on the interior.


JohnSimmons
For Spud: I was once Merseajohn
- Joined
- Jan 4, 2011
- Messages
- 5,645
Is it finished yet? 
Big-John
New Member
- Joined
- Sep 17, 2011
- Messages
- 1,052
model maker jnr
ANOTHER TANK BITES THE DUST
- Joined
- Mar 7, 2013
- Messages
- 250
Looking great john ;D
Big-John
New Member
- Joined
- Sep 17, 2011
- Messages
- 1,052
Chris S said:Must be done now ?? :;D ;D
I'm done...........for thr night ;D ;D ;D :
adampolo13
New Member
- Joined
- Dec 7, 2011
- Messages
- 2,633
Looking sweet dude!
Big-John
New Member
- Joined
- Sep 17, 2011
- Messages
- 1,052
Big-John
New Member
- Joined
- Sep 17, 2011
- Messages
- 1,052
spud said:These Stugs are great but getting that manlet onto the gun is a pain in the ass once you fit the interior.
But she is looking really sweet and it tempting to build another
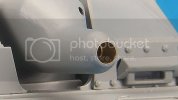
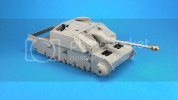
Done got it fitted Spud. ;D I applied CA glue to the interior floor contact points, and the inside where the Manlet mounts, then slid it all together like a puzzle... ;D


