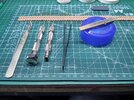
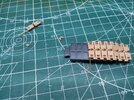
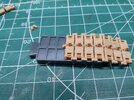
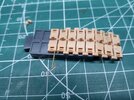
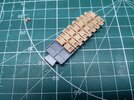
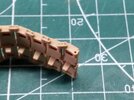
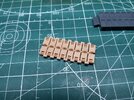
Leopard 2A6M CAN

Joined
Sep 30, 2024
Messages
35
So new forum and to start off my new life here I thought I would start with a Leopard. I could have carried on with some builds I have underway such as the Tiger 1 diorama, but then you would have missed the first half of the builds, and there is nothing more confusing than trying to sort out what was said before and how it was done.
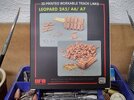
I have the RFM Leopard 2A6M CAN
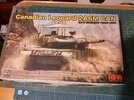
20241005_213951_HDR.jpg
This is to go with the 2A4 CAN version I built some time ago.
Now this like the '4 will have some additions to improve the look of the model, it will have...
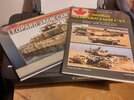
20241005_220106_HDR.jpg
Reference books...
20241005_220114_HDR.jpg
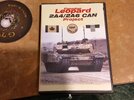
A dvd to pass those hours away while waiting for items to dry...
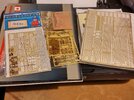
20241005_220308_HDR.jpg
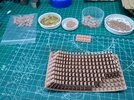
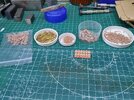
A bit of brass etch to replace a few items and keep the fingers flexible....
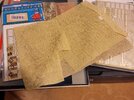
20241005_220324_HDR.jpg
Plus some 'Barracuda' camo netting....
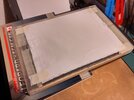
20241005_220422_HDR.jpg
And this - this will be turned into the thermal blanket that goes under the 'Barracuda'....
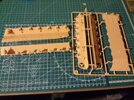
20241005_215805_HDR.jpg
And so the work begins, a bit blurred, but the night is getting on and I need my beauty sleep...
More tomorrow
Cheers
Mike
 
No bad looking Mike. Seated front row. Don't you just love the new car smell this place has and Wow I don't have to have a broom to sweep out the trash before I'm seated. I like it.
 
No bad looking Mike. Seated front row. Don't you just love the new car smell this place has and Wow I don't have to have a broom to sweep out the trash before I'm seated. I like it.
And there I was thinking it was the new underarm stuff after the change from the TCP.
Pleased to have you here holding up the wobbly corner of the bench...
 
Update,
To our American and other cousins, you are going to see words and phrases that seem familiar but are spelt differently, we speak the same language but from different dictionaries, bare with us.
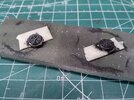
First job today was to take the tissue and soak it in a solution of PVA wood glue and water. Then once the tissue was wet, carefully lifting one side I wiped the excess glue away, re-laid the tissue and repeated on the other side. Finally gently stretching the tissue to get rid of any wrinkles or creases.
This will now dry and it will stick to the glass, but that is intentional and once totally dry can be gently removed from the glass.
Now how to use it????
Cut a piece slightly oversize and place on the area of the model where you want it. Then with a thick (mop) type of paint brush, wet the tissue enough that it becomes workable, and form it to the shape you want, the glue will hold it... Ahhh! I hear you ask, why not do this with the tissue straight onto the model and then apply the glue solution.... Have you ever just sat there and watched your work fall apart, that is what happens, trust me, I cried, a lot.....
Now allow this to dry and once dry gently remove it and then trim it to shape and refit using c/a (superglue) to hold it in place...
OK, that is the basics and we will come back to this with photo's later in the build....
Cheers
Mike.
 
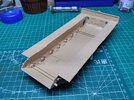
Construction has started on the lower hull with the two sides and floor pan added...
20241006_153929_HDR.jpg
The rear bulkhead was also fitted, but not the inside air intake grills as they will not be seen.
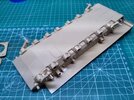
The belly armour was next followed by the four corner suspension arms...
20241006_153910_HDR.jpg
...These are cemented in place so that I avoid the 'dog taking a P' look, aka one leg in the air... The other suspension arms will be cementsed in place but only where the torsion bars fit into the side hull positions, the arms will be left to move and fixed once the model is on its base. With the small locating lugs cut off.
I tend not to follow the instructions and like to get all of the little side assemblies out of the way and then bring the whole together towards the end of assembly...
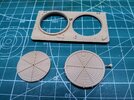
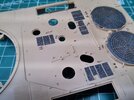
20241006_153900_HDR.jpg
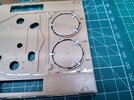
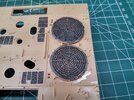
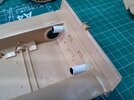
Here I have removed the moulded centre of the left hand air intake, this will be fitted back into the opening but lower down to give some depth to the intake and the etch brass grill and mesh will add to the finished item.
And that is where I am today,
More later
Mike.
 

Latest posts

Back
Top