Chris S
Its a bit like being handcuffed to a lunatic !
- Joined
- Feb 14, 2011
- Messages
- 4,573
Hi all 
I just made a start on this one over on Big Johns site .. http://the-sherman-shop.freeforums.net/ and thought I would share it here too
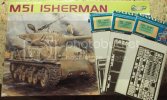
Not my usual choice ,but we'll give it a go
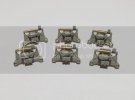
The build starts with the HVSS suspension units ,which if you get them right are workable ,and nicely detailed me thinks
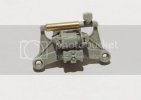
120 parts ,a lot of hours and some choice words ....I had six complete units , well apart from the wheels & tyres .
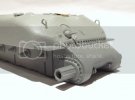
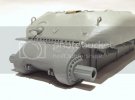
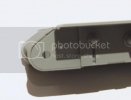
I then started to look at the hull . This is were the fun starts ....not ! After a dry fit of the tranny housing it was pretty obvious it was a real bad fit (being polite) but after some sanding and jiggling I got a reasonable fit ,bit of filler needed tho .I havent fixed it in place yet until Im happy with it .....
(sorry about the dodgy pic )
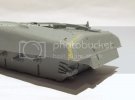
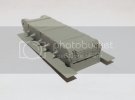
The back plate was then offered up and fitted ...
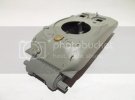
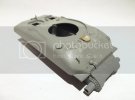
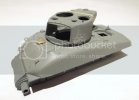
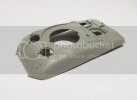
Then I had a look at the upper hull ...Oh dear !!! .
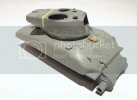
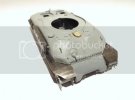
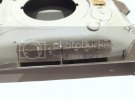
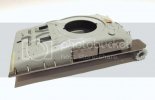
The rear deck just behind the turret ring had a bad bow in it , drooping in the middle ! In the pics you can just see the stress marks in the plastic where I heated it and bent back into shape ,once it was straight I went ahead and fixed the rear deck panels and the back panel to hold everything in shape .I think it worked !
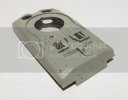
Then a quick test fit to the lower hull , Thankfully the upper and lower come together well and shouldnt present any further problems ...fingers crossed
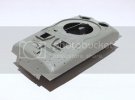
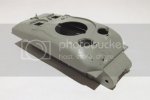
And thats where Im at ...Im off to fit lots of hollow guide horns to the DS tracks
Thanks for looking.
Chris.
I just made a start on this one over on Big Johns site .. http://the-sherman-shop.freeforums.net/ and thought I would share it here too

Not my usual choice ,but we'll give it a go
The build starts with the HVSS suspension units ,which if you get them right are workable ,and nicely detailed me thinks

120 parts ,a lot of hours and some choice words ....I had six complete units , well apart from the wheels & tyres .

I then started to look at the hull . This is were the fun starts ....not ! After a dry fit of the tranny housing it was pretty obvious it was a real bad fit (being polite) but after some sanding and jiggling I got a reasonable fit ,bit of filler needed tho .I havent fixed it in place yet until Im happy with it .....
(sorry about the dodgy pic )

The back plate was then offered up and fitted ...

Then I had a look at the upper hull ...Oh dear !!! .
The rear deck just behind the turret ring had a bad bow in it , drooping in the middle ! In the pics you can just see the stress marks in the plastic where I heated it and bent back into shape ,once it was straight I went ahead and fixed the rear deck panels and the back panel to hold everything in shape .I think it worked !


Then a quick test fit to the lower hull , Thankfully the upper and lower come together well and shouldnt present any further problems ...fingers crossed


And thats where Im at
Thanks for looking.
Chris.

