Papermodder
Modeller in both Plastic and Paper Card
- Joined
- Jan 2, 2013
- Messages
- 1,224
Good Evening.
Update on my Millennium Falcon.
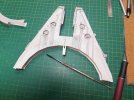
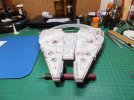
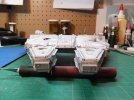
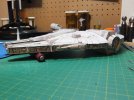
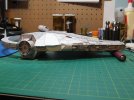
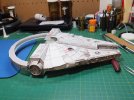
Since last reporting, finished the Left Docking Port.
Pretty much a repeat of the right one, just some different greebles.
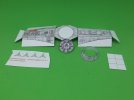
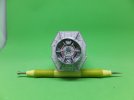
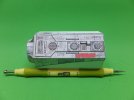
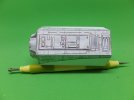
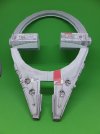
The two Equipment pods for the upper and lower front were next. Those were simple enough pieces to construct.
One wanted to twist pretty bad, but a couple of days with a bit of weight on the back seemed to cure that.
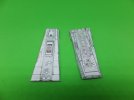
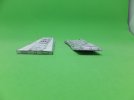
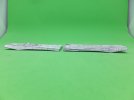
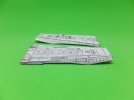
The rest will be resolved when it gets attached to the hull.
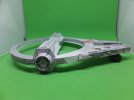
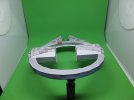
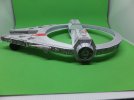
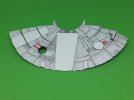
The mid rear section with the engine was next.
I had the option of the engine area off or lit. Since this model will be mounted in a flying state, lit was selected.
The graphic for the lit engine had to be laminated over the existing graphic, then left in the press to dry.
During this time the two end side wall pieces were cutout and the greeblies all added.
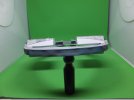
When dry, the engine graphic was edge glued to the top ring, a bit at a time. Left to dry then glue some more till it was glued in place. The two end pieces where then glued on. There was no bottom support yet. So when attaching the joint to the engine graphic, I used a square to line them up properly. When this was dry the bottom ring was attached. The same procedure as used before.
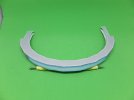
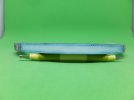
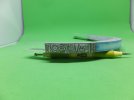
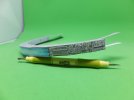
With the aft mid section done, it is time to assemble all these pieces to form the centre ring.
Thank you for following and MERRY CHRISTMAS.
Questions and comments welcome.
Jim
Update on my Millennium Falcon.
Since last reporting, finished the Left Docking Port.
Pretty much a repeat of the right one, just some different greebles.


The two Equipment pods for the upper and lower front were next. Those were simple enough pieces to construct.
One wanted to twist pretty bad, but a couple of days with a bit of weight on the back seemed to cure that.


The rest will be resolved when it gets attached to the hull.
The mid rear section with the engine was next.
I had the option of the engine area off or lit. Since this model will be mounted in a flying state, lit was selected.
The graphic for the lit engine had to be laminated over the existing graphic, then left in the press to dry.
During this time the two end side wall pieces were cutout and the greeblies all added.
When dry, the engine graphic was edge glued to the top ring, a bit at a time. Left to dry then glue some more till it was glued in place. The two end pieces where then glued on. There was no bottom support yet. So when attaching the joint to the engine graphic, I used a square to line them up properly. When this was dry the bottom ring was attached. The same procedure as used before.


With the aft mid section done, it is time to assemble all these pieces to form the centre ring.
Thank you for following and MERRY CHRISTMAS.
Questions and comments welcome.
Jim

