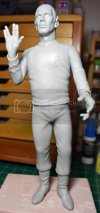
Scott Girvan said:
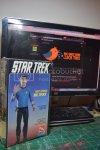
Thanks for checking it out Scott, yeah, for as old as this kit is, it's really not that bad, definitely has some character to it.
UncleDredd said:
I really like the look of this model! Excited to see your progress.

Thanks man, I'm excited to start painting, this will be my first Star Trek related kit 8)
Cash said:
Looks like head part is going to be fun while painting.

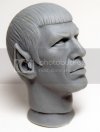
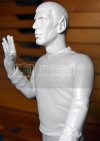
Thanks for checking it out man, yeah, I was thinking the same thing, the head sculpt on this thing is pretty good, even though it looks like a much younger and muscular version of good ol Leonard.
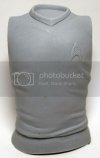
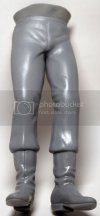
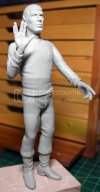
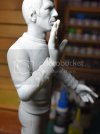
Cool, well moving right along on this guy, having a ton of fun with it, been going back and watching the old TOS episodes on Netflix for some inspiration. I'm pretty surprised at how well the parts fit together, only had some slight issues with the torso, had to do the old hot water trick to bend it back into the correct shape.
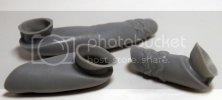
As with a lot of vinyl kits the issue of warped parts and rigidity definitely comes up with this model. The parts are really soft and "squishy" and vinyl has a tendency to warp over time with different climate changes and what not. So your best bet is to fill the hollow parts of the kit with some sort of solid material to ensure rigidity over time. I prefer to use plaster, but you could use all different sorts of materials including; air dry clay, sand, newspaper, spray foam, etc...
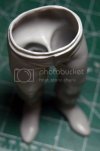
Hollow bad...pre plaster infiltration
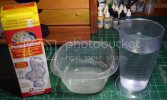
Went down to Hobby Lobby, (we just got a hobby lobby in my town BTW and what a great store, love it) picked up a fast setting plaster product called PermaStone. Really easy to work with, just eyeball how much you think you need, mix with water until you have a pancake batter consistency, then either fill your model, mold, or whatever you're working on. In this case, I just had to dump the stuff into the hollow parts of the model. It's solid in 30 minutes, you can carve, sand, drill, tool this stuff into anything your heart desires.
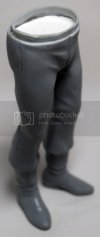
Success, I like plaster because it gives the model a nice hefty weight and it conforms to all the nooks and crannies.
After filling the major parts with plaster I added reinforcement brass rods to all the major connection points for added strength. I dont want Spock to be droooooping 10 years from now. Check it out!
You can see where I reinforced the join with Aves.
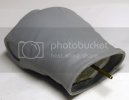
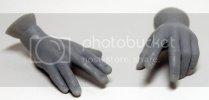
Was a little difficult to get the plaster into the tiny openings for the hands, so I stuffed them with aves and stuck my brass tube in while the aves hardened, Aves is my friend ;D
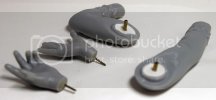
Jammed some brass into the head, same plaster technique reinforced with aves.
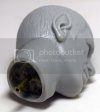
Basic stuff, thanks for looking, I hope everyone wins. God bless.
