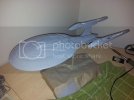
My first show build: AMT Enterprise-E First Contact
- Thread starter dantheman
- Start date
dkev
New Member
- Joined
- Dec 5, 2012
- Messages
- 243
These images were just released today. So hopefully they will help you on your build.
http://www.propstore.com/enterprisee.htm
http://www.propstore.com/enterprisee.htm
Glorfindel
Active Member
- Joined
- May 2, 2011
- Messages
- 1,504
Great reference shots.dkev said:These images were just released today. So hopefully they will help you on your build.
http://www.propstore.com/enterprisee.htm
ModelMakerMike
"It's Slobberin' time""
- Joined
- May 28, 2011
- Messages
- 1,838
Wow, those are some great pix!
Hey guys!
I haven't had much time to work on the kit for the last couple of days, but its the weekend, so I'm hitting it hard!
I finished up designing the LED lighting on paper and ordered all the parts. Should be here Monday. I spent most of today fiddling with the Arduino, trying to develop the cool swirling effects for the Buzzard Collectors. It's not quite there yet, but the Arduino will be sitting in the base where I can mess with it later.
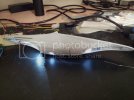
I also masked/repainted the interior of all the major sections (saucer,engineering hull) with a coat of black then 3 coats of white. As you guys predicted, I was very happy with the results. Light distribution is MUCH better.
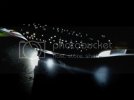
Before the repaint, I was getting lots of light leakage. I used 6 LEDs and had to turn the lights off just to get good photos. Now the windows are nice and bright with no light leakage. I didn't need to turn off the lights, but I did anyway. The results speak for themselves. Thanks for the awesome advice guys!
Now for some pictures (and my first video!)
Lights in the room are on!
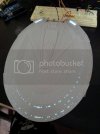
Then I turned them off anyway:
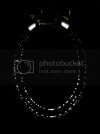

This time the engineering hull only needed 1 LED to light all the windows!
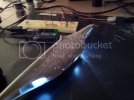
My first video!
In case that doesn't work: http://s1357.beta.photobucket.com/user/danslightandmagic/media/Enterprise-E/20130126_235006.mp4.html
Thanks man! I'll definitely use these!
Thanks! The windows are ALMOST done. The lighted pictures I posted were before I went back to work drilling windows. I plan to have the windows done tomorrow. Then I'm going to see if I can't get some PE details in place. More Dremel work!
I haven't had much time to work on the kit for the last couple of days, but its the weekend, so I'm hitting it hard!
I finished up designing the LED lighting on paper and ordered all the parts. Should be here Monday. I spent most of today fiddling with the Arduino, trying to develop the cool swirling effects for the Buzzard Collectors. It's not quite there yet, but the Arduino will be sitting in the base where I can mess with it later.
I also masked/repainted the interior of all the major sections (saucer,engineering hull) with a coat of black then 3 coats of white. As you guys predicted, I was very happy with the results. Light distribution is MUCH better.
Before the repaint, I was getting lots of light leakage. I used 6 LEDs and had to turn the lights off just to get good photos. Now the windows are nice and bright with no light leakage. I didn't need to turn off the lights, but I did anyway. The results speak for themselves. Thanks for the awesome advice guys!
Now for some pictures (and my first video!)
Lights in the room are on!

Then I turned them off anyway:


This time the engineering hull only needed 1 LED to light all the windows!


My first video!

In case that doesn't work: http://s1357.beta.photobucket.com/user/danslightandmagic/media/Enterprise-E/20130126_235006.mp4.html
dkev said:These images were just released today. So hopefully they will help you on your build.
http://www.propstore.com/enterprisee.htm
Thanks man! I'll definitely use these!
Quaralane said:Lights are looking good
Thanks! The windows are ALMOST done. The lighted pictures I posted were before I went back to work drilling windows. I plan to have the windows done tomorrow. Then I'm going to see if I can't get some PE details in place. More Dremel work!
ZOMBIEREPELLENT
New Member
- Joined
- Apr 4, 2011
- Messages
- 45
That's looking pretty great! Another thing that will really help even out the lighting, is when you put the decals on, it will act as a diffuser and all the windows will be visible from any angle.
I haven't posted in a while so here's a BIG update.
On Sunday I finished drilling the windows in the main hull. So glad that they're done!
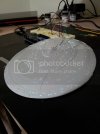
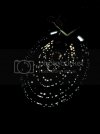
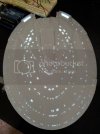
After I finished with that, I taped it all together and did a test fit on the stand that I'm going to use. It's a little front heavy!
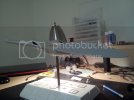
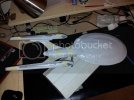
I also spent some time modifying the interior so that I can run wires throughout. Next, I spent some time cutting out holes in the warp engines so I can light them. I also sanded down the clear parts to receive the PE grills and put a light coat of clear blue down so I can test with LED's.
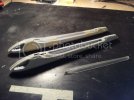
Electronics arrived yesterday and I started assembling/testing circuits. Last night I finished 4 arrays of white LEDs to be put in the main hull. They are VERY bright.
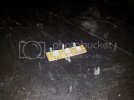
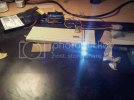
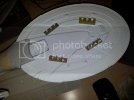
After doing some measuring, it turns out that my power supply isn't exactly 5V at the output. It's more like 5.14V, which means that I'm getting a bit too much current through the LEDs. I was afraid that I'd wear them out prematurely...until I thought of a (what I believe to be) a clever solution.
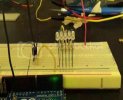
Since I have leftover PWM channels on my Arduino, I rigged up a little circuit that allows me to control the brightness of all the major sections of LEDs. Now I can add some more visual effects with almost no extra effort. Here's an example:
http://s1357.beta.photobucket.com/user/danslightandmagic/media/Enterprise-E/20130129_173132.mp4.html
It's just a 2N222 NPN transisor controlled by the Aruduino via PWM. The transistor is able to switch ~600mA of current, so I can control up to 30 LEDs at once using one pin on the Arduino! I'm going to use one to control the LEDs in the warp engines and use another to control all the window lighting.
Tonight was all about tackling problems with running wire. I cut channels in both warp pylons to run 4 wires to control everything. Now that's done I'm trying to sort out how I will mount some blue LEDs in the warp engines. It's a pretty tight fit.
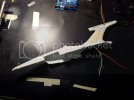
I'm hoping to have all the electronics finished by the end of the week. Then I'll spend the weekend installing the lights and assembling everything so I can start work on seam filling and paint/decal prep. I think I might actually finish this in time! Wish me luck!
On Sunday I finished drilling the windows in the main hull. So glad that they're done!


After I finished with that, I taped it all together and did a test fit on the stand that I'm going to use. It's a little front heavy!


I also spent some time modifying the interior so that I can run wires throughout. Next, I spent some time cutting out holes in the warp engines so I can light them. I also sanded down the clear parts to receive the PE grills and put a light coat of clear blue down so I can test with LED's.

Electronics arrived yesterday and I started assembling/testing circuits. Last night I finished 4 arrays of white LEDs to be put in the main hull. They are VERY bright.


After doing some measuring, it turns out that my power supply isn't exactly 5V at the output. It's more like 5.14V, which means that I'm getting a bit too much current through the LEDs. I was afraid that I'd wear them out prematurely...until I thought of a (what I believe to be) a clever solution.
Since I have leftover PWM channels on my Arduino, I rigged up a little circuit that allows me to control the brightness of all the major sections of LEDs. Now I can add some more visual effects with almost no extra effort. Here's an example:

http://s1357.beta.photobucket.com/user/danslightandmagic/media/Enterprise-E/20130129_173132.mp4.html
It's just a 2N222 NPN transisor controlled by the Aruduino via PWM. The transistor is able to switch ~600mA of current, so I can control up to 30 LEDs at once using one pin on the Arduino! I'm going to use one to control the LEDs in the warp engines and use another to control all the window lighting.
Tonight was all about tackling problems with running wire. I cut channels in both warp pylons to run 4 wires to control everything. Now that's done I'm trying to sort out how I will mount some blue LEDs in the warp engines. It's a pretty tight fit.

I'm hoping to have all the electronics finished by the end of the week. Then I'll spend the weekend installing the lights and assembling everything so I can start work on seam filling and paint/decal prep. I think I might actually finish this in time! Wish me luck!
ZOMBIEREPELLENT
New Member
- Joined
- Apr 4, 2011
- Messages
- 45
That's looking awesome! I really want to build another one of these. One tip I can offer for doing your unlit windows, is using a gel pen. It's way fastest, cleanest way I've been able to do them. White ones work too for painting lit up windows, if you weren't actually lighting it.
It's been too long since I've posted, but I am still working very hard on this.
Since my last post I've completed all the circuitry and started putting together some of the sub assemblies.
Here's some photos:
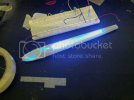
Test with LED in warp engine:
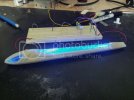
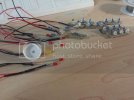
Warp engine LED circuits:
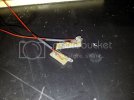
All the complete circuits! I made a shroud to cover the somewhat dim yellow LED for the deflector dish.
Another warp engine test
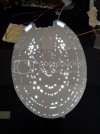
Saucer test with all 12 white LEDs
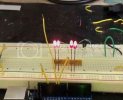
I painted the interior of the Buzzard Collector lenses and did a test with two red LEDs
http://s1357.beta.photobucket.com/user/danslightandmagic/media/Enterprise-E/20130202_020724_zpsea782ed0.mp4.html
Deflector LED test
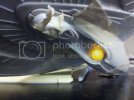
Test of Saucer/Secondary hull circuits
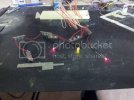
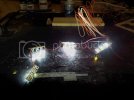
Partial assembly!
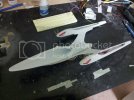
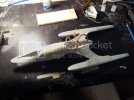
So much work left to be done. I'll have the whole thing assembled by the end of the week so I can put down some base coats and decal next week. Still have to assemble base electronics. Hopefully that won't take too long.
Since my last post I've completed all the circuitry and started putting together some of the sub assemblies.
Here's some photos:
Test with LED in warp engine:

Warp engine LED circuits:

All the complete circuits! I made a shroud to cover the somewhat dim yellow LED for the deflector dish.

Another warp engine test

Saucer test with all 12 white LEDs

I painted the interior of the Buzzard Collector lenses and did a test with two red LEDs
http://s1357.beta.photobucket.com/user/danslightandmagic/media/Enterprise-E/20130202_020724_zpsea782ed0.mp4.html
Deflector LED test

Test of Saucer/Secondary hull circuits


Partial assembly!


So much work left to be done. I'll have the whole thing assembled by the end of the week so I can put down some base coats and decal next week. Still have to assemble base electronics. Hopefully that won't take too long.
Glorfindel
Active Member
- Joined
- May 2, 2011
- Messages
- 1,504
Dantheman on the speed build. I love watching good builds come together quick. Gives me something to watch and cheer for. Please keep it up your doing great.
Glorfindel
Active Member
- Joined
- May 2, 2011
- Messages
- 1,504
Primed up....nice!
;D
Sorry I haven't posted in a while. I was working really hard this past week on the Enterprise. The good news is that I finished it in time for the competition!
Here's some photos of the last part of my buildup:
After painting I had some blending and filling to do:
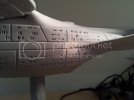
My first hour working with the Acreation decals was a terrible experience. Luckily, I didn't screw up any decals too visible. Until now, I've been used to working with stock decals that come with kits that are MUCH more forgiving. Despite my difficulties, the printed decals take really well to Microsol. Microsol really gave the aztec decals the painted on look.
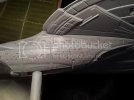
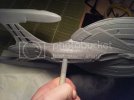
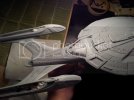
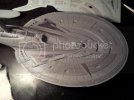
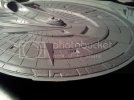
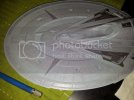
top saucer decals finished
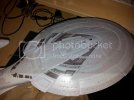
the warp engine decals were really difficult to put on. They aren't sized very well.
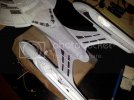
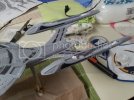
decals finished, then some hand-painted detailing:
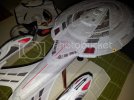
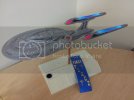
FINISHED! I took this photo ~4 am on the morning of the competition...
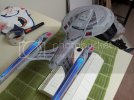
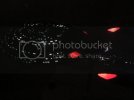
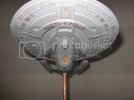
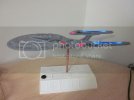
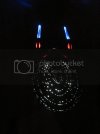
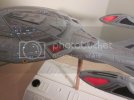
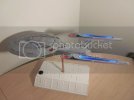

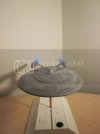
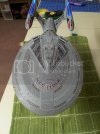
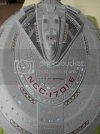
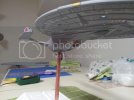
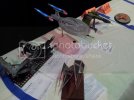
at the competition:
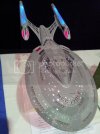
the competition:
Oh, did I mention that I won the Sci-Fi category?
It's just a ribbon, but I'm proud of it. Thanks for all the support guys!
Sorry I haven't posted in a while. I was working really hard this past week on the Enterprise. The good news is that I finished it in time for the competition!
Here's some photos of the last part of my buildup:
After painting I had some blending and filling to do:

My first hour working with the Acreation decals was a terrible experience. Luckily, I didn't screw up any decals too visible. Until now, I've been used to working with stock decals that come with kits that are MUCH more forgiving. Despite my difficulties, the printed decals take really well to Microsol. Microsol really gave the aztec decals the painted on look.


top saucer decals finished

the warp engine decals were really difficult to put on. They aren't sized very well.


decals finished, then some hand-painted detailing:

FINISHED! I took this photo ~4 am on the morning of the competition...


at the competition:

the competition:

Oh, did I mention that I won the Sci-Fi category?

It's just a ribbon, but I'm proud of it. Thanks for all the support guys!
ModelMakerMike
"It's Slobberin' time""
- Joined
- May 28, 2011
- Messages
- 1,838
CONGRATULATIONS on your win!!!! Woot!
She looks great and is very deserving of a blue ribbon!
;D ;D ;D ;D ;D
She looks great and is very deserving of a blue ribbon!
;D ;D ;D ;D ;D
Similar threads
- Replies
- 2
- Views
- 186
- Replies
- 0
- Views
- 83

