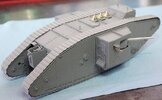
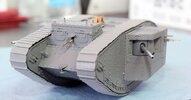
Old male armour

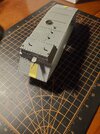
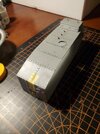
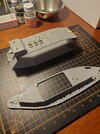
If anyone is building the Takom Whippet, or if anyone can help, and tell me why the instructions shows wheels on the areas circled. The wheels will not stay in that area. The only solution I see is to drill those holes out.
any suggestions?


View attachment 113445

View attachment 113446
If I'm looking at the step 3 instructions correctly the C and D wheels have shorter spindles so just sit in the recessed hole without showing on the outer hull. PM
 
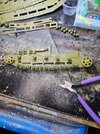
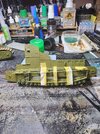
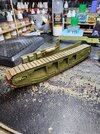
This is a slow build. I have one track with the pieces set into place. I'll probably glue the wheels into place because trying to fit the sandwich on top the road wheels wobble out of place. I have a cure for that Tamiya Extra Thin Cement. LOL

20240212_061718.jpg
 
Last edited:
Those is a slow build. I have one track with the pieces set into place. I'll probably glue the wheels into place because trying to fit the sandwich on top the road wheels wobble out of place. I have a cure for that Tamiya Extra Thin Cement. LOL

View attachment 113482
I had alot of fun with the wheels flying out just as the last one was being dragged carefully into place.

Glad I persevered with it because the tracks spinning round is cool . Pantherman
 
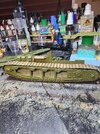
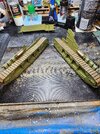
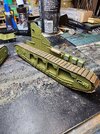
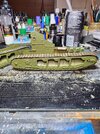
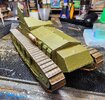
I got one side of the Whippet completed.
All of the wheels were problematic. I ended up drilling out the wheel part that I mentioned in a previous post. Those wheels set too high causing the an improper fit. The drive wheels kept falling over and out, and they got the glue wand the top wheels were OK I used the curved tweezers to move into position.

Lessons learned. I hope the other side is better.

20240212_142545.jpg
 
I got one side of the Whippet completed.
All of the wheels were problematic. I ended up drilling out the wheel part that I mentioned in a previous post. Those wheels set too high causing the an improper fit. The drive wheels kept falling over and out, and they got the glue wand the top wheels were OK I used the curved tweezers to move into position.

Lessons learned. I hope the other side is better.

View attachment 113488
The tracks look great. PM
 
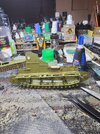
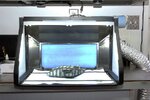
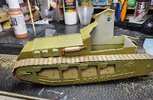
I broke out the spray booth last night and played around a little.

BMK-015-L.jpg

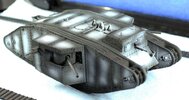
I opted to go for the zebra style black and white priming on this one. There are so many different ways you can go about painting these things, This is Tamiya Nato Black and Vallejo Gull Grey Primer. I get a kick out of doing odd stuff on the primer coats to add shading. This really is pretty simple compared to some of the more graffiti style ones I've done. I'll be painting it light brown tonight and hopefully get the decals on by bedtime.

BMK-016-L.jpg
 
I broke out the spray booth last night and played around a little.

View attachment 113525

I opted to go for the zebra style black and white priming on this one. There are so many different ways you can go about painting these things, This is Tamiya Nato Black and Vallejo Gull Grey Primer. I get a kick out of doing odd stuff on the primer coats to add shading. This really is pretty simple compared to some of the more graffiti style ones I've done. I'll be painting it light brown tonight and hopefully get the decals on by bedtime.

View attachment 113526
Looking really good!
 
Back
Top