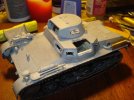
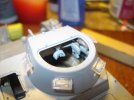
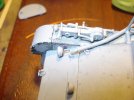
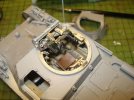
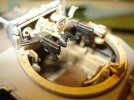
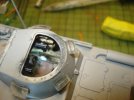
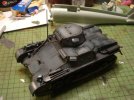
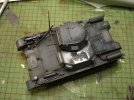
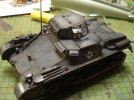
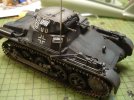
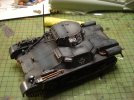
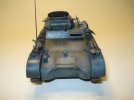
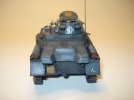
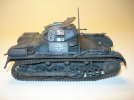
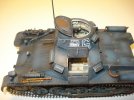
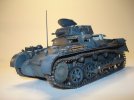
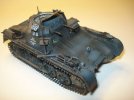
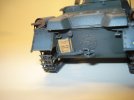
PANZER I AUSF A/w INTERIOR

Cool little model this, maybe it's wrong of me but i prefer all the early war Panzers like the I, II, III and IV as opposed to all the late war monsters like the Panthers and Tigers. ;D

TTFN Matt
 
fubar said:
Cool little model this, maybe it's wrong of me but i prefer all the early war Panzers like the I, II, III and IV as opposed to all the late war monsters like the Panthers and Tigers. ;D

TTFN Matt

Thanks Matt!! So much has been done with the Tigers and Panthers the others get kinda left out.

T
 
T ,


Good lookin' stuff !! This lil' Panzer is Rockin' ! Great job on th Interior !!

\m/ , I'm lookin' forward to seein' more !!
 
panzerace007 said:
T ,


Good lookin' stuff !! This lil' Panzer is Rockin' ! Great job on th Interior !!

\m/ , I'm lookin' forward to seein' more !!
Thanks Erik!! I'm working on it. ;D

T
 
Folks it's been a long Christmas holiday for me which means bench time. So let's take a walk through the progress.

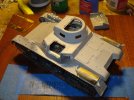
Ok where we left off I was working on the upper hull and turret construction. That work continued with the turret interior, vision slot openings and fender tool mountings.

DSC06728.jpg

DSC06752.jpg

DSC06753.jpg

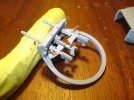
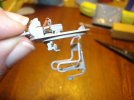
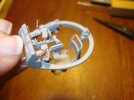
Next I worked on the turret interior construction.

DSC06757.jpg

DSC06758.jpg

DSC06759.jpg

DSC06756.jpg

As a little side issue I added the wiring for the horn.

DSC06760.jpg

Back to the turret. Next I painted and washed the interior.

DSC06761.jpg

DSC06762.jpg

DSC06766.jpg

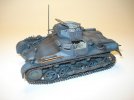
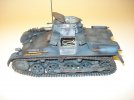
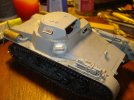
Now for the outside painting. I painted it overall Nato Black and then with Dark Grey followed by shades of lighter grey and field blue.

DSC06769.jpg

DSC06770.jpg

DSC06771.jpg

Next comes a coat of future to get ready for weathering.

DSC06772.jpg

DSC06773.jpg

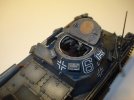
But before weathering lets add the decals. The markings are 6th Panzer division.

DSC06775.jpg

DSC06776.jpg

DSC06777.jpg

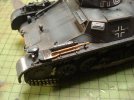
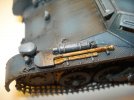
I next put the finishing touches on the tool handles.

DSC06779.jpg

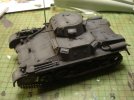
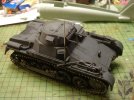
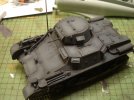
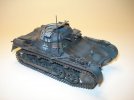
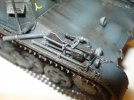
With some weathering, streaking, and a pin wash this is where I am now. There is still some dirt to add, but the little tank is almost done. Here's some more pic's until the next update.

DSC06781.jpg

DSC06782.jpg

DSC06783.jpg

DSC06784.jpg

DSC06786.jpg

DSC06787.jpg

DSC06788.jpg

DSC06789.jpg

DSC06790.jpg

DSC06791.jpg

DSC06792.jpg

DSC06793.jpg

DSC06794.jpg

Well that's all for now, but stay tuned.
 
Base color and fading looks good and will be even better once the shine is off Terry. 8)
Bring it on home bud

Tony lee :)
 
Tony lee said:
Base color and fading looks good and will be even better once the shine is off Terry. 8)
Bring it on home bud

Tony lee :)

Thanks Tony!! Dull coat is the last step.

T
 
Hey T ,

Great Job & Dy-No-Mite job on th decals ! Was that R much of a Bugga' ? I'm diggin th weathering . Great job on th Muffler - Very Realistic !!
 
panzerace007 said:
Hey T ,

Great Job & Dy-No-Mite job on th decals ! Was that R much of a Bugga' ? I'm diggin th weathering . Great job on th Muffler - Very Realistic !!

Thanks Erik! No the "R" decal was no trouble. I just had to figure out how to do it. lol

T
 
thats looks quality the colour is spot on truly wouldbe proud of this little baby....

i have one question what colour did you use for the woood on the shovel etc

geegad
 
What's not to love about the first panzer, very nice interior. I like how the outsides looking.
 
geegad said:
thats looks quality the colour is spot on truly wouldbe proud of this little baby....

i have one question what colour did you use for the woood on the shovel etc

geegad

Thanks geegad!!! Well it's not a single paint. The base color is Tamiya Desert Yellow. The wood grain is Tamiya Red Brown. I then give it a oil wash of raw umber.

T
 
Another update!! Dust and dry brushing has been applied. Added the dull coat and this little beast is all but done. I need to add the headlight lens, open up all those exhaust shield holes, fix a few cracks, and that's it. Next I move on to the base. Here are some more pictures.

T

DSC06799.jpg

DSC06800.jpg

DSC06801.jpg

DSC06802.jpg

DSC06803.jpg

DSC06804.jpg

DSC06805.jpg

DSC06806.jpg

DSC06807.jpg
 
Very nice build!!! The interior rocks and this little tank packs in the details. You did a great job helping the details pop with the painting techniques inside and out. 8)
 

Latest posts

Back
Top