Pearl Harbor P-40

liquorboxracing

New Member
Joined
Oct 12, 2012
Messages
62
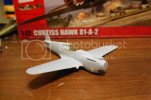
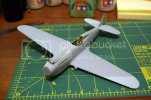
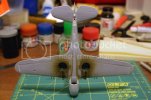
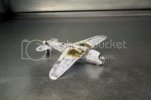
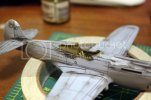
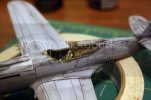
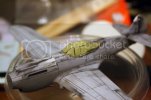
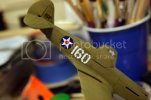
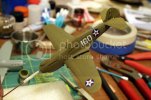
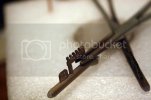
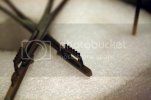
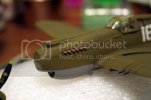
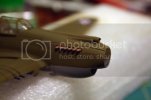
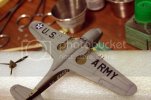
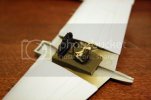
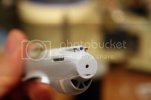
I bought the new 1/72 Curtiss Hawk 81-A-2 Airfix kit and was really pleased with the new mold. The fit and detail aren't to bad. I started building this kit to replicate the P-40 Lt George Welch flew during the attack on Pearl Harbor. I already have the decals from Starfighter Decals. This will be pretty much be right out of box. I did remove the gun stubs and drilled the engine cowl, and wings for hypodermic tubing. I added masking tape seat belts to the detail painted cockpit, then started putting it all together. I fitted and filled gaps, and seams as I went, but the fit is way above standard for an inexpensive Airfix kit. Since starting this build I have bought another one of these kits to build.
ModelPics001.jpg

ModelPics003.jpg

ModelPics002.jpg

modelpics009.jpg

modelpics010.jpg

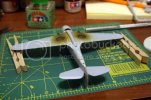
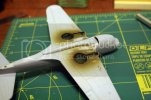
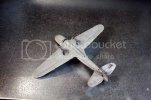
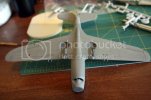
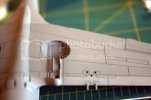
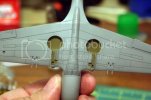
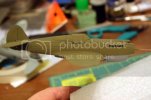
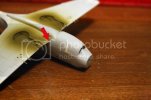
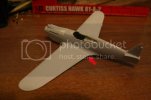
As you can see I have the wing assembly attached to the fusalage. I do need to address some minor fitment issues noted by the red arrows in the pics below. But the fit as I said before really is outstanding for a kit that only cost about $7.00 US.
modelpics014.jpg

modelpics016.jpg

More to come.
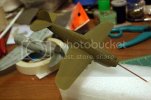
 
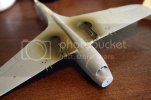
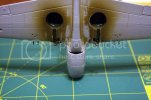
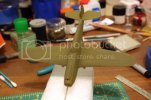
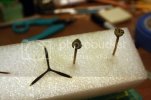
I did some work to the P-40B this week end. I got the gaps in the wings to fuselage filled. I also got the rear stabilisers and rudder fitted and glued in place. I plan on putting a primer coat on her this week so I went ahead and aplied liquid mask to landing gear bay and on all the guns. I Have to fit the exhuats, or maybe even make a new set, haven't decided yet. Going to work on that tonight. I also have to fit the radiator shrouds underneath the fuselage. Here are some more progress pics.

modelpics014-1.jpg

modelpics016-1.jpg

modelpics019.jpg

modelpics011-1.jpg

modelpics0152.jpg

modelpics012-1.jpg

modelpics0142.jpg
 
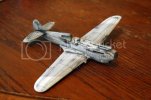
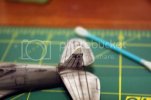
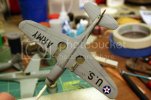
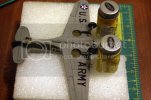
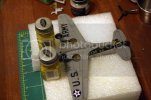
Got some more done on the P-40B today. I highlighted all the panel lines with the airbrush, then sanded the rough over spray off around them. I then sprayed the natural grey on all the bottom surfaces. Turned out nice. Just transparent enough. Tough to see in the pics though. I had a minor mishap this afternoon though. I left the model out un-atended while gone and my cat decided to play with it. She broke off the rear rudder, and the tip of the verticle stabilizer. Couldn't find the tip so I have to make another one from styrene. Got a piece glued in place already, I will shape it tomorrow. I started drilling out the ends of the exhaust so they look a little more realistic tonight as well. Here are some pics.

modelpics003-1.jpg

modelpics004.jpg

modelpics005.jpg

modelpics006.jpg

modelpics007.jpg

modelpics009-1.jpg

modelpics010-1.jpg

modelpics015-1.jpg

modelpics014-2.jpg

modelpics013-2.jpg
 
Wow! You're turning out quite a gem with this kit, well done! I think your panel line technique produced just the right effect.
 
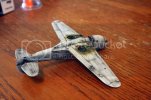
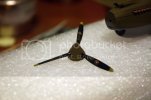
I got a few more things done to the P-40B. I finished trimming in the paint around the cockpit, and masked up the canopy. I glued the canopy in and masked up the gray surfaces under the plane. I sprayed the rest of the plane with Olive Drab and some light over lays of Faded Olive Drab on the top surfaces only. I used the faded olive drab across the top of the fuselage, and within certain panels on the tops of the wings, and rear stabilizers. I also painted the wheels neutral gray and the prop flat black with zinc chromate tips. I then gave the prop a semi gloss top coat. Here's some pics.

modelpics001-1.jpg

modelpics003-2.jpg

modelpics005-1.jpg

modelpics018.jpg

modelpics019-1.jpg
Now that its painted I can see I need to fill the gap around the front of the canopy to the fuselage.

modelpics020.jpg

modelpics021.jpg

modelpics022.jpg
 
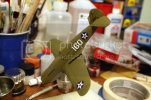
I got the decals on within the past couple of days. Most turned out ok. I have a couple that after sitting over night some of the silvering has cleared up but not completely. For the most part they are ok, but the silvering bugs me, cause I can't figure out why some did and others didn't,and some only did in spots. I ordered a decal solvent called Solvaset. I'm told that will remove silvering. We'll see. I managed to get the exhaust and tires painted this evening. As soon as I get the decal solvent I will get the silvering taken care of and get the decals sealed down. Here are some update pics.

modelpics001.jpg

modelpics002.jpg

modelpics009-2.jpg

modelpics010-2.jpg

modelpics011-2.jpg

modelpics007-1.jpg

modelpics006-2.jpg
 
Awesome work on that paint! Laying down a clear gloss before decals should help with avoiding silvering.
 
Ditto Ferris!

Silvering is typically caused by air trapped in tiny surface irregularities, under a decal's clear carrier film. A gloss coat evens out those surface irregularities by filling them, reducing the chance of trapping air. I use Future (formally, Johnson's Kleer with Future Shine), a liquid acrylic floor finish, but there are also many clear varnishes available, both from hobby suppliers and at the hardware store. A gloss coat should prevent that, the next time.
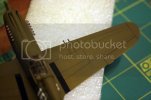
Still, it's coming along very nicely!
 
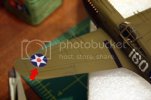
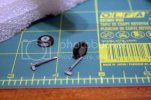
Got the silvering taken care of on all the decals but two. Sealed them up with a couple coats of Dullcote. I then mixed up a burnt umber wash and detailed the panel lines as well as some streaking off the guns and horizontal panel lines. I finished painting the landing gear, and tires, as well as the exhaust. I then got those glued in place. I mixed up some dry pastel greys and dusted the exhaust stains and the tire scuffs. I am going to add PE gun sights to the cowling tomorrow. Headed towards the finish line.
modelpics003-3.jpg

modelpics006-3.jpg

modelpics007-2.jpg

modelpics009-3.jpg

modelpics008-1.jpg
This roundel and the one on the port side of the fuselage are the only two that I could not get the silvering to go away on.

modelpics005-2.jpg

modelpics004-2.jpg

modelpics010-3.jpg

modelpics011-3.jpg
 
Coming along beautifully, and I wouldn't even have noticed the edge of the roundels.
 

Latest posts

Back
Top