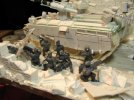
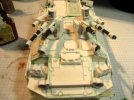
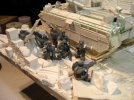
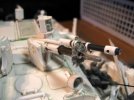
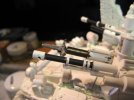
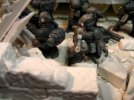
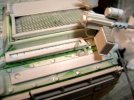
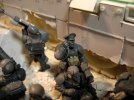
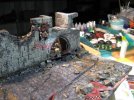
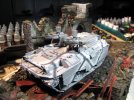
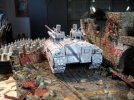
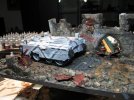
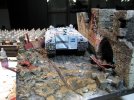
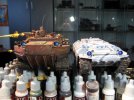
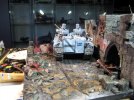
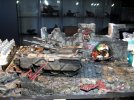
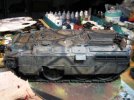
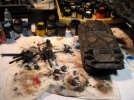
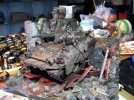
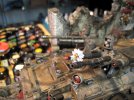
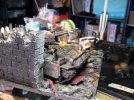
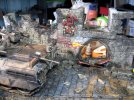
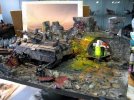
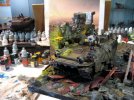
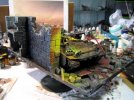
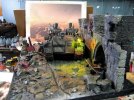
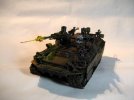
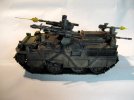
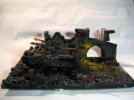
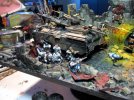
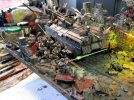
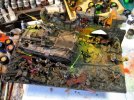
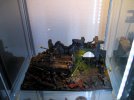
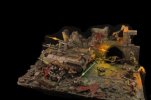
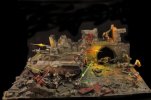
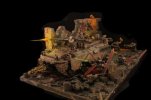
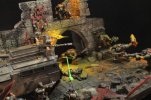
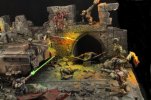
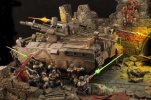
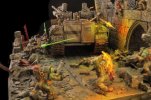
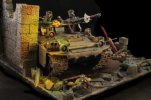
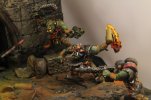
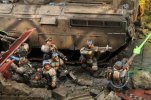
POLEMOS Urban Combat Vehilce (scratch build)

Wow guys, LOTS of positive feedback!
Thanks

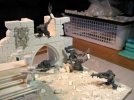
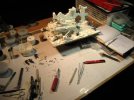
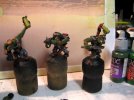
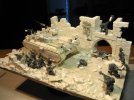
Now that the basic scene is done I started to position the first actors.
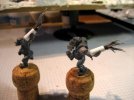
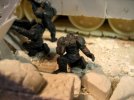
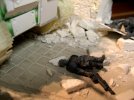
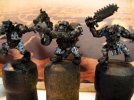
The ambushing Orks :)
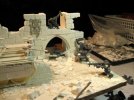
572221_sm-.jpg

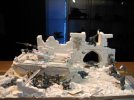
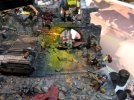
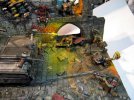
The story is that the POLEMOS and its accompanying squad just broke resistance and captured this section of the road. While consolidating gains behind a former Ork barricade some sneaky Orks attack out of the ruins...
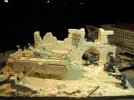
572222_sm-.jpg
Most likely the dio will be called "Ghosts in the Rubble"....or so :)

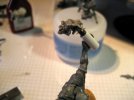
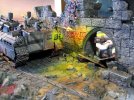
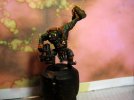
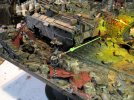
The two main Ork characters are these two guys, throwing Molotov's - lots of potential for light effect painting :)
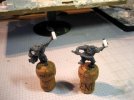
572219_sm-.jpg

I sculpted the flames with Pro Create Putty (http://www.kraftmark.biz/kraft.procreate.html)
What do you think?
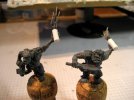
572217_sm-.jpg

Good enough or room for improvement?
572218_sm-.jpg

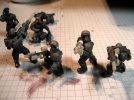
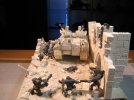
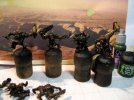
So here's the attacking gang in position.
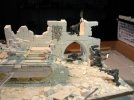
572220_sm-.jpg
572216_sm-.jpg

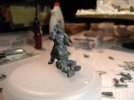
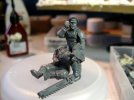
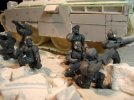
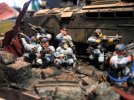
And then I started to position the surprised IG squad.
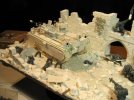
572215_sm-.jpg

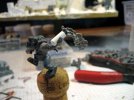
One guy will be dead on the ground behind the vehicle. 2 troopers at the barricade, one kneeling on the side, turning around surprised, 2 troopers firing back from the cover of the POLEMOS, and centrally the captain at the Infantry Phone with a wounded soldier at his feet....
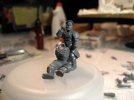
572213_sm-.jpg
572214_sm-.jpg

What do you think?
Will this work?

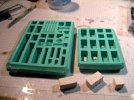
BTW, some asked what molds I use for the building.
572212_sm-.jpg

These are the Hirst Arts molds ( http://www.hirstarts.com/ ). As far as I remember the ones I use most are these two:
Should be "Basic Block - Mold #40" and "Gothic Dungeon Builder #45", but I also have" Gothic Additional Accessories - Mold #44", "Gothic Dungeon Accessories - Mold #41" and "Gothic Panel Accessories - Mold #43".
They serve me very well. As plaster I prefer "Stewalin"

I hope you like today's update and I look forward to your C&C - especially on the Molotov effects.
Cheers
Klaus
 
Thanks a lot for sharing this Klaus.
your WIPs are really helpful for rookies.
 
10 Jan - Ghosts in the rubble

Now that the POLEMOS is pretty much completed (needs all rivets and maybe some cables) I decided to name the posts after the scene rather than after the vehicle.
So going forward they will be labeled "Ghosts in the rubble".

I considered some of the feedback in the forums and decided to rework the flames for the Molotov's.
I'm very glad I did :)
572556_sm-.jpg

This looks more realistic and it was actually rather easy too.
572557_sm-.jpg

While the ProSculpt cured I cleaned up the Captain and the wounded soldier.
572558_sm-.jpg
He's now kind of protecting the downed guy.

While looking at the available arms I realized that I have tons of standard firing arms...
maybe I should start using them, or consider trading them in for some of the more "exotic" arms :p
572559_sm-.jpg

This is the "surprised" trooper - turning to the new sound of gunfire.
572560_sm-.jpg

And the dead trooper.
572563_sm-.jpg

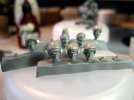
For the heads I decided to use the helmet design I used for the "Orkalypse Now" troops. I used the heads from Mad Robots ( http://madrobotminiatures.com/zencart/index.php?main_page=index&cPath=9_10 ) and sculpted the helmets with ProSculpt.
572561_sm-.jpg

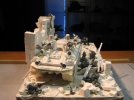
The scene is coming along nicely
572562_sm-.jpg
I think it gives a bit of the dramatic feel I'd like to show.

Then the weapons received a once-over, got sights and flashlights.
572564_sm-.jpg

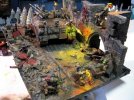
And this is the scene as of today :)
572565_sm-.jpg

I hope you like today's update and I look forward to your C&C.
Cheers
Klaus
 
this diorama is sweet lots of activity going on just like a real surprise attack, Great job bud.
 
THANKS GUYS!
Thank you for your feedback.

On Friday the scene was pretty much complete, so mainly a lot of "cosmetics" to do :)

First I added some cables (for the two smoke launchers and the rear ramp) as well as rivets to the POLEMOS.
573810_sm-.jpg
573811_sm-.jpg

The first cinematic effect is for the automatic grenade launcher.
573812_sm-.jpg

Since it is a low velocity weapon I had to create a different muzzle effect that with the auto-cannons.
You can actually still see the projectile and a bit of a flash.
573813_sm-.jpg

Then all the sights and flashlights received their lenses as well as the troopers got some personal equipment and knee pads.
573814_sm-.jpg

Spent cartridges on the deck of the POLEMOS.
573815_sm-.jpg

Cable for the infantry phone.
573816_sm-.jpg

And cinematic effects for the spent cartridges. The top one is for the auto-cannon with the longer cartridges and lower rate of fire, the lower piece is for the machine gun.
573817_sm-.jpg

Also I finally drilled open the barrels of the Ork weapons.
573818_sm-.jpg

Once the glue for the ejected cartridges had cured properly I mounted them to the weapons.
573819_sm-.jpg

I think this looks rather nice :)
573820_sm-.jpg

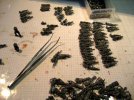
Well, the desk looked pretty messy, but this was it :)
573822_sm-.jpg
DONE!

The final shots before priming (today or tomorrow).
573823_sm-.jpg
573824_sm-.jpg
573825_sm-.jpg

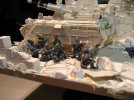
Closer shot of the Imperial squad,
573826_sm-.jpg

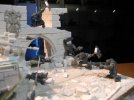
and the Ork attackers.
573827_sm-.jpg

I hope you like it :)
573828_sm-.jpg

I look forward to your C&C.

Cheers

Klaus
 
Thank you!!

Today's update covers the POLEMOS painting.
I was out sick last week with a bronchitis - pretty annoying, lots of coughing - but at least I had some time (when the medication was actually working and I stopped coughing for a few hours) to work on the POLEMOS.

I had already everything prepared and primed on my desk.
576139_sm-.jpg

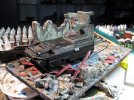
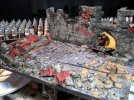
So I started to paint and weather the street, ruins and rubble.
576140_sm-.jpg

As I had mentioned it will be rather dark and grimy.
576141_sm-.jpg

Here you can see that I dry-brushed some areas with white - these are the areas that will be illuminated by the muzzle flashes and Molotov's.
576142_sm-.jpg

And then it was time for the POLEMOS itself.
So far I had no vehicle in my arsenal with an urban camo pattern. Instead of re-inventing the wheel I decided to simply convert the standard Dencarian "Tiger Flash" pattern into grey tones.
576143_sm-.jpg
576145_sm-.jpg
I think it looks rather convincing :D

Next I added details like the view ports and ejected cartridges,
576146_sm-.jpg

as well as all the lights and lenses.
576147_sm-.jpg

They look like brothers, don't they?
576148_sm-.jpg

More details.
576149_sm-.jpg

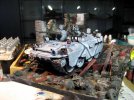
And then it was time for some serious weathering...
Say goodbye to the new paint job...
576150_sm-.jpg

...and hello to the real look :)
576151_sm-.jpg

Quite a difference, eh?
576152_sm-.jpg
576153_sm-.jpg

But with all the details and lenses painted it looks really good.
576154_sm-.jpg

Then I painted the cinematic effects.
First the low velocity grenade launcher,
576155_sm-.jpg
then the AC,
576156_sm-.jpg
and finally the rear MG.
576157_sm-.jpg

But the real fun was adding the illumination effects!
Enjoy
576158_sm-.jpg
576159_sm-.jpg
576160_sm-.jpg
576161_sm-.jpg
576162_sm-.jpg

I am very pleased with the results.
What do you think?
I look forward to your C&C.
Cheers
Klaus
 
wow dude,i wish i had a ten`th of ya skill,i would like to say ya paintin/sprayin skill is amazin!!!
top marks once again.....cheers peza :eek:
 
a really awesome building Klaus.
Many thanks for this pedagogic WIP. I don'tlike it, I love it !
 
;D
Thanks

Hi all,
Malevengion at my blog asked:
How did I weather the POLEMOS?
Well, first I gave it a very thorough wash with a brown wash (similar to Devlan Mud or the new Agrax Earthshade). Once this was dried I gave it another wash with black (similar to Badab Black or the xxx oil - the replacement for Badab). Once this was also dried I gave it another go with the black, but this time accentuated on the darker area, picking out recesses or things like hinges on the hatches.
Then I applied a very dark brown-grey mix with the sponge around the most used/damaged areas.
Followed by Boltgun Metal with a brush on larger damages or exposed corners.
Finally I used a pencil along most corners - this give them a nice metallic shine.
I think that's all :)

So I started with the attacking Orks.
Since I want them to be like "Ghosts in the rubble" they needed special urban camo too and I decided to give them simply a grey-scaled version of their Flecktarn pattern.
578673_sm-.jpg

All the base colors applied
578674_sm-.jpg

Even with these simple colors they already fit nicely into the diorama.
578675_sm-.jpg

Then they got a nice and thorough wash with black and brown.
578676_sm-.jpg

While the wash dried, I made some more images of the POLEMOS and the base on a neutral background.
578679_sm-.jpg
578678_sm-.jpg
578677_sm-.jpg

I also want to make sure the (living) Orks eyes are glowing in the dark.
578680_sm-.jpg

The finished Orks and light effects on the board.
578682_sm-.jpg

You may notice the light effects of the Molotov's are darker, more orange, less flashy than the effects of the muzzle flashes.
578683_sm-.jpg

And finally last night I started on the Imperial troopers.
They use the same urban camo pattern as the special forces in "The Ork with the Golden Missile" - http://fischers-design-shop.blogspot.de/2013/04/the-ork-with-golden-missile-13.html
578684_sm-.jpg

Well, that's all I got for this week.
I hope you enjoyed today's update and I look forward to your C&C.
Cheers
Klaus
 
Thank you guys!
I really appreaciate the feedback.
And here's your treat for today :)

I made good progress over the last few days and since I had a day off today, I was able to finish the dio!


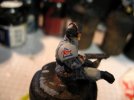
After applying the base colors I looked into a symbol for the shoulder patches. I'm not really sure why, but I wanted to do something with an eye - like the Egyptian Ra or the all-seeing eye on top of the pyramid. After a lot of doodling around I came up with this abstraction.
579416_sm-.jpg

I really like it, so I decided to draw it onto all the shoulder pads and on both sides.
579417_sm-.jpg

Here are all the Imperial troopers with their base colors.
579418_sm-.jpg
579419_sm-.jpg

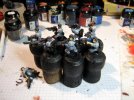
Then they got some washes.
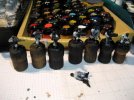
First a wash of Devlan Mud or Agrax Earthshade,
then a wash of Badab Black or Nuln Oil,
then a wash of Seraphim Sepia for the skin areas,
and another go of black for the shades.


Once the washes dried I applied the highlights.
Here are the first four troopers
579421_sm-.jpg

And all of them!
579423_sm-.jpg

DONE!
:)
579422_sm-.jpg

I'm quite happy how they look in their new home.
579424_sm-.jpg
579425_sm-.jpg

Later today I will post some more high quality images in the lightbox.
I hope you like how this little scene turned out.
I look forward to your C&C
Cheers
Klaus
 
As promised here are some HQ images done in the lightbox with a bit of cleanup.
I hope you like them :)
(remember if you click the image you get to a scalable version in the gallery)
579689_sm-.jpg
579688_sm-.jpg
579693_sm-.jpg
579692_sm-.jpg
579691_sm-.jpg
579690_sm-.jpg
579695_sm-.jpg
579694_sm-.jpg
579697_sm-.jpg
579696_sm-.jpg
Cheers
Klaus
 

Latest posts
Back
Top