Glorfindel
Active Member
- Joined
- May 2, 2011
- Messages
- 1,504
Good day kids.
This weeks update has the completion of the cockpit with pilot painted and seated. A few add ons on my part is the re-painting of that pull lever next to the seat. I made a yellow and black striped decal for the top of the lever and for the ejection pull in between the pilots legs that you can't see. You'll have to trust me....it's there. I also made decals for the Blue Angels logo for the right side chest on the pilot as well as an American flag patch for his left shoulder. The shoulder patch is a wee bit over-sized but that's as small as my printer can print. I also added some Tamiya Tape brand harness straps that are fitted for the pilot.
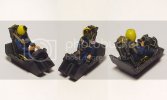
With that the cockpit was installed so on to the stabilizers.
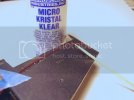
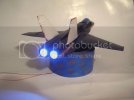
Here I used the Smooth On Starter kit to make my first molds ever on a model. I created two block molds each representing one side of each stabilizer. The idea here is to light the engines, NAV lights and stabs. So to do this I need to split the stabilizers in two to imbed fiber optic. These are the results.
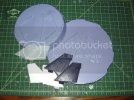
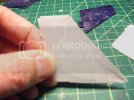
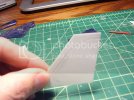
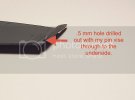
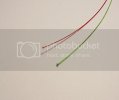
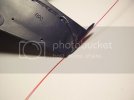
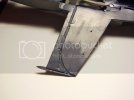
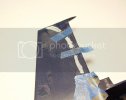
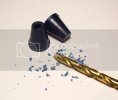
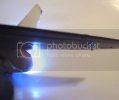
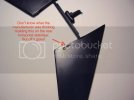
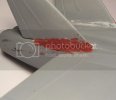
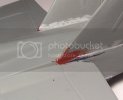
So far I'm pleased. The molds and resin parts came out okay. In the pics you can see that I had used a scribing tool to create a trench to the appropriate spots where lights need to be. In these trenches I laid down fiber optics and used white glue to hold them in place. I then joined both sides together bonding them with CA making sure not to get any on the fiber. Once cured I cleaned up edges and used red spot putty to fill in seams. Not many so I chalk this up as a victory in Terra incognito.
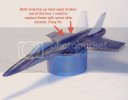
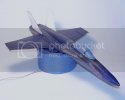
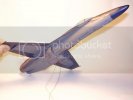
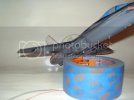
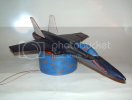
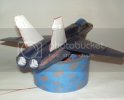
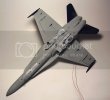
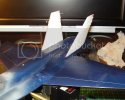
The stabilizers are complete and now installed to the upper fuselage with fiber snaked in to the stabilizer mounting slots. So far success.
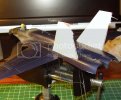
Next is the closing of the landing gear doors.
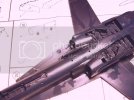
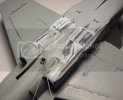
I need to think of my angle of approach here as their meant to be in the opened position. The kit doors actually fit the openings rather well as I thought I would have to scratch new ones to close them up but I'm finding that probably won't be the case. It's a pleasant surprise but still needs to be thought out to get them to sit right.
That's it for tonight. Cheers guys!
[attachment deleted by admin]
This weeks update has the completion of the cockpit with pilot painted and seated. A few add ons on my part is the re-painting of that pull lever next to the seat. I made a yellow and black striped decal for the top of the lever and for the ejection pull in between the pilots legs that you can't see. You'll have to trust me....it's there. I also made decals for the Blue Angels logo for the right side chest on the pilot as well as an American flag patch for his left shoulder. The shoulder patch is a wee bit over-sized but that's as small as my printer can print. I also added some Tamiya Tape brand harness straps that are fitted for the pilot.

With that the cockpit was installed so on to the stabilizers.
Here I used the Smooth On Starter kit to make my first molds ever on a model. I created two block molds each representing one side of each stabilizer. The idea here is to light the engines, NAV lights and stabs. So to do this I need to split the stabilizers in two to imbed fiber optic. These are the results.


So far I'm pleased. The molds and resin parts came out okay. In the pics you can see that I had used a scribing tool to create a trench to the appropriate spots where lights need to be. In these trenches I laid down fiber optics and used white glue to hold them in place. I then joined both sides together bonding them with CA making sure not to get any on the fiber. Once cured I cleaned up edges and used red spot putty to fill in seams. Not many so I chalk this up as a victory in Terra incognito.
The stabilizers are complete and now installed to the upper fuselage with fiber snaked in to the stabilizer mounting slots. So far success.


Next is the closing of the landing gear doors.

I need to think of my angle of approach here as their meant to be in the opened position. The kit doors actually fit the openings rather well as I thought I would have to scratch new ones to close them up but I'm finding that probably won't be the case. It's a pleasant surprise but still needs to be thought out to get them to sit right.
That's it for tonight. Cheers guys!
[attachment deleted by admin]

