Quaralane
Well-Known Member
- Joined
- May 22, 2009
- Messages
- 11,263
Okay,
Time for a new build at the Workshop.
Continuing on from what I did with the Helicarrier and Quinjet builds, I'm going to work next on the "guest star" from the Columbia build
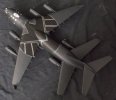
Namely, SHIELD 616, the "Bus"
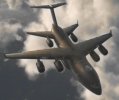
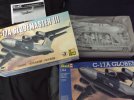
To that end, I'll be using parts from two 1/144 Revell C-17 Globemaster III kits
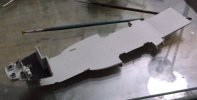
Main piece of interior was assembled per the kit instructions.
I left the majority of it unpainted as I intend to build this version with the bay closed.
So, only the back area 'carpet' and the seats for teh cockpit were painted in with the dark grey Vallejo primer
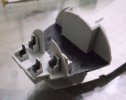
Landing gear struts were assembled and put into place. Per the kit instructions, the wheels have not been put on yet.
Each of these four struts are made up of 5-8 pieces
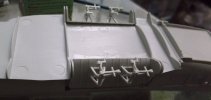
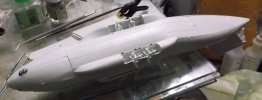
Landing gear struts in place, I installed the complete interior shell inside the fuselage and glued itg all up.
There were some seam issues as the fuselage halves and the bottom plate have some funky jogs along the seam line
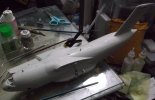
Taile planes and main wings were glued up per the kit instructions.
Though not shown in the pics here, I also glued up the main wings from the second kit prior to cutting them down to length to make up the rear wings
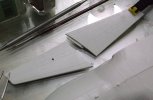
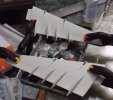
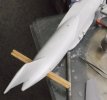
To create a stable mount for the rear wings, I cut a channel in either side of the rear fuselage, then inserted a couple of wooden corn dog sticks to create a support for the wing assemblies
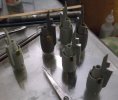
The six main engines were assembled per the kit instructions.
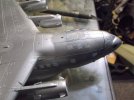
Based on the pics I've found for SHIELD 616, I also added a couple of small rectangles of sheet styrene to each engine to match details on the show version of the plane
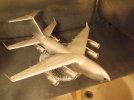
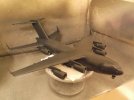
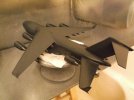
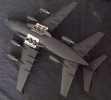
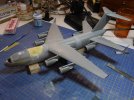
Wings were glued into place, along with the tail planes.
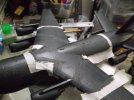
The back section of the new rear wing assemblies were filled in with Aves Apoxie Sculpt.
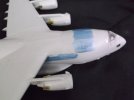
The main canopy was masked off and glued into place at this time as well
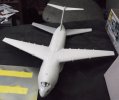
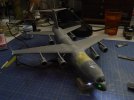
Engines were glued into place on the wings.
The landing gear wheels and doors were also cemented into place.
I did have some difficulty getting the wheels on the main gear to cooperate due to some fairly tight tolerances
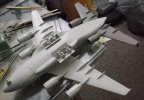
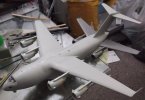
At this point, I need to smooth out the Aves, then she's ready for primer.
Youtube link:
http://www.youtube.com/watch?v=LOZOvQ7qQtg
Time for a new build at the Workshop.
Continuing on from what I did with the Helicarrier and Quinjet builds, I'm going to work next on the "guest star" from the Columbia build
Namely, SHIELD 616, the "Bus"

To that end, I'll be using parts from two 1/144 Revell C-17 Globemaster III kits

Main piece of interior was assembled per the kit instructions.
I left the majority of it unpainted as I intend to build this version with the bay closed.
So, only the back area 'carpet' and the seats for teh cockpit were painted in with the dark grey Vallejo primer


Landing gear struts were assembled and put into place. Per the kit instructions, the wheels have not been put on yet.
Each of these four struts are made up of 5-8 pieces

Landing gear struts in place, I installed the complete interior shell inside the fuselage and glued itg all up.
There were some seam issues as the fuselage halves and the bottom plate have some funky jogs along the seam line


Taile planes and main wings were glued up per the kit instructions.
Though not shown in the pics here, I also glued up the main wings from the second kit prior to cutting them down to length to make up the rear wings


To create a stable mount for the rear wings, I cut a channel in either side of the rear fuselage, then inserted a couple of wooden corn dog sticks to create a support for the wing assemblies

The six main engines were assembled per the kit instructions.
Based on the pics I've found for SHIELD 616, I also added a couple of small rectangles of sheet styrene to each engine to match details on the show version of the plane

Wings were glued into place, along with the tail planes.
The back section of the new rear wing assemblies were filled in with Aves Apoxie Sculpt.
The main canopy was masked off and glued into place at this time as well

Engines were glued into place on the wings.
The landing gear wheels and doors were also cemented into place.
I did have some difficulty getting the wheels on the main gear to cooperate due to some fairly tight tolerances


At this point, I need to smooth out the Aves, then she's ready for primer.
Youtube link:
http://www.youtube.com/watch?v=LOZOvQ7qQtg

