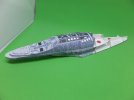
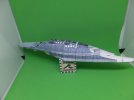
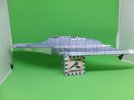
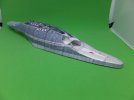
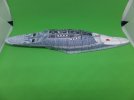
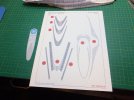
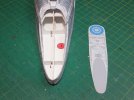
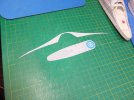
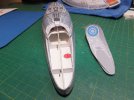
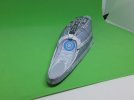
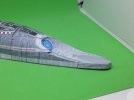
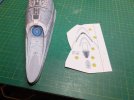
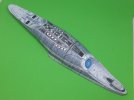
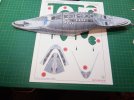
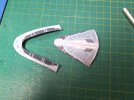
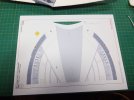
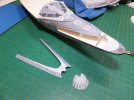
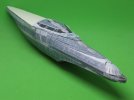
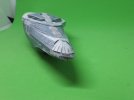
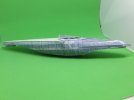
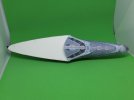
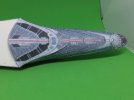
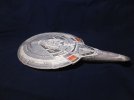
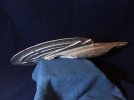
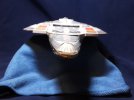
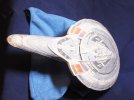
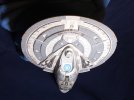
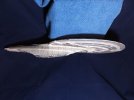
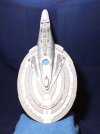
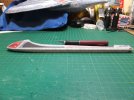
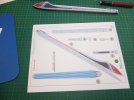
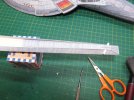
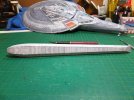
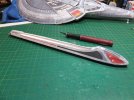
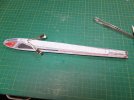
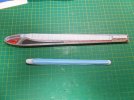
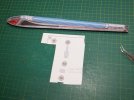
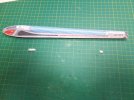
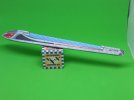
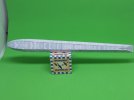
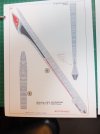
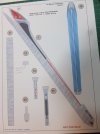
Star Trek 1/1000 Enterprise - E Paper model

Good day all.
Have started working on skinning the secondary hull.
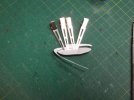
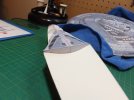
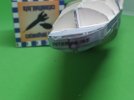
One of the first puzzles was where to start. Upon checking all the pieces for the hull. The best place to start was at the fantail. This was the best place to start as it had a solid fixed reference point.
The first piece to go in was part 35 page 14, the hanger deck. Had to shorten this piece by 9mm.
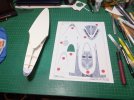
Secondary%20Hull%201_zpseosg21q8.jpg

Part 21 was next. Joined the fantail ends together before install. Centred the piece on the fantail then worked back from there.
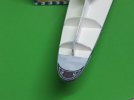
Secondary%20Hull%202_zpsrve1be93.jpg

Secondary%20Hull%203_zps8uboapw3.jpg

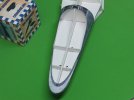
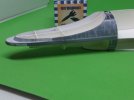
The next part to attach was the bottom of the fantail (pg 14 pt 34). Then glue the upper part of 21 in place and close in the end. The end was 1.5mm short and had to insert a filler.
Secondary%20Hull%204_zpswsodtzff.jpg

Secondary%20Hull%205_zpskniev3vh.jpg

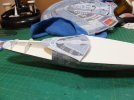
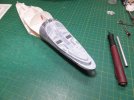
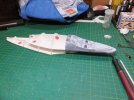
The bottom skin (pg 14 pt 22) was then shaped and attached.
The bottom deck (pg 17 pts 18&19) were then assembled and the installed onto 22.
Secondary%20Hull%206_zps1gqtsq8y.jpg

Secondary%20Hull%207_zpswz7wrokf.jpg

On the side I am also working on the construction of the hanger bay doors.
This is where I am at right now.
Thank you for following.
Questions and comments welcome.

Jim
 
Looking forward to seeing this continue.

Said it before, this is a very well engineered model
 
Thank you Patrick.
There are some issues, these will be addressed with the next ver.

Jim
 
Good day.
Update time.
It has been a busy couple of weeks and modeling sort of slowed.
I have been working on more of the skins for the secondary hull.

Secondary%20Hull%208_zpszoqov5rm.jpg

Secondary%20Hull%209_zpsyei4n6cc.jpg

Secondary%20Hull%2010_zpsql6lti6z.jpg

Secondary%20Hull%2011_zps0enfcuax.jpg

When installing skin 7, I found that the tab at the bottom did not cover the space created by the surrounding skins. So I cut this tab off and made my own piece to fill the gap.

Secondary%20Hull%2012_zps2wpm40hs.jpg

Then moved forward towards closing the skin walls on the bottom of the secondary hull.

Secondary%20Hull%2013_zpsb8nee4mb.jpg

Secondary%20Hull%2014_zpsgmmraa4e.jpg

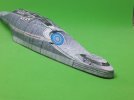
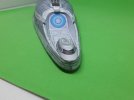
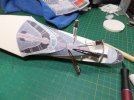
For the installation of the sensor dish, it was puzzling how this went together. Most of the images that were online did not give much detail to this area. Then I found some of the original drawings for the design of this ship and those answered a lot of questions.
The outside skin is now complete and moving on to the sensor dish area.

Secondary%20Hull%2015_zpsckftfuko.jpg

Secondary%20Hull%2016_zps68pixv5t.jpg

Secondary%20Hull%2017_zpscpzbctbr.jpg

This part I'm taking slow and methodical, to get it right.

Thank you for following.
Questions and comments welcome.

Jim
 
Good Day.
This past week has been productive on the modeling front.
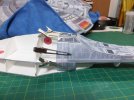
Working slowly from the back towards the front, I got the frame around the sensor dish array installed. I did have to cut it back a little bit at the forward end, as it was slightly over size.

Secondary%20Hull%2020_zps9ywi27y6.jpg

With the frame in, it was time to work on constructing the sensor dish.
This was straight forward and no issues.

Secondary%20Hull%2021_zps50qqobwj.jpg

Secondary%20Hull%2022_zpsvm4k2d4l.jpg

Then on to installing the array. First gluing the base down, then attaching the sides from the back towards the front. The little bit of overhang on the front was trimmed back after it dried.

Secondary%20Hull%2023_zpsxczmwenn.jpg

Secondary%20Hull%2024_zpsaxv7vcpt.jpg

The last part to assemble and install on this section of the secondary hull was the forward torpedo bay and the Captain's Gig.

Secondary%20Hull%2026_zpsl7cw6v8w.jpg

Secondary%20Hull%2027_zpsvogouqih.jpg

Secondary%20Hull%2028_zpseypi4kya.jpg

Secondary%20Hull%2029_zpsff538jdj.jpg

Secondary%20Hull%2030_zpsdrmfb3hd.jpg

Secondary%20Hull%2031_zpsxurhyein.jpg

This completes the bottom of the secondary hull. Now on to the top half.

Thank you for following.
Questions and comments welcome.

Jim
 
Thanks Patrick.
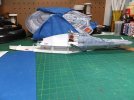
Yes I think I can make it. I can probably finish the secondary hull this week. Then start on the nacelles.

Jim
 
I've started work on the top skins for the secondary hull.
Cut out parts 25,26 and 31 on Pg. 14, and started their assembly.

Secondary%20Hull%2033_zpsieny4osb.jpg

Secondary%20Hull%2034_zpsgrstcqso.jpg

I dry fitted the secondary hull to the saucer section, in order to get the 25/26 assembly's placement right. In order to get the front and height of this assembly right, reprinted sheet 1 and reused the fillet from that sheet attaching it to the front of the 25/26 assembly.

Secondary%20Hull%2035_zpsvm22igmk.jpg

Then glued the whole assembly in place onto the top of the secondary hull. When dry removed the secondary hull from the saucer section and installed part 31.

Secondary%20Hull%2036_zpse8obsdn6.jpg

Secondary%20Hull%2037_zpserdn49mb.jpg

As of last night this is where I am at.

Jim
 
Good day all.
Spent the last couple of days finishing off the top skins of the secondary hull.

Secondary%20Hull%2038_zpsi2pag6wb.jpg

Secondary%20Hull%2039_zps0dowykde.jpg

The shuttle bay doors, I've been working on for a while, while waiting for other things to dry. It was installed just before the next piece of the skin was installed.

Secondary%20Hull%2040_zpsr5n3dhsp.jpg

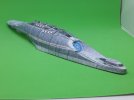
With that piece in and the two filler pieces at the bottom in, that completes the skins for the secondary hull.

Secondary%20Hull%2041_zpslfqfoynt.jpg

Secondary%20Hull%2042_zpsorolohqd.jpg

Secondary%20Hull%2043_zps0chydgnf.jpg

Secondary%20Hull%2044_zpscizkfttm.jpg

Secondary%20Hull%2045_zpsrhwb3e8w.jpg

I decided to dry fit the secondary hull to the saucer section to see how they looked.

Secondary%20Hull%20%20Saucer%201_zpsmn4gssvr.jpg

Secondary%20Hull%20%20Saucer%208_zpsqptclc8t.jpg

Secondary%20Hull%20%20Saucer%209_zpsufftkuai.jpg

Secondary%20Hull%20%20Saucer%2010_zpsk0p58u9v.jpg

Secondary%20Hull%20%20Saucer%2012_zpsm97frsqd.jpg

Secondary%20Hull%20%20Saucer%2013_zps3hfbcnag.jpg

Secondary%20Hull%20%20Saucer%2015_zpsikhonvw1.jpg

The secondary hull fits so tight that I may not glue them together. We'll see.

Now it's time to start onto the nacelles.

Thank you for following.
Comments and questions welcome.

Jim
 
Back end of the secondary hull looks to be slightly twisted, but this is still looking very sharp
 
That bay door must've been a bitch to build!
:eek:
I agree with Quaralane it looks a bit warped, while it looks sharp on the last image without the saucer (top view so to speak).
But really, excellent built!
 
Thank you Patrick and Klaus.
It is twisted a slight bit at the back. Not much one can do about it now.
That door was a pain. It kept wanting to come apart before it dried.

Jim
 
Good evening.
I have been working on the first nacelle this weekend.
First thing was to cut out the side panels and shape them, then glue them to the support frame for the nacelle along the fold line.

Nacelle%201%20-1_zpsshr55jaz.jpg

Nacelle%201%20-2_zps8vjmujs1.jpg

When those had dried, then it was the centre skin for the bottom.
Starting aft and working forward. Gluing the sides to the centre skin 1/2" at a time, To get the sides pulled in evenly.

Nacelle%201%20-3_zpsexlcj8rn.jpg

Nacelle%201%20-4_zpsricjqlqj.jpg

With the bottom done, it was time to move on to the top.
The centre filler for the nose of the nacelle was first, part 11 pg 23.
Started working from where the piece drops into the chiller area and working forward a bit at a time.

Nacelle%201%20-5_zps07v6f2dy.jpg

This is where I am at right now.

Thank you for following.
Questions and comments welcome.

Jim
 
Good day all.
Been working on finishing up on the starboard nacelle.
Installed the tail piece and the upper decking.

Nacelle%201%20-6_zpschj95rkp.jpg

With those done it was time to move on to installing the chiller.

Nacelle%201%20-7_zpsi8ezmhtt.jpg

The two detail pieces for the top of the chiller were next.

Nacelle%201%20-8_zps6ubw4bfx.jpg

Page 23 part #13 did not have it's fold line and had to manually measure them off.
Assembled the two parts and installed the in place.

Nacelle%201%20-9_zpstjp5qbpa.jpg

Nacelle%201%20-10_zpslvuv2pxf.jpg

Nacelle%201%20-11_zps1yknlszz.jpg

Nacelle%201%20-12_zpsm064phav.jpg

Nacelle%201%20-13_zpseesqrpok.jpg

Nacelle%201%20-14_zpsuhzbodva.jpg

This completes the starboard nacelle.
Now on to the port side.
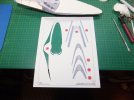
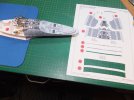
As with the starboard side, pg 21 part @13 has no fold lines. Also to note that pg 24 the bottom skin, the navigation light is green and should be red. We will fix.

Nacelle%202%20-%201_zps5hack6oy.jpg

Nacelle%202%20-%202_zpsao87wt2q.jpg

Nacelle%202%20-%203_zpsi7zzatgh.jpg

This is where I am at.
Thank you for following.
Questions and comments welcome.

Jim
 

Latest posts

Back
Top