Jakko
Well-Known Member
- Joined
- Oct 9, 2024
- Messages
- 760
And now for something completely different for me — well, not really, it's not like I've never built Star Wars models before 
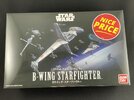
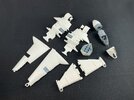
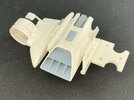
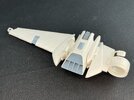
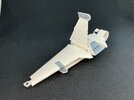
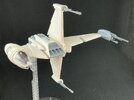
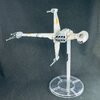
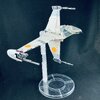
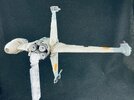
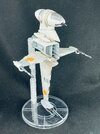
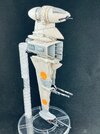
A B-Wing from Return of the Jedi.
This is a Revell import into the EU, as witnessed by a sticker with contact information and description in German, English, French, Dutch, Spanish and Italian on the side of the box, but otherwise it's straight from Bandai, exactly as sold in Japan and (I presume) the rest of the world. (Oh, well, and the "Nice Price" sticker on the front clearly doesn't belong on the box It's accurate, though: normal retail price of these seems to be around 70 euros, but I paid only just over half for it.)
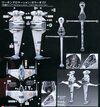
Instructions can be found on Scalemates, so let's start with some sprue shots:
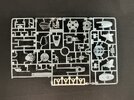
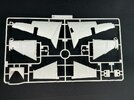
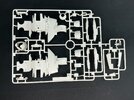
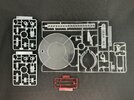
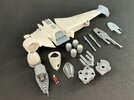
This is only the third Bandai kit I've ever bought, and must say the moulding quality looks very good. Still, I don't quite see the point of the multi-coloured sprue A. It feels like it's something they're doing because they can, not because it adds anything to the model.
For markings, you get both decals and self-adhesive stickers:
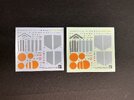
I suppose you could use the stickers as paint masks, but I've not decided yet if I'll try that.

A B-Wing from Return of the Jedi.
This is a Revell import into the EU, as witnessed by a sticker with contact information and description in German, English, French, Dutch, Spanish and Italian on the side of the box, but otherwise it's straight from Bandai, exactly as sold in Japan and (I presume) the rest of the world. (Oh, well, and the "Nice Price" sticker on the front clearly doesn't belong on the box
Instructions can be found on Scalemates, so let's start with some sprue shots:


This is only the third Bandai kit I've ever bought, and must say the moulding quality looks very good. Still, I don't quite see the point of the multi-coloured sprue A. It feels like it's something they're doing because they can, not because it adds anything to the model.
For markings, you get both decals and self-adhesive stickers:

I suppose you could use the stickers as paint masks, but I've not decided yet if I'll try that.

