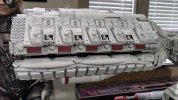
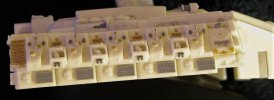
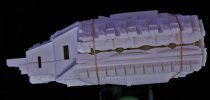
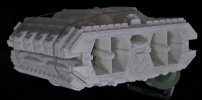
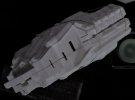
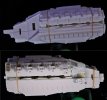
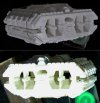
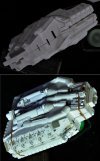
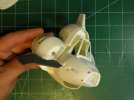
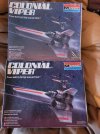
Hey y'all! Another apology for the length in the reply, but this really is the soonest I could post it and it's STILL just sorta tacked in place so I could make a small update, for anyone still interested in my sporadic posts. This one, I believe, has improved the look. It mainly consists of fixing up those trenches and adding some detail on those pieces along the sides just below those trenches.
Again, here's what it is straight outta the box:
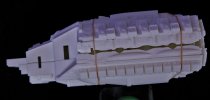
Here, again, is what we went with:
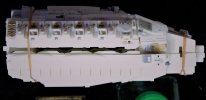
All of those tanks on the upper and lower sections of those trenches are ROCO Sheridans #254 (on the real deal) and they are cut in half, right down the center.
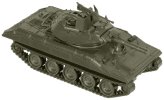
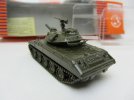
As thus:
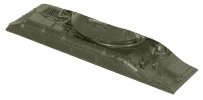
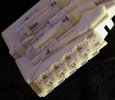
The tank tread we see glimpses of in a couple pictures. I think, come from the same little ROCO #215 plastered all over the sides of the engine of the Galactica. In this next picture you can also see the Sheridan's cut in half:
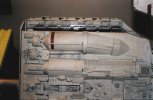
Now, on to my feeble attempts to create some of this and what I was able to do. I took the stock pieces for the Sheridan and sliced 'em. Sliced 'em good. I added some detail to those and had to make those tracks completely from scratch. With all these 1/144 kits I showed earlier, I was able to use the tracks... TWO TRACKS... cut in half length wise and wrapped that all the way around all these tracks you'll see next.
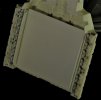
Y'all with the kit will know, we still mighty small here and this took me a couple days. ALL this has been practically constant work since that last update. Evenings, mainly, but every day.
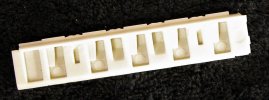
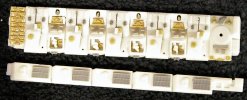
Next, I decided to add a little bit to the interior of those gaps, which we can see into now, which means I had to create a wall inside there which got cut away on the stock kit when I cut the tanks in half. I took a bit of liberty here and added a couple scribe lines and a few detail pieces to add some lumps and bumps in there. Now, there are also a couple ladder/vent/teeth looking pieces on the original, so I added those too, sorta seen here:
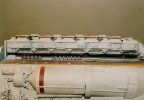
Here's how all that came out:
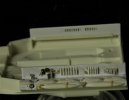
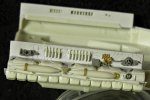
You can also see those new walls I had to make. This "wall" also serves to align the top and bottom now and keep the alignment in place. I'll want to be able to open this model up later if I ever have to work on it, so I started that mod with this mod.
Some may have noticed, in those last pictures, that I have detailed the outer sides of the engine just a bit too. To me, one of the biggest improvements with this latest one was the dressing up of those pieces just under those drop tanks/fuel tanks along the sides. This mod was an ABSOLUTE pain in my diminished glute, but makes a very nice show, to me anyway. They are the crane section of ROCO #257.
Those pieces, along with the angled sections at the forward of the engine (the blade at the front of the ROCO), are from the same ROCO tanks also all along the sides of the original engine section, ROCO #257:
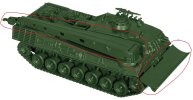
On the crane pieces along the sides, I sanded the originals off the kit piece and using that crane outline I was left with, I had to scratch each and every crane. I also had to keep the size consistent. The body of the 257 is what's on the engine section too, so I used the body on the kit piece to keep the size right as I was making them:
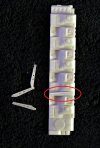
Ok, after writing all that, here's what I've ended up with.. Like I say, not completely permanent yet, but I think this one turned out OK.
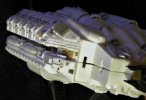
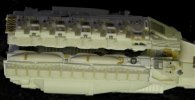
Makes a difference this time I think.
Critique, criticism, comments, complaints and suggestions, as I've shown already, are 100% welcome and encouraged here.
Rob.

