Quaralane
Well-Known Member
- Joined
- May 22, 2009
- Messages
- 11,263
All right,
I've finally gotten a start on my entry for the Build.
Going to start out with the FIne Molds 1/144 Millenium Falcon as a base
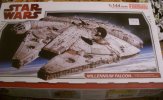
But, going from an older conversion I did several years ago on the AMT cutaway kit, I'm going to modify it into a more custom ship from a Star Wars RP I'm in.
Instead of the "Millenium Falcon," I'll be building my YT-1300 as the "Jilted Harlot."
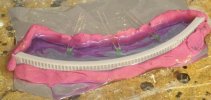
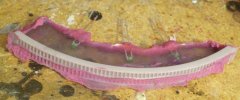
These first pics are actually of that older build, and are mostly to show what I have in mind for the hull and engines.
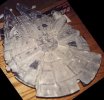

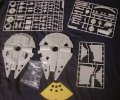
Now, for the obligatory shot of the sprues before I get started.
There are a lot of parts there to work with, even for such a small model.
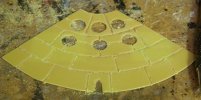
That yellow piece is the panel I'm using to cover the back plate on the upper part of the hull. It still needs the panel lines scribed into it.
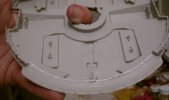
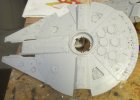
Upper hull grills are in place.
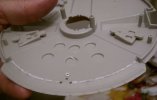
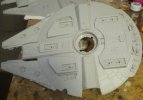
As are the lower hull grills
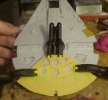
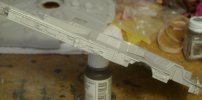
And most of the sidewalls
I'm still debating whether I'm going to light her up, and if I'm building her gear down.
Youtube link:
MF Group Build-Jilted Harlot-Part 1
I've finally gotten a start on my entry for the Build.
Going to start out with the FIne Molds 1/144 Millenium Falcon as a base

But, going from an older conversion I did several years ago on the AMT cutaway kit, I'm going to modify it into a more custom ship from a Star Wars RP I'm in.
Instead of the "Millenium Falcon," I'll be building my YT-1300 as the "Jilted Harlot."
These first pics are actually of that older build, and are mostly to show what I have in mind for the hull and engines.


Now, for the obligatory shot of the sprues before I get started.
There are a lot of parts there to work with, even for such a small model.
That yellow piece is the panel I'm using to cover the back plate on the upper part of the hull. It still needs the panel lines scribed into it.

Upper hull grills are in place.

As are the lower hull grills

And most of the sidewalls

I'm still debating whether I'm going to light her up, and if I'm building her gear down.
Youtube link:
MF Group Build-Jilted Harlot-Part 1

