WIP Flak Tower with 88mm Flak 36

spud

Irish and proud of it :)
Joined
Jun 29, 2011
Messages
6,918
this is my new project fairly ambitius i think but with planning i recon i can pull it off.
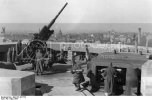
armourammohoistberlinfl.jpg

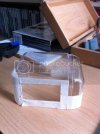
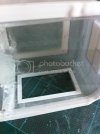
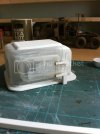
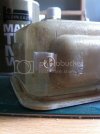
ive started on the ammo lift, i used a Ferrero Rocher choclate box because it seems to have some curves that will work.
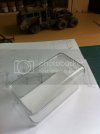
IMG_0298.jpg
IMG_0301.jpg

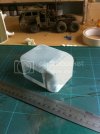
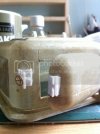
the Door was a right Whore to make, using a secon lid from an other box i choped it up until i had the right size.
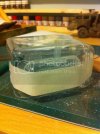
IMG_0305.jpg

bought a Tamiya 88 today had to settle on the Afrika because it was cheaper than an other one i saw. not to impressed with the moding lota parts dont seem to fit propper for me. mabe 2 euro more wasnt much to cringe over :). im going to order the Tamiya Winter gun crew for it unless somone knows were i can get a set wearing the coats in the BW pic

progress on the Gun so far.
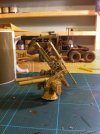
IMG_0312.jpg.

ill be getting back to my Dragon wagon in a few weeks once my new Spray gun arives :)
 
Both of those kits are the same sprues so you made the right call. The issue with the fit is because the molds are from the 70's. AFV Club and Dragon have more modern releases.
 
ahh i supose the big Tamiya 1972 logo on the spur shoulda been a give away.

have teh gun finsihed now i dont need half the kit. kind of a waste but i may do somthing with teh spares some time
 
what you did what that candy box was magic! great job. That gun is a joy to build.
 
Thanks Whiskee.

Finished the part of the 88 i need last night so today ive been working on the lift.

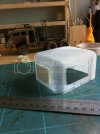
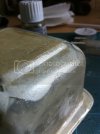
some Milliput and sanding fixed the corners.
IMG_0316.jpg

i think there is an other door on this side so added some styrene and will mold a bead with milliput.
IMG_0317.jpg

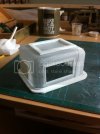
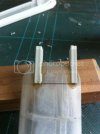
this box on top will be filled and the lift Hooks put onto it, added a thin strip of styrenearound teh inside of the door and on the edge to give it a fatter look. i also heated and bent some box styrene it needs filling and sanding to get it right it will also hold one of the Pins for the door
IMG_0318.jpg
IMG_0319.jpg

and finaly the Door added the Hinges to it. the green goo u see is what i will be using to texture the box to make it look like cast Iron. Poly Glue and Spur off cuts.
IMG_0323.jpg
 
Ok i think im finished with the Lift just 1 or 2 small bits yo tidy up.

finished the hinges on the door and it just needs the pins cut to size
IMG_0326.jpg

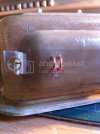
put the texture on the box today this im hoping wont get covered to much by paint.
IMG_0327.jpg

figuring out the lock was a pain in the ass. i setteled on a H bar and put a wheel i had spare on it

IMG_0328.jpg
IMG_0329.jpg

next was the grab handels this was easy once i found a bit of wire
IMG_0330.jpg

Next part is the Walls and Storage. and a few modifications to the 88 to add a kind of walk way on it, Ive seen a pic with one so i may as well add it.
 
thats guys. i had epic fun making that first time scratch building anything.
 
Very cool. The scratch build details look really good. Just wondering - how are you going to make the surface of the building like concrete?

JMac
 
im going to use cement going to make Molds from ply so ill get the effect you see on the concret. ill reinforce it with hanger wire so it wont crack.

ill oil up the boards so the cement wont stick to it and it should work like baking paper. ill prob get stuck into that tomorrow, will up date once i see what the cement does.
 
Nice idea for the Dio! Looking forward to see where you are taking this....

Great work on the Armored elevator...

Norm.
 
just a small update here. because of the bad weather were having ive not been able to to build my mold for my walls and i dont think the woman would aprove of me using a chop saw in the house :).

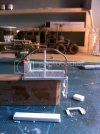
so ive found some pics of teh gantry around the 88 and started work on that. and this is what i have so far.

the Ladder was a little bit long so i choped off the bottom step.

IMG_0352.jpg
 
Wow, great idea for a dio and what you've done so far looks verrry fine! 8) 8) ;D
 

Latest posts

Back
Top