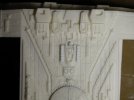
The Battlestar Galactica Moebius should have made!
- Thread starter Eagle-1
- Start date
Eagle-1
Well-Known Member
- Joined
- Jan 16, 2014
- Messages
- 1,036
2 positive votes! Done! Ok, y'all asked for it.
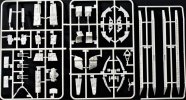
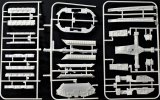
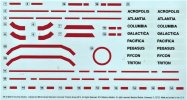
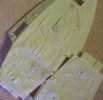
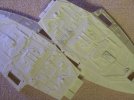
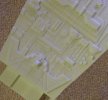
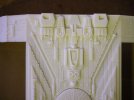
I've dug out one of the old Moebius Battlestar Galactica kits and have started whittlin' on it. My intentions are just to add or modify to what is already there compared to what we saw on the studio model. I checked a few threads but I didn't see very many that have actually modified the kit other than aftermarket parts? My attempts at "upgrading" won't include aftermarket parts, just changes or corrections (as I can) to what's on the kit already.
Anyone built this lately or know of folks who have modified their builds? Just as a refresher for anyone who may not know...
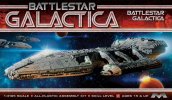
Here the one:
Attachments
TheRaceforTerra
Active Member
- Joined
- Oct 13, 2020
- Messages
- 142
Ohhh, very nice! 
Eagle-1
Well-Known Member
- Joined
- Jan 16, 2014
- Messages
- 1,036
Alright, just jokin'.
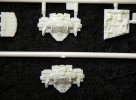
I started with the nose piece. As I said, my plans are to strictly do what I can to add some detail to what's already there. Here, I've added a little detail and modified some already there. Many who have this kit or have seen it already know everything here is very small. In many posts, I'll have the unmodified model pictured to help show whatever I'm attempting. I would really appreciate feedback, critique or observations as I go along here.
Last edited:
Eagle-1
Well-Known Member
- Joined
- Jan 16, 2014
- Messages
- 1,036
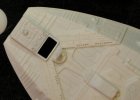
I'll sorta be working from the front to the rear, so I've modified the ramp along the nose that leads up to the bridge. Compared to the studio model, this area needed some changes. I removed this ramp and raised it to about what it looks like on the studio model. I've also added a little detail to that area.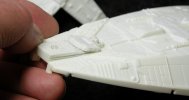
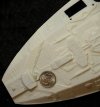
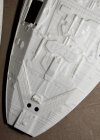
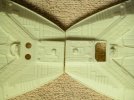
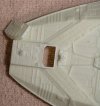
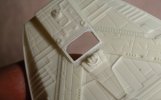
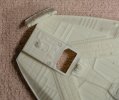


Last edited:
Eagle-1
Well-Known Member
- Joined
- Jan 16, 2014
- Messages
- 1,036
I've continued working toward the rear of the model. There is a tank hull just behind the bridge that needed some tweaks, so I tweaked it! It's very prominent looking at the model and didn't have very much detail at all. I ended up adding a fair amount of detail on this piece and actually opened it up and added some detail under it, like the studio model has.
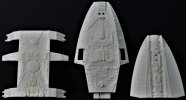
Here's UN-modified...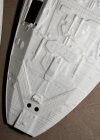
Here's what I've done to it. I think it's better?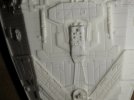
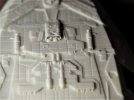
Here's UN-modified...

Here's what I've done to it. I think it's better?


Last edited:
Eagle-1
Well-Known Member
- Joined
- Jan 16, 2014
- Messages
- 1,036
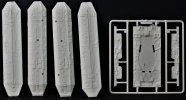
Just a little farther towards the rear, there are a couple of circles that are suppose to be a set of tank engine grill vents. I figured what are suppose to be tank grills should LOOK like tank grills. A tough fix for sure, but I think this'll work? Looks better to me. I hope I sorta got the hang of this... There's another set at the engine section.
Attachments
Eagle-1
Well-Known Member
- Joined
- Jan 16, 2014
- Messages
- 1,036
Now, if some of this looks wonky or not exactly cleaned up properly yet, it may well be. Anyone who's seen or got this already knows, I'm whittlin' on some mighty tiny pieces, so keep this in mind when you say "THAT LOOKS LIKE SH.... CRAP ROB!" Of course, I still wanna HEAR what anyone thinks needs something, but I will and have been tidying along the way. I'm also adding little details along the way to the rear.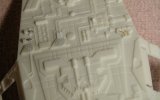

Last edited:
Eagle-1
Well-Known Member
- Joined
- Jan 16, 2014
- Messages
- 1,036
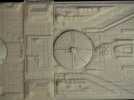
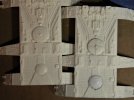
Next, the domes on the mid section. We all know they ain't no raised detail on them domes on the studio model. These had to go. I actually removed those domes from the model, shaved 'em down smooth and then added back some scribe lines. I added detail to the forward dome and on the rear dome, I re-made all the detail. I beveled the areas around the domes as the studio model has, added the domes back and added a little more detail as best I could. Here's one of the instances where they look a little rougher zoomed way in as than they do actual size, so like I said, cut me a little slack, maybe, until they get cleaned up and such. What I'm showing is in raw form, hot off the presses! Along with the dome modifications, I've revised some of the detail around the area of the domes too, again, to more closely match the studio model.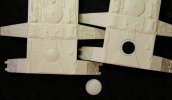



Last edited:
Eagle-1
Well-Known Member
- Joined
- Jan 16, 2014
- Messages
- 1,036
what did you use to open up the circular grill vents ?
I used a sharpened scibe point and the back side of an X-Acto and just kept making circles Mr. urumomo. Then, I cut some .010 styrene into strips, inserted that into the rings in sections to make the grills and then lightly super glued the strips. It was at that point that I almost ruined the whole job. You know how super glue comes out too much when you don't want it to? Well ALOT came out and it became a mad scramble. Honestly, I'm not 100% sure I've saved the detail yet. I'll know once I get some primer on here, but for now, it looks alright to the naked eye... except my eyes is old... and not naked with glasses... and lookin' through a magnifier. I'm sure it's fine.
Eagle-1
Well-Known Member
- Joined
- Jan 16, 2014
- Messages
- 1,036
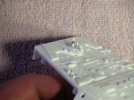
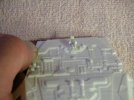
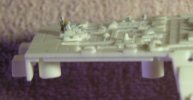
I detailed a bit more on the forward section, mainly at the mid section where there is suppose to be a gun battery. It's a little lump originally, but I've beefed that up a little and thought it could use a little help? I hope it helped? There is nothing wrong with your television. I control the horizontal AND the vertical. That last picture is fuzzy.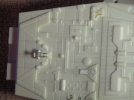


Last edited:
Eagle-1
Well-Known Member
- Joined
- Jan 16, 2014
- Messages
- 1,036
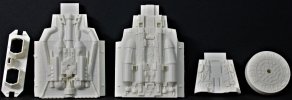
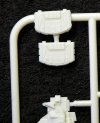
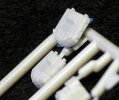
Moving just a little more toward the rear-er, here I came across the first parts I replaced instead of just enhanced. I did some enhancing too, but it was easier to replace a couple of these rather than trying to modify them. Here's how they turned out.
And, here again, compared to the stock kit part.
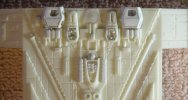
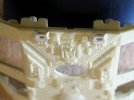
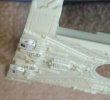
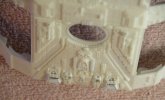
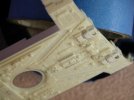
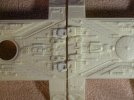
As before, I'm thinking it's looking better?
And, here again, compared to the stock kit part.


As before, I'm thinking it's looking better?
Similar threads
- Replies
- 2
- Views
- 233
- Replies
- 29
- Views
- 3K
- Replies
- 5
- Views
- 619
- Replies
- 7
- Views
- 887
Latest posts
-
-
-
-
CANADIAN VERSION AMT 1971 Dodge Charger Muscle Car! $37.00 Shipped!!
- Latest: SuperheroSanctum
-
-
-

