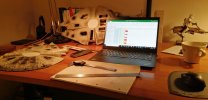
What a piece of junk!

BLT

Well-Known Member
Joined
Feb 25, 2021
Messages
295
Well...

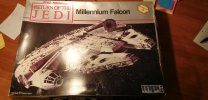
I think most of you know what this is about... Lot of people been doing this, so nothing new I guess.

Thing is... The more you get into this, the more obvious it becomes that simply scratch building this would be easier.
IMG_20220121_235208.jpg

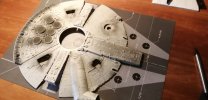
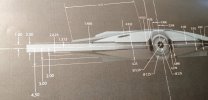
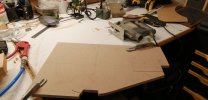
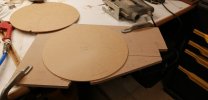
Anyway, I'm working off the plans from RPF made by the falcon nerds over there. I finally got around to figuring out how to print to the size of the mpc kit.
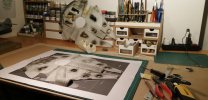
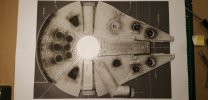
IMG_20220121_235000.jpg

IMG_20220121_234819.jpg

The issues with this kit have been documented many times:
Sidewalls hight
Hull curvature
Mandible size
Mandibles Accesport size and placement
Dish size
Cockpit tube size
And more

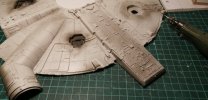
I have to say tho, the diameter of the cockpit tube isn't really off. It's just too long. Well and it kind of flattens near the hull.
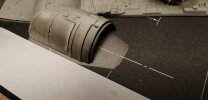
IMG_20220121_234829.jpg

If I align it to the print, the diameter is spot on.
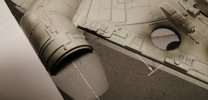
IMG_20220121_234853.jpg

Right now I'm contemplating scratch building the mandible and the jaw box. It may only be necessary to rebuild the top jawbox.

Thanx for following along
 

Attachments

  • IMG_20220120_220354.jpg
    IMG_20220120_220354.jpg
    159.9 KB · Views: 14
Hey guys

The more I mess with this thing, the more I think I'd be easier to just scratch the entire hull... But I still think I'll learn a lot from this thing. So...

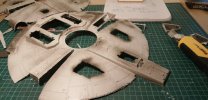
She's all cut up now... Still debating whether to scratch build the jaw box. Atm I'm thinking I can't get around cutting it from the hull, since I'm giving her a lot more curvature. But maybe just rebuild the sides of the jaw box, since they are the worst anyway.
IMG_20220206_153335.jpg

IMG_20220206_153314.jpg

IMG_20220206_135734.jpg

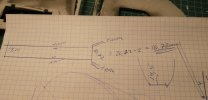
I'm working off of the MF plans from over at RPF.

IMG_20220206_153707.jpg

This basically translates to:
IMG_20220206_153513.jpg

Anyway I guess the next step is to get that center mdf plate routered... Not sure whether I'll have the mandibles detached or integrated in the basic mdf shape.
 
Well...

I never realized that those equipment bays where so off... I mean none of them are placed identical.

Weird.

IMG_20220208_195106.jpg

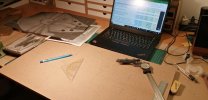
Some casual references while I'm laying out the thing on mdf.

IMG_20220208_195127.jpg

Next...

Cutting this thing out and getting the ribs for the hull curvature dialed in. I think I'll use 6mm mdf for those.
 
Finally some progress.

IMG_20220217_114105.jpgIMG_20220217_114117.jpgIMG_20220217_123136.jpg
I drilled the holes in the mandibles a tad too small, mainly cuz I didn't have a 21 mm drill... 20, 22, 23,24 no problem... But no 21... Lol.

I then decided afterwards to drill them 22 mm figuring I could ad a some sheet plastic if need be.

IMG_20220217_123146.jpgIMG_20220217_123155.jpgIMG_20220217_130645.jpgIMG_20220217_151348_83639728823174.jpgIMG_20220217_151748.jpg

Impressive how totally out of scale those sidewalls are!
 
Thank you

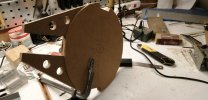
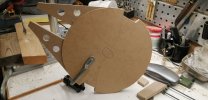
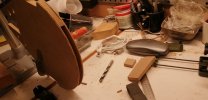
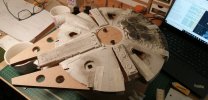
I screwed the center section together... This way I can get to work on filen the hole wooden structure so everything matches.

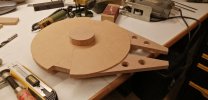
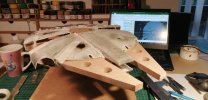
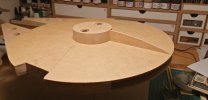
But I just had to dry fit it all to see if it even made a difference... And oh boy does it make a difference. This actually looks like the Falcon now. And I'm happy to report that the diameter matches the plastic... Note the edge af the hull where the mandibles meets it.

I've been considering scratching the jawbox. I mean the dimensions are off... But so is most everything on this kit, but it's a very essential feature and the detail is hideous, looking at it now, it wouldn't bee so hard to rebuild it... I think.

Then again... I might as well just start with a clean hull and go from there... Lol.

I haven't researched the slightest in regards to detailing and greeblies. I'm just trying to get the dimensions right.

The cockpit tube is supposed to be almost level, which means it'll need a lot of attention, probably be easier to scratch as well, considering the detail is really bad anyway.

IMG_20220218_124554.jpgIMG_20220218_124436.jpgIMG_20220218_124359.jpg

Enjoy.
 
BLT, you've gone deep. I flung a cravin' on ya' didn't I!!!

You say you haven't done much "greeble" research? If you need me to, I'll dig through what little I've got? I actually think there are a couple parts maps out there somewhere and I might have those?

I do have a bunch of pictures, but I would imagine you've got those too?
It's insane... Every time I stop and look at this I think just stop!

I mean I have a couple of Bandai kits and tamiya tank kits, where the fit is garantied.

I even got to the painting stage on my PBY...

But for some reason this one keeps calling to me.

IMG_20220218_223741.jpg

So stupid... I've been craving a Falcon for so long... And I know the sensible thing would be just buy the PG Bandai one... But there's something to this thing.

And... I do plan on building a bigger one from scratch, when I get around to getting a 3D printer, lol and a comp, cuz my kid got mine.

Anyway... I'll take all the help I can get. I got the parts images from RPF and all those great Falcon threads over there... But if at all possible I'd like to find the most iconic greeblies... Tho I have no idea if 144 scale will work.

So please, anything you got, will be greatly appreciated

Thx.
 
Last edited:
No sir. There is no 'stop'. You're doing just fine.

Ok, I'll send some snippets and you let me know if you've seen them. If not, I'll keep sending.

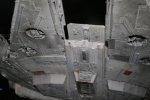
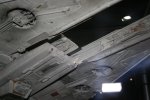
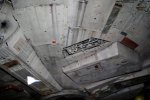
falconbottom2comp.jpgfalconbottom3comp.jpgfalconbottom4comp.jpg
 
Thanx dude...

I have those... I've been collecting images for years, tho it's a long time ago.

That's the 5ft.
 
Yes sir, I figured you may already have whatever I've found, but I figured I'd ask.

I'll keep digging, but may turn up more you already have.
Thank you very much...

Honestly I have no idea if it's even possible to mach any parts at this scale... But I've seen people scratch build insanely detailed things... hmmm at the rate this is going I'm going to end up buying a 3D printer anyway, and then I can model the greebles my self:)
 
Thank you very much...

Honestly I have no idea if it's even possible to mach any parts at this scale... But I've seen people scratch build insanely detailed things... hmmm at the rate this is going I'm going to end up buying a 3D printer anyway, and then I can model the greebles my self:)

Seems to be the trend huh.
 
Seems to be the trend huh.
Well just dreaming...

Not that I can afford a 3D printer atm.

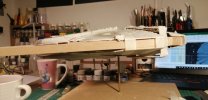
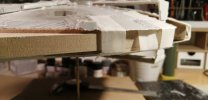
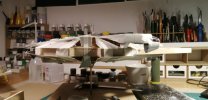
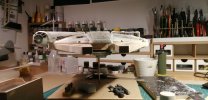
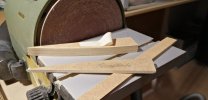
Anyway, I was worried that the sides ended up to high still... So I ground a lot of the thickness away from the top and bottom... Uhm 'buns!' and that seamed to bring the overall hight back to scale with the mandibles... They will be 2,3 mm thicker, when adding the styrene plating and panels.

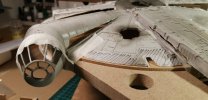
The curvature really shows how much work has to be done on the cockpit tube. Not that the diameter is wrong, but the shape is somehow off... It's too flat. But I think it's best to leave it till I've dialed inn the curvature.

IMG_20220219_003550.jpgIMG_20220219_003459.jpgIMG_20220219_003439.jpgIMG_20220219_003403.jpg

I've seam to remember having read that Phil Tippet said that the tube should be almost horizontal.

That again makes its alignment on the underside wrong.

Well...

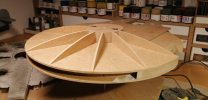
Next step will be to get the 3mm curvature placeholders cut, so I can control the curvature better on the hull.

Coming up.
 
Moving on...

I'll need 12 for each level, top and bottom...

I think I'll do the skeleton for the jawbox and the docking arms.

IMG_20220221_192657.jpgIMG_20220221_192826.jpg

Thinking about it... I may need different shapes for the engine deck, since it's essentially a slice that is layed on top of the hull curvature...

Educational, for when I wanna build a bigger one... Lol.
 
Got sidetracked...


I really ought to lock in the main hull and get to filing the last bits, but I needed to do something else tonight.

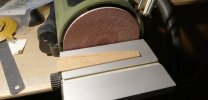
IMG_20220221_222023.jpg

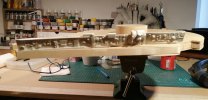
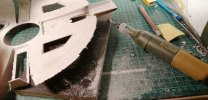
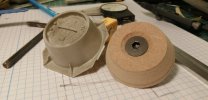
But at least it's proof of concept. See the difference in dimensions. The DIY one is 1 mm under, to accommodate 0,5 mm styrene.
 

Latest posts

Back
Top