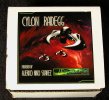
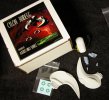
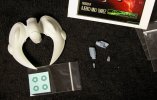
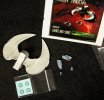
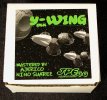
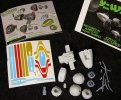
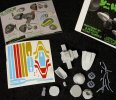
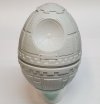
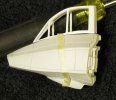
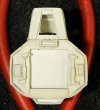
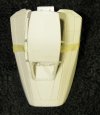
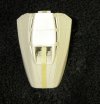
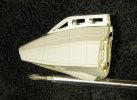
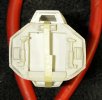
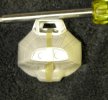
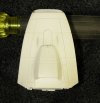
Alright, anyone interested in this, here's a little update.
I cleaned up a few things and filled a couple of those pinholes mentioned earlier. To do that, I've been slightly drilling them with the old pin vice and using the support strands from the printed parts that came with this. Some of the parts seen in the "What's in the box" pictures earlier show that there are a few that have been printed and a couple were still attached to the bed supports (or whatever y'all call them?) since they more closely match the consistency of the resin parts the bulk of the ship is made from. Seems to work fairly well and later sands pretty good.
Now, for another point with this model. The resin this is made from is not a normal resin, at least it certainly doesn't seem that way to me. I could be wrong, but this stuff is VERY much like a hard chalk? I'm not sure what it is, but the closest thing I've ever encountered to this was that old GRP the WARP Eagle was made from. The reason I bring this up is that I would assume some would want to know overall impressions of this kit. As I said before, it's not as much a complaint as it is just to let folks know. The point being, when you get close to edges with things like X-Acto's and sanding, you have to be careful that you don't knock a chip out. I hope y'all know what I'm describing because that's about the best I can do.
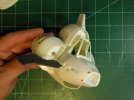
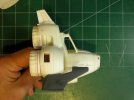
Having fixed up any exposed pinholes I can see, there was also a fair seam line right down the middle of the parts that needed to be smoothed, the worst of this was on that back half because it runs all through those humps and bumps. It's not super mis-aligned, so just picks, X-Acto's and a tiny scraper took care of it fairly well.
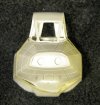
Now, what I did to the decoration. I cut those torpedo tubes I mentioned earlier on the underside of the cockpit. The R2 (R5-R6-R7, whichever one it's suppose to be) was made to just stick to a hump where the R2 hole would be in the Y-Wing.
As seen here:
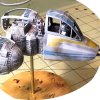
I didn't like that and since I made a new canopy, he woulda stuck up 4 foot above the Y-Wing PLUS he wasn't even in a proper R2 hole, so I chopped a hole for him in the model. That's about it except I added a few more details all over the place...
For better or worse.
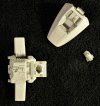
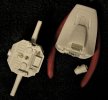
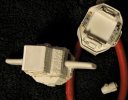
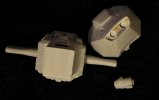
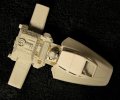
I don't plan to modify much more before calling this one modified enough. I do plan to add just a little more detail on each engine, but not much.
One things for sure, this model can be finish built in one weekend if you build it straight out of the box.
Rob.
