K7 bluebird 1/43 scale build
- Thread starter Keith-7
- Start date
Hello and tank you.Hi and welcome to the forum. Pantherman
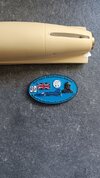
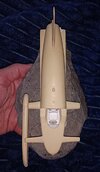
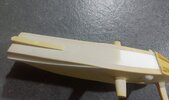
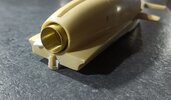
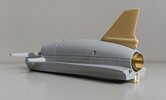
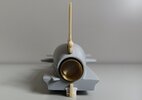
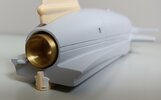
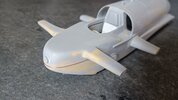
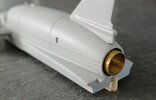
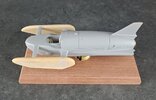
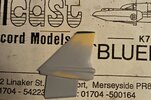
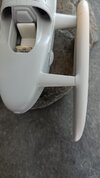
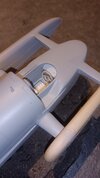
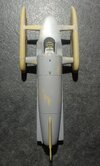
Up until now, I have not found photos of the hydrofoil at the bottom to use as reference, so I just worked with the one that came with the kit. However the rear panel I made for the end of the hydrofoil seemed to be too wide for the speed brake and was forcing the placement of the static rudder (the part on the right side in the photo below) too far off to the right.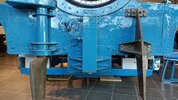
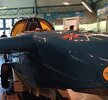
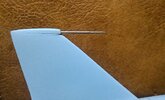
It was obvious the hydrofoil itself was too wide. Then I watched one of the Bluebird restoration videos and they had the bluebird upsidedown, giving a good view of the real hydrofoil.
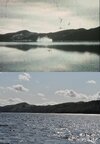
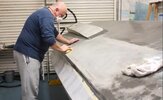
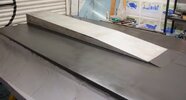
Here is a screenshot and as you can see, the one on my model is too large, so I am reworking it at the moment to make it smaller.
At least the parts on the rear of the boat will line up once it's done.


Last edited:
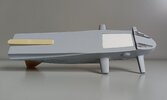
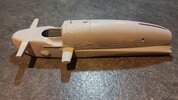
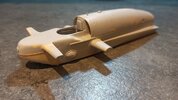
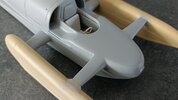
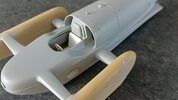
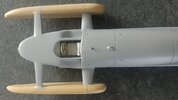
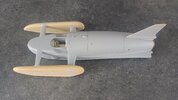
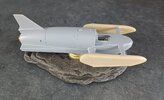
Painting the model with the sponsons on would have been awkward, but filling was needed where the arms attach, to the sponsons, especially the front arms.
So I filled in the big oval shaped recesses in the sponsons where the rear arms slotted in and cut the ends of the rear arms down shorter.
I drilled a hole all the way through the rear arms to the inside of the model and drilled a hole in the filled in area on the sponsons. Brass rod now runs through the rear arms and into the sponsons.
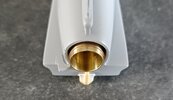
I also drilled a smaller hole all the way through the front arms and into the nose section.
I cut the very ends of the front arms off and glued the small cut off sections into the recesses in the sponsons and did all the filling work that needed doing where the front arms join the sponsons.
I drilled a little further through the glued in pieces into the sponson itself and added long brass rod through the front arms.
The rod running through the front arms lines up perfectly with the little end pieces that are glued and filled into the sponsons, because the hole was drilled before the ends where cut off.
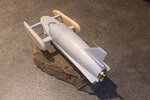
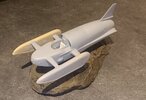
This method has shifted the joint of the front arms to the sponsons a little further in and without the need of filler, so I can paint the model and glue the sponsons on last.

Last edited:
mhuskers88
New Member
- Joined
- Sep 3, 2024
- Messages
- 21
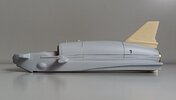
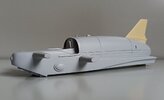
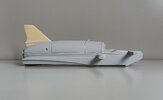
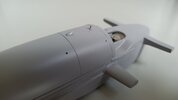
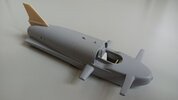
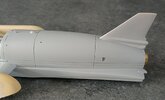
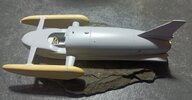
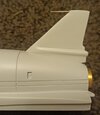
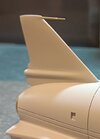
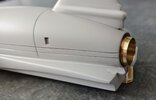
Looks very smooth after just one coatingI've given it a coat of Tamiya fine surface primer so I can see what finer filling work needs doing. It's better than I thought it would after it's first coat.
View attachment 123927
View attachment 123928
View attachment 123929
View attachment 123930
View attachment 123931
View attachment 123932
View attachment 123933
View attachment 123934
View attachment 123935
Similar threads
- Replies
- 144
- Views
- 3K
- Replies
- 124
- Views
- 6K
- Replies
- 327
- Views
- 13K
- Replies
- 10
- Views
- 981

