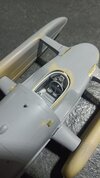
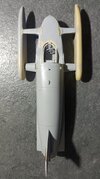
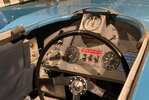
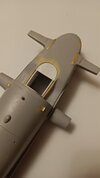
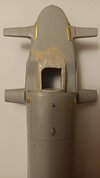
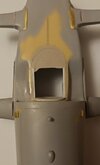
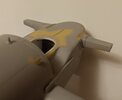
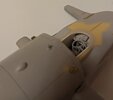
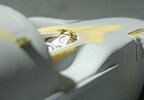
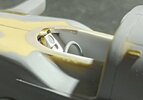
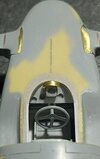
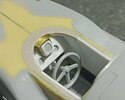
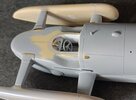
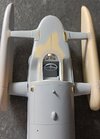
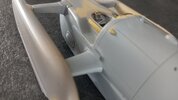
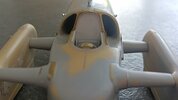
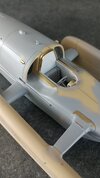
K7 bluebird 1/43 scale build

Started off reading about a kit that was donkey years, old and then got into the meat of your build... Keith, you have taken a run of the mill model and made it into a thing of beauty.
I was worried about those awfull panel lines and so pleased you finally got rid of them...
Once your build has finished I hope you will take it to Coniston and show the people there your build and produce a small booklet of your build for them to see the work and workmanship that has gone into building this iconic machine.
Excellent.
Mike.
 
While there is still a lot to do, I've been putting together some final plans.
I need to make the rudder, it's mechanism and mounts and the stabiliser (which I presume is a sort of fake rudder to equalise drag) and it's mounts. These two parts will really get in the way, as they stick down low below the hull, making it impossible to place the model down on a flat surface, so I want to try and make these two removable.
At least the splash guard arms (if not the complete splash guards) will need making and holes drilled into the body for them.
Seatbelts, a coat of primer, rivet decals, final coat of primer and the two pipes/vents for the top of the "fuselage" before painting the main body.
The sponsons need a lot of work, panel lines and brass parts making. I decided to tackle the sponsons last, as if they are a completely separate project from the rest of the model.

The fin will be the guinea pig and will be fully finished.... painted, have the decals applied and be clear coated before any painting is done to the rest of the model. The idea being, if something goes wrong with the painting process, I should be able to find some new union jack decals if needed and only have a small part of the model to restore.
 
There were couple of things I wasn't happy with.
The brass frame at the back of the cockpit should be on level with the top of the fuselage, but I had a slight step down to the frame.

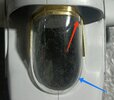
Another problem I was aware of was the rear frame of the canopy was too thick.
The frame that's moulded into the canopy is hard to see in this photo, but the point of the red arrow is on it. The little white line indicates how thick that frame is. By the time that's painted blue, it would be quite a chunky looking frame.
The simple solution would be to trim more off the back of the canopy, making the frame thinner, but then the canopy would be positioned further back. As indicated with the blue arrow, the opening of the cockpit is preventing the canopy from being moved further back.

IMG_20241008_220742.jpg
 
As well as the cockpit opening being too big to be able to shift the canopy further back, the opening was a bit more to the left.

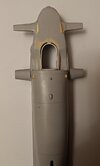
Below is the solution I've come up with.
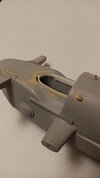
I made the opening smaller using a plastic strip. I will fill in the void with body filler. The plastic strip will give a nice even edge for the filler. The strip has also corrected the uneven opening which was off to the left a little.

IMG_20241009_050928.jpg

IMG_20241009_050042.jpg
 
Last edited:
The instrument panel is now repositioned.
I purposely glued in the plastic strip very slightly proud (better than being too low). I will level it with the nose when I blend the filler in.

I also completely flattened the back wall of the cockpit where the headrest was, removing the cast in protruding panel which always bugged me a bit. I've replaced it with plastic card which is much cleaner looking. I will make a new panel for around the headrest later.

IMG_20241009_055421.jpg

IMG_20241009_065856.jpg
 
I made the mistake of rushing into correcting the cockpit opening, without thinking it through properly.
The lip around the front of the opening is very thin, as seen here.
The plastic strip I added to bring the opening further back was too thick and square.

IMG_20241011_055847.jpg
 
I started again.
This method gives the filler a good strong base, whereas before there was none.
The scratch lines in the plastic here are to help the body filler bond well.

IMG_20241011_060613.jpg
 
Here is the filler added.
I also made new one piece walls at each side of the cockpit.
These new walls are carefully shaped under the the plastic sheet that's been filled, to give that piece a lot of extra strength.

IMG_20241011_032713.jpg
 
The filler sanded and marked with pencil where the front of the canopy will be, before cutting out the opening.
The lip around the front of the opening is much thinner now like it should be

IMG_20241011_061451.jpg

IMG_20241011_061554.jpg
 
I may need to move the instrument panel a touch further back, but I'm waiting until the brass frame at the back of the cockpit has been replaced first and seeing where the canopies final position will be, as if I have to cut the opening a little more forward, then the instrument panel might not need moving.

IMG_20241011_062214.jpg

IMG_20241011_062314.jpg
 
Here are the new cockpit walls. I much more happy with them. Some detail will be added to them later.
Ignore the rough edge to the filler. I've just done some spot filling of any pin holes in the filler and haven't sanded it smooth again yet.

IMG_20241011_063145.jpg

IMG_20241011_063109.jpg
 
Please ignore all the dust from sanding here in these pics.

I've reposition the instrument panel on the removable cockpit floor, so it lines up correctly with the modified cockpit opening.

The steering column has also been repositioned, but the new hole for it hasn't been drilled all the way through yet, so the steering wheel is sticking out too far here.

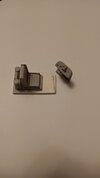
I made the central instruments glare shield out of brass. The little brass bracket for it doesn't need glueing, as it grips the instrument tightly enough. So the glare shield is even adjustable.

IMG_20241013_034517.jpg

IMG_20241013_034412.jpg

IMG_20241013_034908.jpg

IMG_20241013_034556.jpg
 
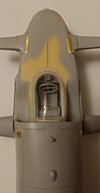
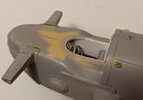
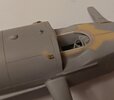
The brass work around the cockpit has been redone.
The rear of the canopy slots in, between the inner and outer brass frames.

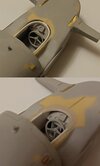
I also redone the glare shield for the speedometer, making it's bracket a little nicer than before.

IMG_20241014_150854.jpg

IMG_20241014_150930.jpg

IMG_20241014_151004.jpg
 
Back
Top