1/144th Prometheus scratch build
- Thread starter The Nylon Gag
- Start date
The Nylon Gag
New Member
- Joined
- Nov 14, 2011
- Messages
- 829
Evenin all,
S'bin a while peeps
Hope everybody is groovy
Thanks for stopping by and thanks for your comments guys, it really is appreciated.
Details
Details
Details
Thats what i've been at at......
DETAILS
Take a look see......
Started to get Tom, Dick (AKA Nemo) and Harry up to the same stage as the master
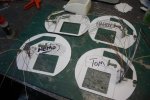
Look, Harrys naked
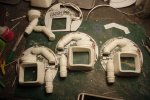
Second phase on the master
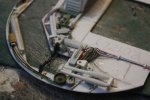
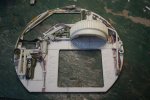
Had to cut the top ring on the main engine body to accept the square thingy

Tubes for the main pipe and the bullet shaped thingy
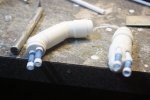
Had to cut a relief in the the side of the main engine body to get the buttet into a good position
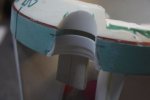
Assembled
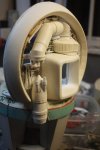
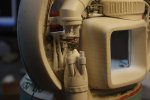
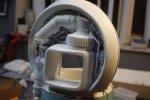
Some details
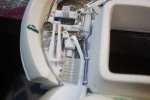
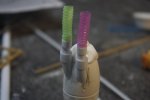
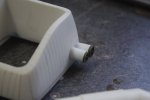
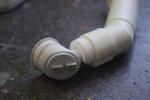
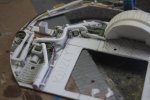
Then it was Tom, Neno and Harry's turn for details

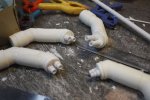
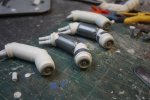
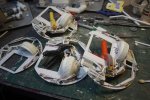
And this is where i'm at right now
I'm happy with the direction
Better start thinking about the final light rig
Take care folks
Gag
OUT
S'bin a while peeps
Hope everybody is groovy
Thanks for stopping by and thanks for your comments guys, it really is appreciated.
Details
Details
Details
Thats what i've been at at......
DETAILS
Take a look see......
Started to get Tom, Dick (AKA Nemo) and Harry up to the same stage as the master

Look, Harrys naked

Second phase on the master


Had to cut the top ring on the main engine body to accept the square thingy

Tubes for the main pipe and the bullet shaped thingy

Had to cut a relief in the the side of the main engine body to get the buttet into a good position

Assembled


Some details


Then it was Tom, Neno and Harry's turn for details


And this is where i'm at right now
I'm happy with the direction
Better start thinking about the final light rig
Take care folks
Gag
OUT
The Nylon Gag
New Member
- Joined
- Nov 14, 2011
- Messages
- 829
Ello, Ello, Ello,
How are we all?
Appreciate you guys for stopping by.
Enough chat on with the pics
Added some more pipe work
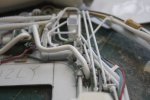
Its for me
Chopper 2
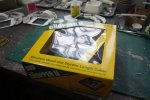
Added the pipe work to all four assemblies
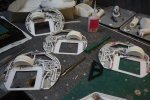
Made a master then started on the other three inner detail pieces
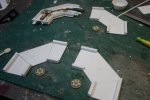
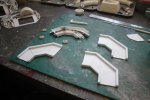
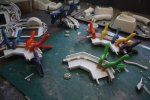
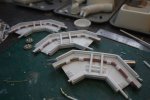
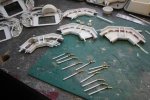
Finished
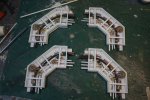
Re-made the large tubes, i wasn't happy with the cast ones, too many bubbles.
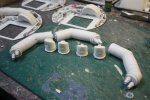
Added these thingies
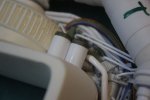
Did a lot of filing and fitting to get them to fit, still at the dry fit stage
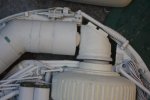
Tom, Dick and Harry
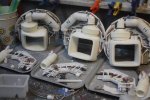
The whole gang
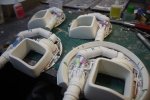
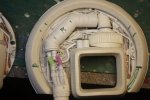
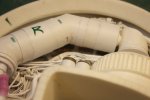
Look what i made for a little dio i'm making
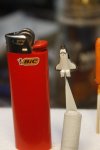
Anyhooo,
Thats about it so far folks
Till next time
Gag
How are we all?
Appreciate you guys for stopping by.
Enough chat on with the pics
Added some more pipe work

Its for me

Chopper 2

Added the pipe work to all four assemblies

Made a master then started on the other three inner detail pieces


Finished

Re-made the large tubes, i wasn't happy with the cast ones, too many bubbles.

Added these thingies

Did a lot of filing and fitting to get them to fit, still at the dry fit stage

Tom, Dick and Harry

The whole gang


Look what i made for a little dio i'm making

Anyhooo,
Thats about it so far folks
Till next time
Gag
MrNatural
my head is falling off my head
- Joined
- May 27, 2009
- Messages
- 983
I haven't been on the forum for a while, its been over a year, I just decided to check in and I saw this thread. Holy cow.. Your work is very inspiring, been in a long time modeling rut, life has just consumed me. After looking through this build I felt so inspired, i've been working on kits all day. You are a true artist my friend. Keep it going.
The Nylon Gag
New Member
- Joined
- Nov 14, 2011
- Messages
- 829
Evenin All,
Cheers guys
Quick teaster vid
[youtube]https://www.youtube.com/watch?v=4nm0HNUMBcE[/youtube]
Gag OUT
Cheers guys
Quick teaster vid
[youtube]https://www.youtube.com/watch?v=4nm0HNUMBcE[/youtube]
Gag OUT
The Nylon Gag
New Member
- Joined
- Nov 14, 2011
- Messages
- 829
Ello,
So whats been happening, not much to be honest, zero hours in June and only 11 in July.
Think my mojo was lost.
Think i got it back
Lets see.
Thanks for the positive vibes dudes
On with the show
So after the detail panels were finished i had to get all the inner walls to the same stage
This is the main back support
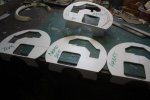
Cut the outer rings
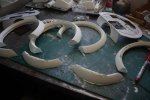
Group picture

Then started work on the small additional detail panel that i realised i would need to fill a void
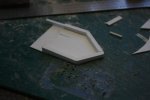
X4
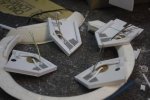
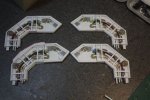
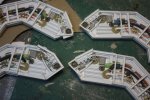
dry fit
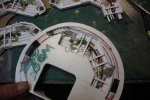
Ready for primer
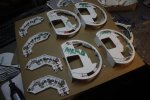
Made some small ones again to fill gaps and add depth and interest
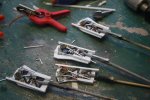
Then it was time to move on to the nozzel internals
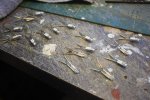
Started with small vector actuators

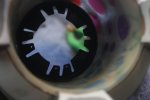
This is the vector thrust bulkhead made from a mouthwash two pack carry handle, separated and cleaned up, drilled to receive the actuators
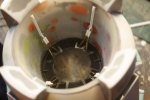
Added T and U channel
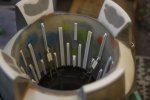
And thats about it so far
Did manage to finish my little shuttle launch side project
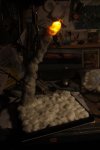
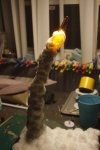
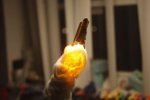
Thats it for now kids
Take care
Gag
So whats been happening, not much to be honest, zero hours in June and only 11 in July.
Think my mojo was lost.
Think i got it back
Lets see.
Thanks for the positive vibes dudes
On with the show
So after the detail panels were finished i had to get all the inner walls to the same stage
This is the main back support

Cut the outer rings

Group picture

Then started work on the small additional detail panel that i realised i would need to fill a void

X4


dry fit

Ready for primer

Made some small ones again to fill gaps and add depth and interest

Then it was time to move on to the nozzel internals
Started with small vector actuators


This is the vector thrust bulkhead made from a mouthwash two pack carry handle, separated and cleaned up, drilled to receive the actuators


Added T and U channel

And thats about it so far
Did manage to finish my little shuttle launch side project


Thats it for now kids
Take care
Gag
Similar threads
- Replies
- 4
- Views
- 982
- Replies
- 2
- Views
- 183
