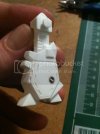
1/170 Armored Valkyrie

MrNatural

my head is falling off my head
Joined
May 27, 2009
Messages
983
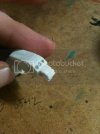
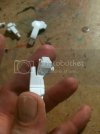
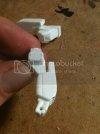
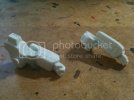
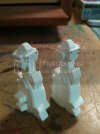
While im savin up for a new compressor thought I'd start a little build to keep my mind occupied. So im gonna attempt this old ARII macross kit.

When I say "little build" I mean LITTLE! This is the smallest giant robot I have attempted thus far.

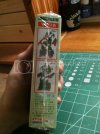
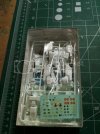
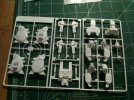
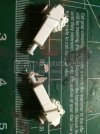
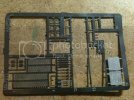
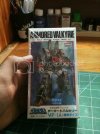
Just looking at the box i thought "What could possibly be in here?" surprisingly a fair amount of parts they all fit on a single sprue and the sprue was then folded in half to fit inside the packaging kind of interesting.
001-32.jpg
002-33.jpg
003-27.jpg
004-23.jpg
005-23.jpg
007-17.jpg
006-20.jpg

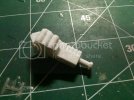
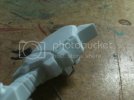
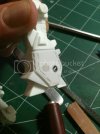
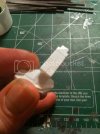
No shortage of seam filling to be done on this little guy definitely going to have to re-scribe some detail too
011-6.jpg
Seam nightmare
005-24.jpg
a few hours of careful filing
010-6.jpg
going to swap out some of the detail with some aftermarket stuff
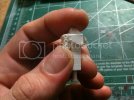
006-21.jpg
008-15.jpg
009-10.jpg
A lot of tricky seams to be expected 8) I've just been using CA for all the filling thus far
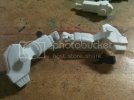
012-8.jpg

until next time fellow modelers...
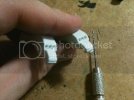
 
Cool! You're already close to vanquishing those seams with the CA glue. Nice one!

Could I ask, is that thick CA glue you're using in the seams, or thin stuff? Does it make a difference?
 
I have built one of these in the dark distant past. Still have it. That was before I knew about paint and seam filling.

Watching with interest!
 
Thanks guys appreciate it ;D

Igard-I use zap-a-gap medium CA gap filling formula for the bulk of my tiny seam filling in conjunction with CA Activator.

I am really having fun with this little guy. He has virtually no detail at all so i have just been trying to add as much as I can

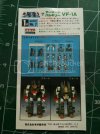
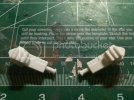
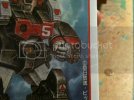
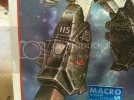
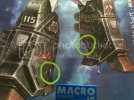
As you can see on the box art, the arms appear to have cannon laser things which are no where to be found on the kit
002-34.jpg
kit part
003-28.jpg
so i drilled some holes
006-22.jpg
whipped out some evergreen rod and some spare photoetch stuff I had from some 1/72 tanks
004-24.jpg
001-33.jpg
trimmed out some of the mesh looking PE parts and attached it to the styrene rod
007-18.jpg
008-16.jpg
jammed em' in there
009-11.jpg
want to add some bolts...
010-7.jpg
just cut up some more styrene rod and made some bolts
013-3.jpg
started scribing some more panels just to add something..
014-2.jpg

well thats all for tonight. getting ever closer to compressor day...
 
Thanks for the CA glue info, Mr Natural.

An excellent work in progress all round! :)
 
Thanks again guys. Yall are awesome!

Well im thinking another week maybe two and i'll have enough scratch to order my new air compressor. Its so frustrating not being able to paint :p

Anyways some more progress on this wee little robot.

I got the arms looking how I want
006-23.jpg

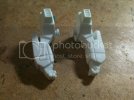
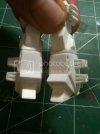
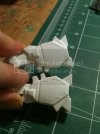
The legs are glued up and seamed out still working on them
005-26.jpg

Trying to replicate some of the detail on the box art
008-17.jpg

so ive just been slowly carving out these holes each one takes forever :p
009-12.jpg

catch yall later!!
 
wow sweet job I love macross kits nice detail your giving it keep it up just cant wait to see it painted
 
MrNatural said:
Thanks guys appreciate it ;D

Igard-I use zap-a-gap medium CA gap filling formula for the bulk of my tiny seam filling in conjunction with CA Activator.

I am really having fun with this little guy. He has virtually no detail at all so i have just been trying to add as much as I can

As you can see on the box art, the arms appear to have cannon laser things which are no where to be found on the kit

Those are actually (supposed to be) missiles.

Nice work on this. I once saw a nice build of the 1:200 scale version of this subject - modified to have all the missile hatches (shoulders, legs, chest) open. :) I may attempt that one day...
 
tetsujin-thank you for the info. I cant imagine doing a 1/200 valk with all those mods. I was thinking about trying to open up the missile hatches on the upper arms and trying to fab some sort of weapon for him to hold in one of the hands.

just been tinkering away at this thing. been getting a little scribe happy :D

finished carving in some detail on the legs
014-3.jpg

these lines are not accurate at all just thought I would take a little artistic license and try something different
017-3.jpg

wanted to add this little detail
012-10.jpg

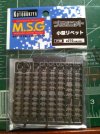
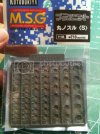
dug out some more kotobukiya spare parts
016-2.jpg

here was my first try. It was not until I did both legs that I realized I put them in the wrong spot :mad:
018-2.jpg

so I called it a loss and filled them up and did it again
019-2.jpg

thats all I got for now

later on
 
Back
Top