NecronautDrummer
Member
- Joined
- Sep 25, 2011
- Messages
- 804
I'm starting a new project for the new year. This is Kintetic's re-box of the giant Academy 1/32 F/A-18 Hornet. It has the decals for one of the planes at the nearest Air Force fighter squadron, 409 Sqn in Cold Lake, Alberta, Canada. I'm chucking some Aries resin cockpit, exhausts, and Rhino wheels at this, in addition to a bunch of Eduard brass.
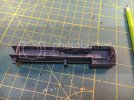
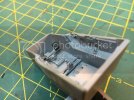
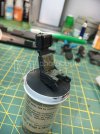
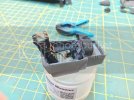
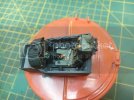
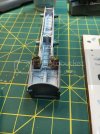
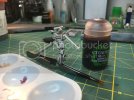
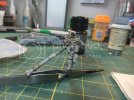
The resin cockpit will sit atop this forward landing gear. I assembled it first to start the dry-fitting process and to see where and how much to trim off the casting blocks of the cockpit tub.
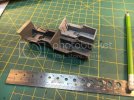
I took some measurements and some guesses while comparing the profile, height, width, etc. of the kit-included styrene cockpit tubs. The styrene tub then got chucked into the spares bin, to be cannibalized for the circuitry bay scratch-build for my Deagostini Falcon interior.
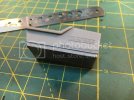
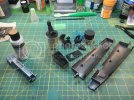
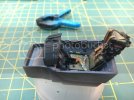
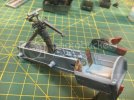
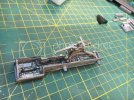
I marked the cut lines on the casting block for the resin tub...
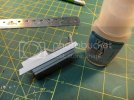
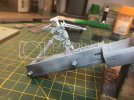
...then glued a couple strips of styrene to get the tub to sit level...
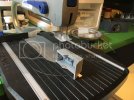
...so I could cut it vertically on my scroll saw.
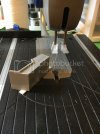
These first few cuts...
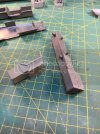
...led to a few more cuts...
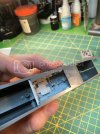
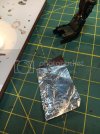
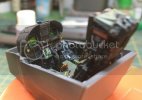
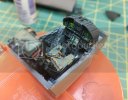
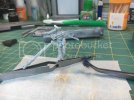
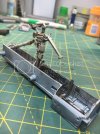
...but the cockpit now fits.
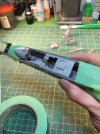
Now that the hard part is over, I can get to dry-fitting the rest of the big resin parts. The sidewalls, displays, and rear seat cover are all dry-fitted successfully. Tomorrow, I'll be moving onto the rudder pedal assemblies and the joystick.

The resin cockpit will sit atop this forward landing gear. I assembled it first to start the dry-fitting process and to see where and how much to trim off the casting blocks of the cockpit tub.

I took some measurements and some guesses while comparing the profile, height, width, etc. of the kit-included styrene cockpit tubs. The styrene tub then got chucked into the spares bin, to be cannibalized for the circuitry bay scratch-build for my Deagostini Falcon interior.

I marked the cut lines on the casting block for the resin tub...

...then glued a couple strips of styrene to get the tub to sit level...

...so I could cut it vertically on my scroll saw.

These first few cuts...

...led to a few more cuts...

...but the cockpit now fits.

Now that the hard part is over, I can get to dry-fitting the rest of the big resin parts. The sidewalls, displays, and rear seat cover are all dry-fitted successfully. Tomorrow, I'll be moving onto the rudder pedal assemblies and the joystick.

