You are using an out of date browser. It may not display this or other websites correctly.
You should upgrade or use an alternative browser.
You should upgrade or use an alternative browser.
1/35 Tamiya King Tiger ( Ardennes Front )
- Thread starter hummingbird
- Start date
hummingbird
New Member
- Joined
- Nov 15, 2012
- Messages
- 127
geegad said:love the camo work and the figures look real nice
Thank you geegad ..
wyoroy said:Looking good.
thanks
Ravhin said:This cat is looking better and better.
Trying my best not to make it worse and worse .. LOOL ... thanks for the comment
Jose Luis Lopez
New Member
- Joined
- Aug 29, 2012
- Messages
- 84
Nice finish with a not easy camo
Just an opinion, airbrush your figures with matt varnish and they´ll look much better!!!
Just an opinion, airbrush your figures with matt varnish and they´ll look much better!!!
hummingbird
New Member
- Joined
- Nov 15, 2012
- Messages
- 127
Jose Luis Lopez said:Nice finish with a not easy camo
Just an opinion, airbrush your figures with matt varnish and they´ll look much better!!!
I have been thinking about that .. I can't decide on that ..
I can blast the loader with matt varnish ...
But for the Commander, IF i spray with matt varnish, the glossy finish of his leather uniform would go away ...
I don't think I can risk that for the commander
Jose Luis Lopez
New Member
- Joined
- Aug 29, 2012
- Messages
- 84
I use Marabu acrylic matt varnish, it´s great! I apply it very diluted with my airbrush. Of course, just over clothes and matt parts. Leather is different. 
hummingbird
New Member
- Joined
- Nov 15, 2012
- Messages
- 127
Finally have some days off to do some final steps on this cat -
I did the chipping all around the vehicle -
The heaviest area -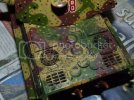
after that -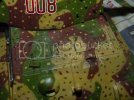 on the hatches. I decided to put some curved scratches as the hatches are swung open instead of lift open so yeah ..
some chips on the rear fenders
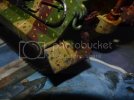
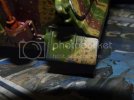
Front Fenders
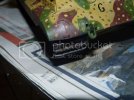
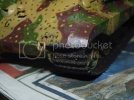
on the wheels -
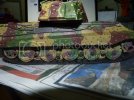
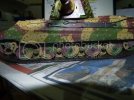
Chips on the commander hatch
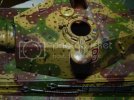
chips on the loader hatch and the other small little hatch -
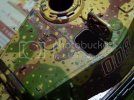
on the rear escape/re-supply hatch -
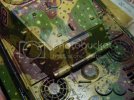
on the gun mantlet where the edge of the turret and the mantlet touches
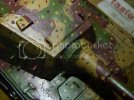
some amount of chippings along the barrel -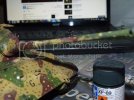
both side but I only took one side ..
some polished steel effect using Tamiya flat aluminium
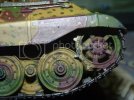
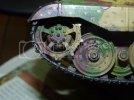
( I might need to rub a pencil on them for a metallic sheen )
and i followed them with some rust effects on the exhaust -
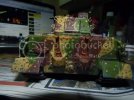
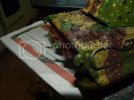
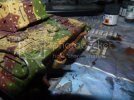
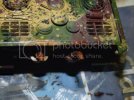
IF you guys have noticed, I didn't make the rust as dark as how I did on the Panther as ( as much as I have read and judging by the time of introduction to the battle of the bulge)this vehicle is most likely to be only 4 months ( at most ) so I wanted to keep the rust more fresh, hence, a brighter tone and because of that, I also kept the chipping to a minimum except the busy and maintained engine area ...
But then a good friend of mine pointed out that the curvy chipping and scratch lines looks kinda which confirmed the doubt I already had so I removed them, just put on some normal chipping and moved on with further stuffs..
The contrast is stark so I applied two more layer of tan and brown filters respectively and followed that up with snow effects using Game-Workshop snow effect
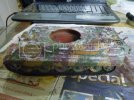
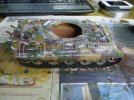
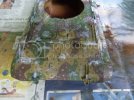
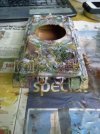
That's the hull and here comes the turret
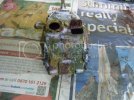
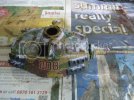
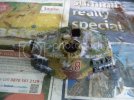
The Entire vehicle covered in snow
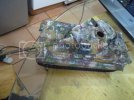
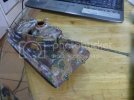
I checked some reference photos and some reference dioramas and build and during that time, tanks operating in the Ardennes Forest has some kine of chocolate/dark brown colour mud ( I could be wrong) so I tried my best to reproduce them at much as possible. I also tried my best to put in some snow in the muds.
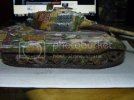
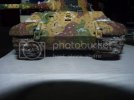
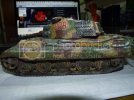
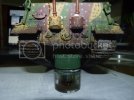
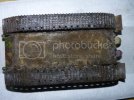
I asked some of my friends around and they said German panzer usually goes with Reflective green on their scopes so I run to the local hobby store and bought my a bottle of Vallejo Reflective Green and slap some on the scopes-
on the driver and loader
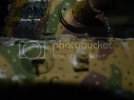
on the gunner?? ( I think it is gunner's scope )
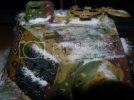
All around the commander copula (this picture shows just the back but the above picture should show the front )
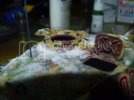
and Obviously, I am building 008 so I had to make a SternAntennae. Sadly, I used a rather thick diameter rod for the star shaped end and it ended up rather large compared with vehicle in scale but Im happy it even came out this way .. IT was a hard thing to make
anyway, here is a picture showing both of the antennae
And that's that for this update.. you could even say this could be the final update. I was going to take the launch photos today but I was busy so Maybe tomorrow or later.. ...
Thanks for looking guys
I did the chipping all around the vehicle -
The heaviest area -

after that -
 on the hatches. I decided to put some curved scratches as the hatches are swung open instead of lift open so yeah ..
 some chips on the rear fenders


Front Fenders


on the wheels -


Chips on the commander hatch

chips on the loader hatch and the other small little hatch -

on the rear escape/re-supply hatch -

on the gun mantlet where the edge of the turret and the mantlet touches

some amount of chippings along the barrel -

both side but I only took one side ..
some polished steel effect using Tamiya flat aluminium


( I might need to rub a pencil on them for a metallic sheen )
and i followed them with some rust effects on the exhaust -


IF you guys have noticed, I didn't make the rust as dark as how I did on the Panther as ( as much as I have read and judging by the time of introduction to the battle of the bulge)this vehicle is most likely to be only 4 months ( at most ) so I wanted to keep the rust more fresh, hence, a brighter tone and because of that, I also kept the chipping to a minimum except the busy and maintained engine area ...
But then a good friend of mine pointed out that the curvy chipping and scratch lines looks kinda which confirmed the doubt I already had so I removed them, just put on some normal chipping and moved on with further stuffs..
The contrast is stark so I applied two more layer of tan and brown filters respectively and followed that up with snow effects using Game-Workshop snow effect


That's the hull and here comes the turret


The Entire vehicle covered in snow


I checked some reference photos and some reference dioramas and build and during that time, tanks operating in the Ardennes Forest has some kine of chocolate/dark brown colour mud ( I could be wrong) so I tried my best to reproduce them at much as possible. I also tried my best to put in some snow in the muds.


I asked some of my friends around and they said German panzer usually goes with Reflective green on their scopes so I run to the local hobby store and bought my a bottle of Vallejo Reflective Green and slap some on the scopes-
on the driver and loader

on the gunner?? ( I think it is gunner's scope )

All around the commander copula (this picture shows just the back but the above picture should show the front )

and Obviously, I am building 008 so I had to make a SternAntennae. Sadly, I used a rather thick diameter rod for the star shaped end and it ended up rather large compared with vehicle in scale but Im happy it even came out this way .. IT was a hard thing to make
anyway, here is a picture showing both of the antennae

And that's that for this update.. you could even say this could be the final update. I was going to take the launch photos today but I was busy so Maybe tomorrow or later.. ...
Thanks for looking guys
Similar threads
- Replies
- 11
- Views
- 716
