DavidsScaleModels
Well-Known Member
- Joined
- Sep 16, 2022
- Messages
- 154
NEXT UP – Hasegawa 1/72 P-3C Orion – Commission Build!
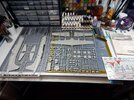
For my next build and the first of a few commission builds I will be building the Hasegawa/Minicraft 1/72 P-3C Orion. The P-3C is an anti-submarine warfare patrol aircraft for the U.S. Navy. The scheme of this build is that of VP-8 known as "The Flying Tigers" when they were stationed at NAS Brunswick (Brunswick, Maine) during the early 1980's. This is being built for a U.S. Navy Veteran who served with this squadron. All the details will be scratch built and the squadron specific decals will be made by me.
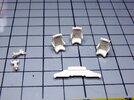
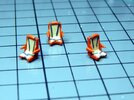
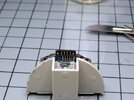
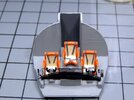
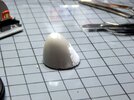
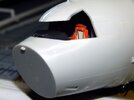
Starting off on the cockpit I needed to first fill in some mold marks on the seats and the cockpit floor. For the seats I used some 3M cloth tape to create the light tan seat pads and the dark grey seat belts. The kit supplied decals for the instrument panel and center console. However these were just outlines of the gauges and control boxes. I made a template of the decals and painted the background with the various colors so when the decals were applied the color was correct. The kit allows for two different versions of the nose cone. The solid one and the other version has a small canopy on the underside. The scheme I am doing has the solid nose so the instructions call out to fill the void with putty. Due to the size of the void I applied putty in layers so that each layer cured correctly. I also added two weights behind the cockpit assembly and one in the nose so that the model will sit correctly on the tricycle landing gear.
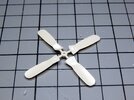
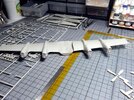
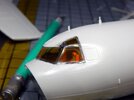
The fuselage was then assembled. Surprisingly for such an old kit the fit was very good. I then assembled the engines and main wing. The propellers all had mold marks on the backside which required to be filled with putty as well. The only portion of the aircraft that gets painted white is the middle and topside of the fuselage. I installed the windshield which also fit very well. I then began using kapton tape to mask off the windshield sections. I am now working on masking off the areas so I can spray the white section. I still need to clean up the wings and engines so they can be installed onto the fuselage. Then I can mask off the white areas and spray the gull grey. I am also working on the squadron specific decals that I will need to make. I am also going to make a copy of the kit decals just in case I have issues. The kit is from 1979 and the decal sheet looks its age. If the decals start to break apart (especially the larger ones) I will be able to create new copies.
You can see all the photos and details from the start in the build log at: https://davidsscalemodels.com/build-log/1-72-p-3c-orion-of-vp-8/


