Steve Ski
Well-Known Member
- Joined
- Oct 9, 2012
- Messages
- 854
Oh, Bob,…What Were You Thinking?
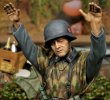
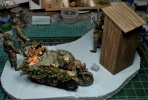
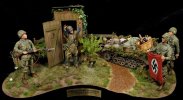
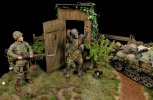
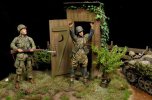
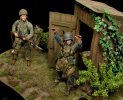
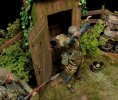
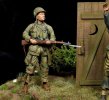
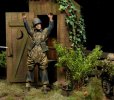
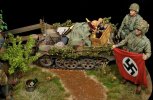
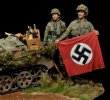
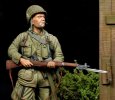
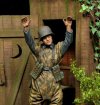
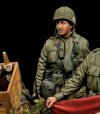
It's been a long run, but not longer than most. We're done with the figures, finally, and Bob has rounded up the crew to wrap up this set of figures. This was my third run at the splinter pattern and it gets easier each time. Once the initial pattern is laid down the rest is just a matter of keeping the liner brush straight when making the splinter strokes. No, it's not easy, but it's just as matter of staying focused on each and every stroke.
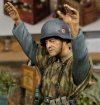
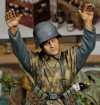
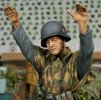
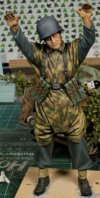
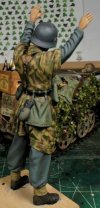
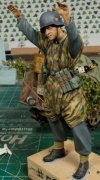
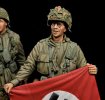
I'm satisfied with the results, so carry on we will,………… The shadows and highlights are a simple matter of blending in some dark oils in the creases and lighter tones of the initial coat base onto the high points. The helmet decals were printed to scale and touched up with oils for more clarification.
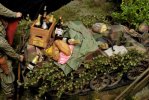
Let's make some Whiskey bottles, Champagne, or even some vino bottles, shall we? Let's make em. Here's how;
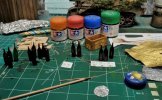
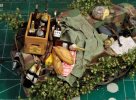
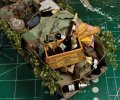
This was a pretty slick way to get a few more extras into the scenario, so just a bit of practice and we're good. Good thing my pretty little woman had some glue sticks in her inventory. After making the bottles I used Tamiya's clear colors to make the bottle tones, simple enough. I ran a search for WWII French bottle labels and printed them up and glued them in place. The possibilities are numerous, but this scale worked for me this time since I've never seen 1/16th or 120mm wine bottle anywhere, just scratch built.
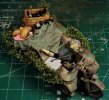
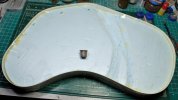
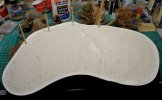
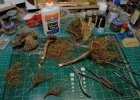
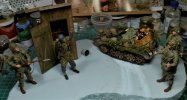
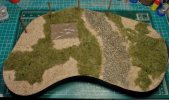
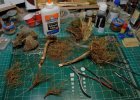
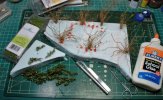
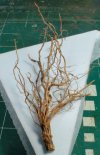
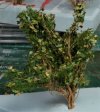
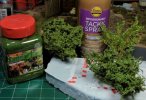
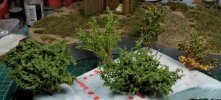
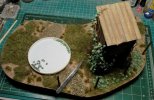
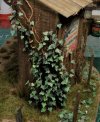
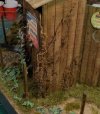
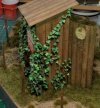
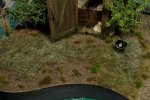
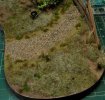
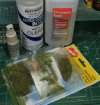
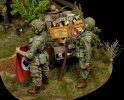
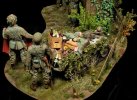
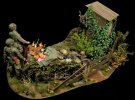
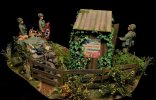
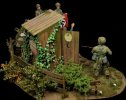
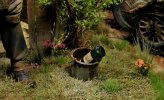
Time for dirt work and veggies, and then the base will be ready for figure placement. Now the show begins, cause if this ain't right, it's all in vain, and we didn't come this far to jack it all up, did we? Ruck On, Bby!
More to follow soon. Cheers, Ski.
It's been a long run, but not longer than most. We're done with the figures, finally, and Bob has rounded up the crew to wrap up this set of figures. This was my third run at the splinter pattern and it gets easier each time. Once the initial pattern is laid down the rest is just a matter of keeping the liner brush straight when making the splinter strokes. No, it's not easy, but it's just as matter of staying focused on each and every stroke.


I'm satisfied with the results, so carry on we will,………… The shadows and highlights are a simple matter of blending in some dark oils in the creases and lighter tones of the initial coat base onto the high points. The helmet decals were printed to scale and touched up with oils for more clarification.
Let's make some Whiskey bottles, Champagne, or even some vino bottles, shall we? Let's make em. Here's how;

This was a pretty slick way to get a few more extras into the scenario, so just a bit of practice and we're good. Good thing my pretty little woman had some glue sticks in her inventory. After making the bottles I used Tamiya's clear colors to make the bottle tones, simple enough. I ran a search for WWII French bottle labels and printed them up and glued them in place. The possibilities are numerous, but this scale worked for me this time since I've never seen 1/16th or 120mm wine bottle anywhere, just scratch built.
Time for dirt work and veggies, and then the base will be ready for figure placement. Now the show begins, cause if this ain't right, it's all in vain, and we didn't come this far to jack it all up, did we? Ruck On, Bby!
More to follow soon. Cheers, Ski.

