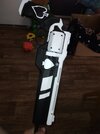
Ace of Spades From Destiny 2

wjbrandel

Well-Known Member
Joined
Mar 4, 2021
Messages
596
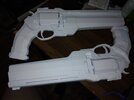
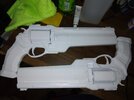
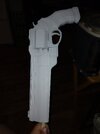
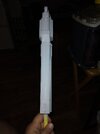
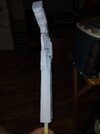
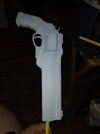
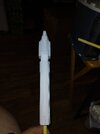
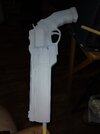
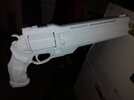
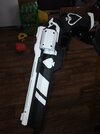
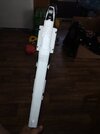
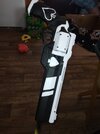
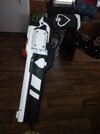
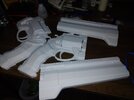
Got a commission to do. 2 Ace of Spade guns from a video game called Destiny 2. A coworker 3D printed 2 guns (1 for him and one for his brother) and asked me to put them together and paint them.
20241012_175202.jpg

20241012_175222.jpg

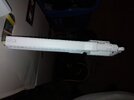
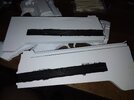
Clean up was a pain with all of the supports and I have already started the paint process by painting the barrel black. next step is to assemble the guns. It should be easy, only 4 parts and he provided the glue for it. However I am not looking forward to seam filling.
 
Got a commission to do. 2 Ace of Spade guns from a video game called Destiny 2. A coworker 3D printed 2 guns (1 for him and one for his brother) and asked me to put them together and paint them.

View attachment 127173

View attachment 127178

Clean up was a pain with all of the supports and I have already started the paint process by painting the barrel black. next step is to assemble the guns. It should be easy, only 4 parts and he provided the glue for it. However I am not looking forward to seam filling.
If you have access to bondo putty you can thin it down with acetone and spread it over the print lines to cut down on your sanding. you can also use filler primer as well to assist.
 
What's the material, WJ? Are they printed in styrene, some variety of resin?
It is printed in PLA filiment.
If you have access to bondo putty you can thin it down with acetone and spread it over the print lines to cut down on your sanding. you can also use filler primer as well to assist.
With the print lines, Joe doesn't want the lines blended. he likes the lines, said it looks great with the lines.

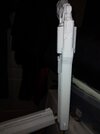
I got the parts together and here is how it looks.

20241014_153409.jpg

A little more sanding and a little more putty and the seams will be filled.

One bad part is that they won't fit easily in my paint booth, so I need to get some rattle cans to paint them
 
A little update. No photos, I'll try to get some up tonight or tomorrow.

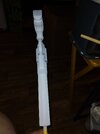
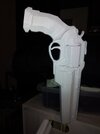
I have filled and sanded the seams, and they are looking good so far. On one of them there is a little more filling and sanding to do. Some how there were voids in the putty I used. I've never encountered that before, I think it is because I hade to use so much to fix a mistake I made.
 
As promised-photos

20241019_182626.jpg
Finished sanding and filling the seams. Some of the seams were a fair size, up to 1-2 mm

20241019_182723.jpg
With this gun, the barrel halves kicked just a bit when I went to clamp the halves together. I saw right away but the glue had already set so the halves were about 2-3mm from being aligned. It was here that I was getting some voids in the large amount of putty I used.
20241019_182734.jpg

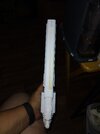
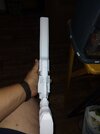
Here the guns have primer on them
20241019_201714.jpg

20241019_201728.jpg

20241019_201744.jpg

20241019_201811.jpg

20241019_201821.jpg

20241019_201833.jpg

20241019_201844.jpg

Next is to get the black and white paint so I can finish the paint job, then a gloss coat over that to seal it all.
 
Back
Top