Junkie
Active Member
- Joined
- Apr 24, 2009
- Messages
- 8,830
Category: Armor
Name of Build: AFV Club M1126 Stryker
Kit manufacturer: AFV Club
Scale: 1/35
Description
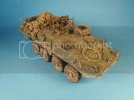
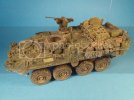
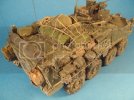
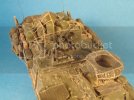
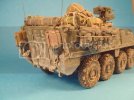
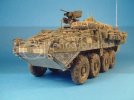
My second build since getting back into the hobby! I added most of the Griffon Models' PE upgrade set to this, resin stowage pieces from Legend Resin, and the anti-reflective periscope stickers from AFV Club.
This is a very large and detailed kit, and I would not recommend it for beginners. Although a few parts were a little soft around the edges and you found ejector pin marks in some unusual places, it's a comprehensive kit all on its own, and would build a fine model in some capable hands. I chose to upgrade the kit with some photo-etch details. The photo-etch increased the difficulty of this kit exponentially. It is not a build for the faint-of-heart, and I lost my mojo on it a couple times during the build (hence the last-minute push to finish).
While I'm a beginner in all aspects, this build made me a much better all-around modeller. All the PE (300+ pieces, I think) tried my patience at times, but it also built up my skill level and work speed. The airbrushing taught me a couple things (stick with the dummy-proof Tamiya for airbrushing, and leave the Model Color for brush work), and it was my first time working with resin. This was also my first time working with dry/wet dust effects. Given the time, I would have done much more oil/enamel rendering. However, I believe that this pretty accurately reflects a Stryker in Iraq during the early years of the war. No slat armor, the newly introduced Digicam patterns, and a green colored vehicle that hasn't seen the inside of a wash bay in some time. Although some may look at this and think "Too much dust!", I think it may actually not have enough! Any picture of an operational Stryker overseas tends to look chalky and yellow from all the paint fading and dust build-up.
Thanks for looking, and as you make your choice in this category, I hope that you all reflect on my growth in skills as a modeller after being at it for less than a year. Happy modelling!
Final Images


