mustang1989
Active Member
- Joined
- Aug 6, 2022
- Messages
- 114
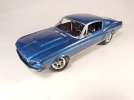
I've been wanting to build another one of these for the last 18 years and I finally got my chance.
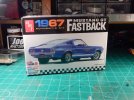
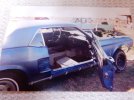
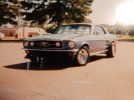
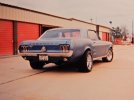
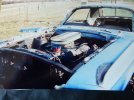
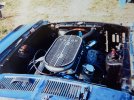
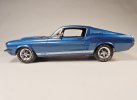
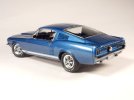
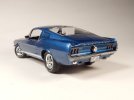
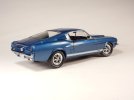
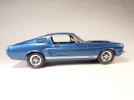
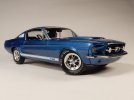
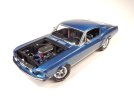
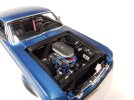
Color is Acapulco Blue from MCW Finishes, Wet Look covers the clear coat. The pad printed tires in this kit are a God send and thanks to Eric Oberhaufer at AMT the change out from the Firestone Super Stock tires that this kit came with got changed out to the Wide O Oval tires you see in the following pictures. Model Car Garage covered most of the PE items that you'll see on this car with PE kit # MCG-2032. Joel at Iceman Collections provided the Cobra air cleaner, HGW Models provided this 1/48 scale REMOVE BEFORE FLIGHT tag hanging from the rearview mirror and the CPC 64F (the same tag that was on Car #3) license plate and plate frame were provided by Thomas at Speedway decals. Throttle linkage, air cleaner wingnut & washer, fuel lines and brake lines were all either fabricated or drawn from PE parts bin. Throttle return spring is an element from an automotive turn signal bulb. Plug wires are from Lex's Scale Modeling and the 650 cfm Holley Double Pumper carburetor was from Shapeways.
The hood scoop is from the AMT GT-350 kit and was graphed onto the stock hood. I also cut out the area of the hood where the scoop was to allow the air cleaner to sit up inside of the scoop from proper hood closure/ seating.
Outside door handles are from Fireball Modelworks, Alclad applied to both and pinned in place.
A good amount of work had to be done to get the front suspension lowered achieve the stance that I wanted and the front wheels had to be moved in ......significantly... to go inside of the wheel wells where they belonged. The rear suspension had to be raised so a light re-aching of the leaf springs is all that took.
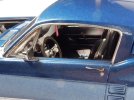
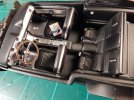
This kit is a good kit overall but there are some notable areas that need mentioning. First off ...the good. The base engine was well represented with only a carburetor change out needed to spice things up a bit. The interior is also well represented with good detail. The aluminum plating on the dash face is a BEAR to replicate on this one as is the door panels. If anyone's interested in how I pulled that off let me know and I'll be happy to tell you how I managed to get through it.
80% of this build was pretty straight forward BUT....the fit between the nose piece and the drivers front fender on these kits is very hard to get flush. I spent all KINDS of time trying to fix the issue and STILL ended up with a slight gap. Test fit--sand-test fit--file--test fit and MORE TEST FIT is required to get this part right. The fuel cap sticks out way too far because it's thicker than it needs to be. I took sandpaper and stuck it into the contours of the tail light panel and sanded it down to what I felt like was the proper thickness. The front and rear bumpers had little braces going down on either side of the license plate area and I don't care for those so I cut those off of both bumpers, stripped the chrome from them, cleaned 'em up and worked the Alclad magic on both.
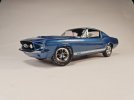
I'm pretty happy with the turnout overall as it's just the look I wanted to get from the build.
Finishing shots:


