Hi guys,
Another progress post.
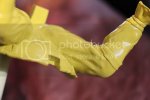
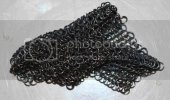
I mentioned previously that I needed to experiment with the chainmail, and I did have a go at it today. First thing I did was wonder what the machine that makes this stuff looks like. Ten points to the guy who invented it! Anyway I tested to see if it would be attracted to a magnet and it wasn't, and it seemed obvious to me that the IM wouldn't spec their own requirements for a material like this, and it looks exactly like the stuff that gloves are made of if you work with filleting fish or changing doctor blades on a paper making machine. (I've done both!). So I'll take a punt and say it's 316 stainless steel. Two things need to be considered here, If you want to make it look tarnished and old and corroded, that's not easy and the other thing is that it will be hard to cut! Don't (if you get a model like this) try to cut it with lovely sprue cutters or Dad's shiny wire cutters. Kill two birds with one stone and heat the chainmail up with something mega hot (I used Mapp gas in a blowtorch) and leave it to anneal. It takes on a "forged" look and glistens when you move it around in the light, has a blue/dull/charcoal/sparkly look. The following photo will reveal exactly what I'm talking about if I was a good photographer, which I'm not. Annealing it will make it easier to cut too.
On other resin kits I have made the seam lines on the parts are very easy to see because they look like the San Andreas fault line. Not this kit! You have to search for them and then wonder how they managed to do such a good job.
This was the worst one.
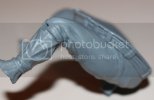
By the way my kit is numbered 44/100 so I got in quick and probably have something pretty fresh.
Generally I stuff around a lot when making models, I have been known to fully paint a figure and assemble it then bust it up, strip it and start again. That's what makes this hobby fun for me. Thinking about what the model will look like and what you end up with, for me, should be the same thing. It's edumacational.
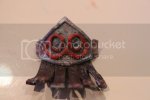
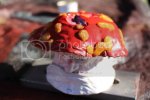
Here's a better photo of the Toadstool after primer.
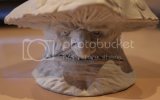
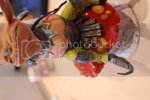
Experimenting with the "blisters" On the toadstool. I'm using CA glue and bak.ing soda to build up the zits and then tinting them with ink.
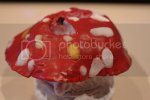
I like the sparkly piss coloured sheen they have. Makes the toadstool look a bit crook. The red helmet of the mushoom needs stacks of work. At least a few washes to dull it back.
More soon guys,
Love your work.


