Quaralane
Well-Known Member
- Joined
- May 22, 2009
- Messages
- 11,263
Okay, for the next build, I'm going to be starting with the re-issue of the old AMT Enterprise Command Bridge kit from Round 2

I have plans for this, though, that should make it a fairly unique model when I get done.
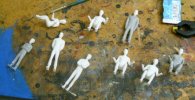
To fit those plans, I have picked up a copy of the older version of the kit to supply needed chairs, a second turbolift, and more figures.
I'll also be using the photoetch set that ParaGrafix has released for this model
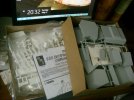
We start with the "proof of start" pic, showing the unbuilt bits and pieces in the boxes
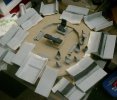
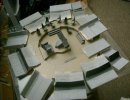
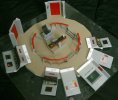
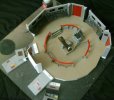
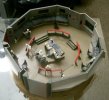
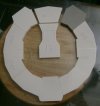
Roughing in the layout for my proposed "Phase II" configuration.
I've decided to add the second turbolift as we saw in The Motion Picture.
As can be seen, though, it results in a gap between the elevator deck plates and the deck plate for the science console.
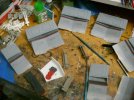
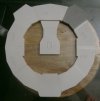
To remedy this, I cut filler sections from the deck plate that I wasn't going to be using and spliced them into the gaps.
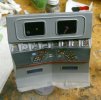
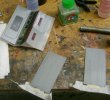
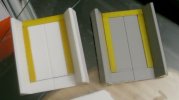
On the turbolift doors, I adressed a flaw in both versions of this kit. Namely the lack of a "door frame" around the doors themselves.
After drawing in a line where the deck plate would reach, I measured and cut some plastic card to create the new door frames and then glued them into place with Tamiya Extra Thin
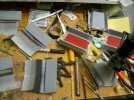
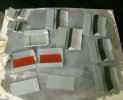
From there, I copied the templates provided by Paragrafix for locating the etch on the panels. Then I glued them down with Elmer's white glue.
This didn't quite work, as the templates started coming up once I started trying to glue the etch down.
To solve this, I went a different route. I painted over the templates with Tamiya Extra Thin. Once that dried, the templates were practically part of the plastic.
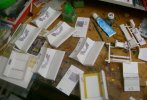
With the templates now secure, I moved to actually gluing all of the etch into place on the panels, command chair, and helm.
To aid in placing some of the tinier pieces, I took a hint from BadGrendels, and used a toothpick with a tiny dab of poster tack on the end of it as a handle
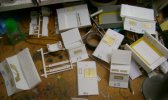
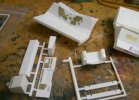
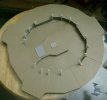
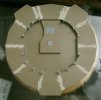
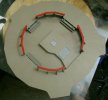
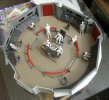
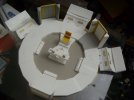
To supply a "floor" for the lower deck level, I glued the assembled deck plates to the top of the kit box. Once that was dry, I trimmed it to shape
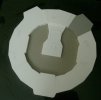
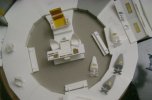
I assembled the stairs, command chair, and helm console as per the instructions, but haven't glued them down yet to aid in painting
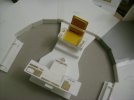
For the command chair, I decided to make one more modification.
Using plastic card, I added a higher back to the chair as well as seat cushions.
Youtube link:
http://www.youtube.com/watch?v=jsPehrtx2l4

I have plans for this, though, that should make it a fairly unique model when I get done.
To fit those plans, I have picked up a copy of the older version of the kit to supply needed chairs, a second turbolift, and more figures.
I'll also be using the photoetch set that ParaGrafix has released for this model
We start with the "proof of start" pic, showing the unbuilt bits and pieces in the boxes

Roughing in the layout for my proposed "Phase II" configuration.
I've decided to add the second turbolift as we saw in The Motion Picture.
As can be seen, though, it results in a gap between the elevator deck plates and the deck plate for the science console.

To remedy this, I cut filler sections from the deck plate that I wasn't going to be using and spliced them into the gaps.

On the turbolift doors, I adressed a flaw in both versions of this kit. Namely the lack of a "door frame" around the doors themselves.
After drawing in a line where the deck plate would reach, I measured and cut some plastic card to create the new door frames and then glued them into place with Tamiya Extra Thin

From there, I copied the templates provided by Paragrafix for locating the etch on the panels. Then I glued them down with Elmer's white glue.
This didn't quite work, as the templates started coming up once I started trying to glue the etch down.
To solve this, I went a different route. I painted over the templates with Tamiya Extra Thin. Once that dried, the templates were practically part of the plastic.

With the templates now secure, I moved to actually gluing all of the etch into place on the panels, command chair, and helm.
To aid in placing some of the tinier pieces, I took a hint from BadGrendels, and used a toothpick with a tiny dab of poster tack on the end of it as a handle


To supply a "floor" for the lower deck level, I glued the assembled deck plates to the top of the kit box. Once that was dry, I trimmed it to shape

I assembled the stairs, command chair, and helm console as per the instructions, but haven't glued them down yet to aid in painting

For the command chair, I decided to make one more modification.
Using plastic card, I added a higher back to the chair as well as seat cushions.

Youtube link:
http://www.youtube.com/watch?v=jsPehrtx2l4

