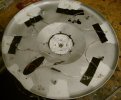
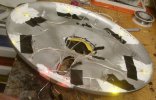
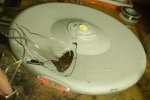
All right, to start, here are the pics to go with Part Five of the update on the Enterprise.
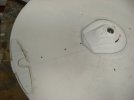
I went in and added a coat of white to the interiors of the sections getting lighting.
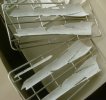
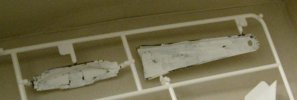
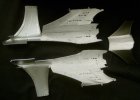
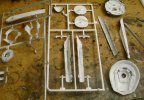
With the saucer, I decided to only add the white to the sections around the perimeter windows
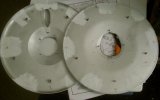
Soldered up the 1.5 mm LEDs with their resistors for the blinking running lights
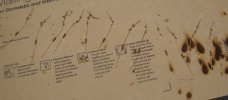
Then I glued those LEDs into place on the upper and lower saucer.
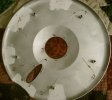
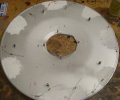
As I mentioned in the video for part five, the circuit was just drawing WAY too much power as things sat, so I opted to remove the LED's and go a different route.
Which brings us to today's update, or part six.
Got two things in the mail after payday that should help things go a LOT more smoothly from here on.
The first was a roll of 50ft of 1mm fiber optic filament, which I'll be using for the running lights and hull marter lights.
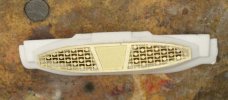
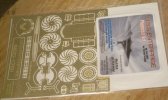
The second was the photoetch set recently released by ParaGrafix for this ship.
It includes a basic bridge, impulse grills, a shuttlebay, and, most importantly for me, the nacelle fans
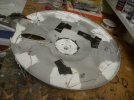
Got back to work by running fiber optic filaments for the blinking running lights in the lower saucer.
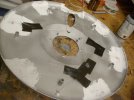
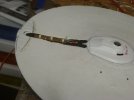
I've also drilled the missing marker lights into the lower sensor bay and run the fibers for them after gluing the sensor into the lower saucer.
(The small wrench you see in the pic is just to keep the fibers from sagging into the dome while the glue sets
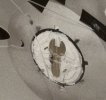
I have also folded the bridge and given it a coat of light grey primer followed by a light black wash to bring out a little of the detail.
(Not too worried about getting super detailed here as the windo opening is only about 3/32 of an inch high)
Youtube link:
Revell 1/500 Enterprise Part Six


