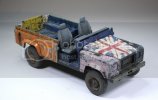
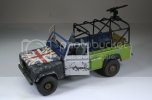
Last Hope Landrover

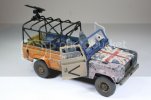
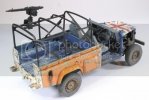
Thanks guys, squeezed in an hour at the bench this evening and first off I want to apologise to you Ian I simply didn't have time to shoot a WIP load of pics but I will do it for you on the doors mate. More fun added:
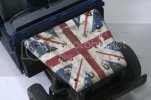
IMG_8053_zps536df4ce.jpg
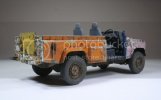
And the rear (this was created by just using the sponge technique):
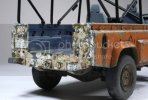
IMG_8049_zps6115acef.jpg
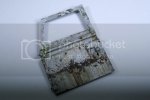
And you can just see the interior of the cab with dash and gear sticks, pedals etc:
IMG_8058_zpsa1a6c3cc.jpg
IMG_8044_zps2119f8f7.jpg
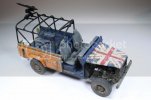
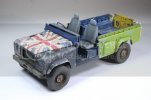
The union jack was done with some careful masking ;)
 
Very nice, almost as beat up as the English cricket team at the moment ;)

( sorry mate couldn't resist )
 
Wow very nice!
But the seats, tell me/ us more about how you made them look the way they look please.


Zappa
 
Lol Rookie. Yeah Zappa mate no worries, very easy actually I just hacked away at them with a number 11 blade, sanded down the edges of the cushion to make it look squashed with age. Primered black, highlighted with Tamiya Light Grey, satin varnish then added a cold grey wash from Mig Productions and finally made a wash of Valejo Flesh Base and added it to the scored marks that I made with the blade and hopefully it looks like the foam coming out of the rips.
 
Looks amazing. No worries on the WIP shots John, I'll just experiment myself and see what happens! :)
 
Big-John said:
LOL, Hippy truck ;D

I like the cool colors man!

Thanks John ;) Hey I might paint a big flower on the side with zombie blood all over it lol!
Ian said:
Looks amazing. No worries on the WIP shots John, I'll just experiment myself and see what happens! :)
Yeah sorry about that lol just give it a go on some scrap first, hopefully I'll get to play with it some more tonight ;)
Scott Girvan said:
Experience. That's all. You're on your way.
Yeah I'm a bad experience.
 
Thanks CD!
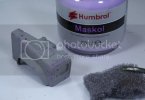
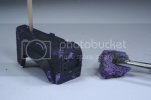
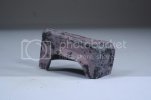
Well heres a quick WIP of the sponge maskol chipping:
Sprayed a light colour first.
IMG_8063_zps000f6188.jpg
First stage of Maskol applied with tweezers and a sponge and take off the majority on a scrap piece of paper (speed up the drying time of the Maskol with a hair dryer).
IMG_8065_zps8cd35b92.jpg
Dark colour next:
IMG_8067_zps2a0aaf95.jpg
Final layer of Maskol applied heavily (personal preference).
IMG_8070_zpsb656e42f.jpg
Sprayed a funky light colour.
IMG_8072_zps9d0b7666.jpg
Rub off the maskol with your finger after everything has thoroughly dried:
IMG_8075_zps2174ddad.jpg
I did the same on the rear door and the passenger side wing:
IMG_8080_zps8ba10993.jpg
IMG_8081_zpsca6b00cb.jpg
IMG_8083_zps57e22136.jpg
Thanks for looking, the doors I'm going easy on lol, well one of them ;)


[attachment deleted by admin]
 
When I scrolled down to that hood...SMILE. That looks killer man. Great work.

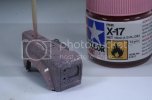
Nice use of X-17 too.
 
How could you not smile? All the colors of the rainbow are represented. Tamiya makes an X-17? Go figure. Love the chipping son, great job.
 
lol cheers Rookie. Made some more progress tonight:
had to fill in some ejector pin marks:
IMG_8086_zps6c1bd681.jpg
Decided that I'd have at least one part of the kit as its meant to be:
IMG_8088_zps992e816a.jpg
Smashed up a door:
IMG_8090_zps861a0328.jpg
Then weathered the hell out of it:
IMG_8092_zps76130eef.jpg
Cheers for looking and good luck in the comp to those that finished in time ;)
 

Latest posts

Back
Top