fubar
New Member
- Joined
- Nov 10, 2011
- Messages
- 502
Morning guys, well i have been up since 5am so thought i'd keep busy.....heres what i've been up to so far today. 
As you can see i bit the bullet and finally tried my airbrush out, man was that nerve wracking. lol
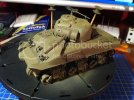
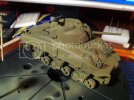
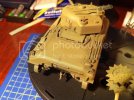
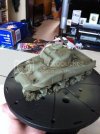
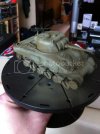
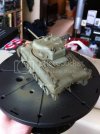
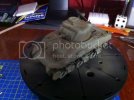
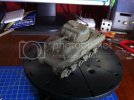
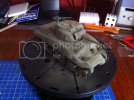
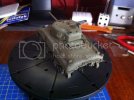
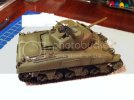
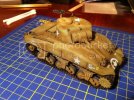
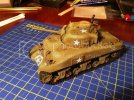
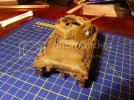
Sherman model undercoat using airbrush.
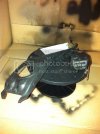
I musta spent at least 30 mins just trying to mix the paint and thinners to a consistancy 'of milk!', in the end i just went and used what i had and i think it's come out ok. I have to say i was well surprised at how direct the airbrush delivers the paint, i've only ever used aerosol paint cans before and was expecting paint all over the place but nope it's as fine as a pencil if you have the control.....what i newb i am. lol
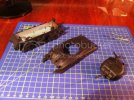
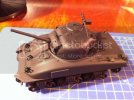
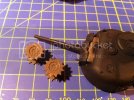
I made a few mistakes which i didn't notice until i'd cleaned away my paint.......i forgot to lower the main gun and paint the top of the 'mantlet?!?!' and i also forgot the drive sprockets. But i did manage to remember the tracks on their sprues.
OK now i'd like your advice about cleaning, i blew airbrush cleaner through after finishing then i sprayed foaming cleaner through and then warm water. I also removed the needle cap and nozzle cap and cleaned them thoroughly.......but i haven't removed and cleaned the needle yet! Is that necessary after every use as i understand the needles are easily damaged and i wanted to avoid the risk on my first use.
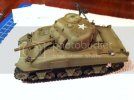
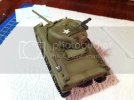
Next step i guess is olive drab. Question is which one? This set seems to have 3 olive drabs, 2 faded olive drabs and a khaki olive drab. lol As i'm going for a Normandy Sherman i was going to pick the darkest drab. ???
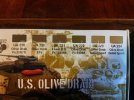
How long is best to leave the coats to dry, this black layer is dry already to the touch......i'd like to get the olive drab on today as i got the airbrushing bug now. lol
Any advice about base coats is more than welcome, i have seen painting guides on youtube but it never hurts to ask for more tips. lol
TTFN Matt
As you can see i bit the bullet and finally tried my airbrush out, man was that nerve wracking. lol
Sherman model undercoat using airbrush.

I musta spent at least 30 mins just trying to mix the paint and thinners to a consistancy 'of milk!', in the end i just went and used what i had and i think it's come out ok. I have to say i was well surprised at how direct the airbrush delivers the paint, i've only ever used aerosol paint cans before and was expecting paint all over the place but nope it's as fine as a pencil if you have the control.....what i newb i am. lol


I made a few mistakes which i didn't notice until i'd cleaned away my paint.......i forgot to lower the main gun and paint the top of the 'mantlet?!?!' and i also forgot the drive sprockets. But i did manage to remember the tracks on their sprues.

OK now i'd like your advice about cleaning, i blew airbrush cleaner through after finishing then i sprayed foaming cleaner through and then warm water. I also removed the needle cap and nozzle cap and cleaned them thoroughly.......but i haven't removed and cleaned the needle yet! Is that necessary after every use as i understand the needles are easily damaged and i wanted to avoid the risk on my first use.
Next step i guess is olive drab. Question is which one? This set seems to have 3 olive drabs, 2 faded olive drabs and a khaki olive drab. lol As i'm going for a Normandy Sherman i was going to pick the darkest drab. ???

How long is best to leave the coats to dry, this black layer is dry already to the touch......i'd like to get the olive drab on today as i got the airbrushing bug now. lol
Any advice about base coats is more than welcome, i have seen painting guides on youtube but it never hurts to ask for more tips. lol
TTFN Matt

