Making that old MPC Snow Speeder kit shine!
- Thread starter Jamaicanmodels69
- Start date
Jamaicanmodels69
New Member
- Joined
- Apr 17, 2011
- Messages
- 604
Igard said:Coming along really well. I can see myself following this one day.
Thanks for the kind words guys we should ask
if we can do a speeder group build one day would
be cool! I have around 4 of these kits to get built
wanted to make a squad dio in flight.
Jamaicanmodels69
New Member
- Joined
- Apr 17, 2011
- Messages
- 604
Grendels said:I have both this one and the fine molds in the stash, when I find the time, it would be nice to build one up. Maybe next years group build could be a sci fi dio build.....
That would bring out some really cool stuff!
Splashcoat
New Member
- Joined
- Oct 9, 2010
- Messages
- 421
I have one of these in my stash as well. I'm going to have to borrow (okay, steal) some of your ideas when I get around to mine 
Jamaicanmodels69
New Member
- Joined
- Apr 17, 2011
- Messages
- 604
Splashcoat said:I have one of these in my stash as well. I'm going to have to borrow (okay, steal) some of your ideas when I get around to mine
LOL No probelem! ;D
Ok onto that dreaded cockpit and tub.....well it's not that bad. ;D
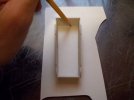
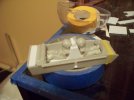
Just started by taking some measurements to get some heights and
widths. I am going to build new back to back seats in here, one that
looks like the Fine Molds 1/48 scale speeder. Before I did anything
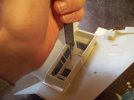
i carefully scribed out the original seating assembly. I didnt want to
attack it with a dremel because I wanted to remove it clean. I cut a new bottom
out of some plastic stock and glued it in place.
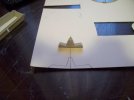
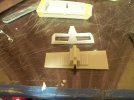
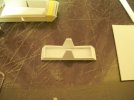
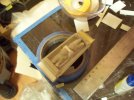
The tiny FM seating arrangement and the beginning
of the side frame template for my seat.That's the
only template i created for the seat i just worked
on the fly after that. I used some Evergreen sheet
a V Grove pattern so it would have some detail.
http://i8.photobucket.com/albums/a40/3dimensionalmanagement/MPC%20Snow%20Speeder%20Kit
%20build%20up/006-1.jpg
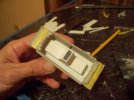 !
!The kit's head rest was way to long if you ask me
so i used to chunky pieces of evergreen stock
and sanded it to shape.
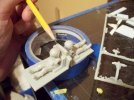
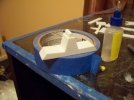
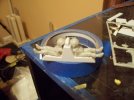
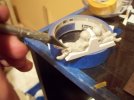
The pilots....LOL I know these figures that came with this
kit get a bad review every time ......deservedly so! I am
going to try to have mercy on them! LOL I have no idea
what I am going to do, but pretty sure those heads have
to come off and arms shortened! That's if i keep them i am
leaving this totally open if it doesn't work out I will source
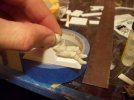
something else. I did cut them at the knees and get them to sit well
in the seats, i will fill the knees with clay and clean them up later.
The figure is hollow on the backside so they sit low, their shoulders
are not up high enough, so i will have to build under the legs and give them
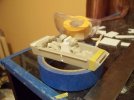
some booty to get them raised up! LOL The (3rd) picture shows the correct height
they need to sit at.
Ok the instrumentation......
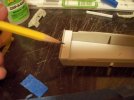
Because the speeder has this back to back seating arrangement,
it's impossible to adjust the seats forward or aft in the tub without
changing the distance from the instrumentation.To solve the monkey
are dilemma that plagues this kit i shimmed in back the rear instrumentation,
so it would sit closer to the figure/ rear gunner. I just cut a piece of styrene
to fit and did a bit of sanding to make everything fit.
JohnSimmons
For Spud: I was once Merseajohn
- Joined
- Jan 4, 2011
- Messages
- 5,645
Your realy making that old mpc kit ....shine!! Lol
Splashcoat
New Member
- Joined
- Oct 9, 2010
- Messages
- 421
Above and beyond on the seating!
Jamaicanmodels69
New Member
- Joined
- Apr 17, 2011
- Messages
- 604
Thank you guys much appreciated....... ;D
More with the seating......
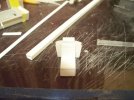
I wanted to get started with the angle
pieces that come off the seat,s and span
out to the sides of the tub. To do this
I used some square stock from my evergreen
supply.
I ended up with a situation where the shoulders
were to high on the seats, they were coming through
the canopy so i marked some lines and trimmed them
down on each side.
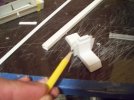
I filled the sides with some evergreen strip.
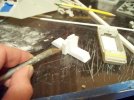
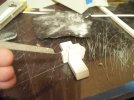
In the first picture the shoulders have been trimmed to
a lower angle, the second picture shows how
it fits correctly in the tub, and does not come through
the canopy.The third picture i wanted to show that i
had filled the holes at the top of the shoulder with
some Apoxie sculpt.
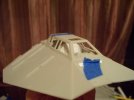
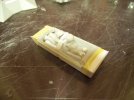
Things were looking a little blah inside so i decided
to add some more evergreen strip on the sides,
i used some channel.This also helped to begin to
figure out exactly where the seats would sit, as
the channel is on each side and the seats sit
in the middle of it.
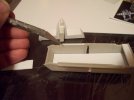
More with the seating......
I wanted to get started with the angle
pieces that come off the seat,s and span
out to the sides of the tub. To do this
I used some square stock from my evergreen
supply.

I ended up with a situation where the shoulders
were to high on the seats, they were coming through
the canopy so i marked some lines and trimmed them
down on each side.

I filled the sides with some evergreen strip.

In the first picture the shoulders have been trimmed to
a lower angle, the second picture shows how
it fits correctly in the tub, and does not come through
the canopy.The third picture i wanted to show that i
had filled the holes at the top of the shoulder with
some Apoxie sculpt.


Things were looking a little blah inside so i decided
to add some more evergreen strip on the sides,
i used some channel.This also helped to begin to
figure out exactly where the seats would sit, as
the channel is on each side and the seats sit
in the middle of it.

Jamaicanmodels69
New Member
- Joined
- Apr 17, 2011
- Messages
- 604
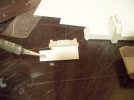
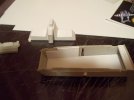
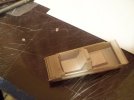
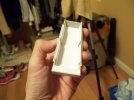
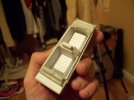
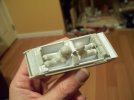
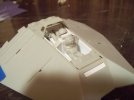
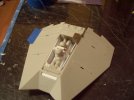
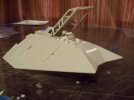
Next i really felt it needed a little texture
on the sides underneath the channel. So
i found the small square pattern from
my evergreen supply. I had to keep inserting
the front instrumentation mark some lines,
and then make a template that would fit
below the channel and be cut out so the
front instrumentation could drop in. The same
was done for the rear.


JohnSimmons
For Spud: I was once Merseajohn
- Joined
- Jan 4, 2011
- Messages
- 5,645
Looking realy good there mate, I just can't get over those pilots! lol
Jamaicanmodels69
New Member
- Joined
- Apr 17, 2011
- Messages
- 604
merseajohn said:Looking realy good there mate, I just can't get over those pilots! lol
I know they are pretty bad! LOL
Splashcoat
New Member
- Joined
- Oct 9, 2010
- Messages
- 421
They always reminded me of some sort of ape/pilot hybrid.Jamaicanmodels69 said:merseajohn said:Looking realy good there mate, I just can't get over those pilots! lol
I know they are pretty bad! LOL
Similar threads
- Replies
- 0
- Views
- 471
