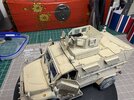
MaxxPro

GCB

Well-Known Member
Joined
Aug 22, 2023
Messages
162
While still working on the diorama with the MH-6 and Humvee and waiting some additional parts, decided to start a new project.
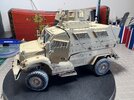
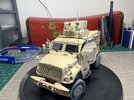
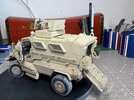
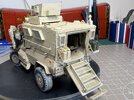
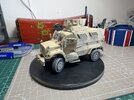
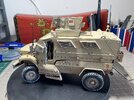
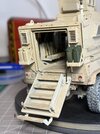
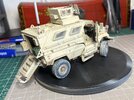
I enjoyed my last kit, the M1114 / Humvee from Bronco, and decided to go for another vehicle from Bronco: the M1224 MaxxPro MRAP.
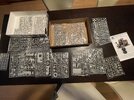
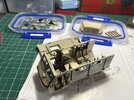
Just received the box and quite impressed with the number of parts... Guess will take a while to complete it. I will only add the 3D decals from Quinta Studio.IMG_8563.jpg
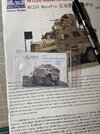
Will keep you updated.
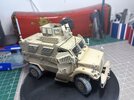
IMG_8561.jpg
 
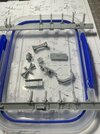
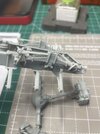
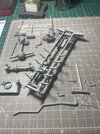
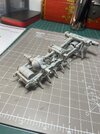
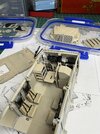
Ok, making some progress on this one: chassis, engine, transmission and suspension assembled..
Plenty tiny pieces and details, however most fit well.
Only concerns were:

  • Turbocharger: no support or bracket (hanging with only piping?)
  • Radiator: only small bracket on bottom, but no way to find out how exactly to position it
  • Steering rack: I had to replaced the plastic pins with steel ones1.jpg2.jpg3.jpg4.jpg
 
Next is to primer and paint.
Question for the experts: everything same color than the body (sand) except exhaust??
No details on the instructions...
Thanks
 
I would follow any reference photos, but when in doubt default to same body color for the chassis. I don't know about the exhaust though.

Hope this helps
 
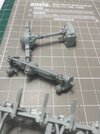
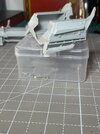
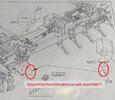
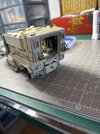
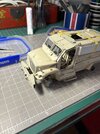
Making slow progress. I decided to continue the assembly of the undercarriage and I have some doubts on the way to install the remaining pieces
IMG_8650.jpg
 
That looks like it's fun to put together … Is there a way to strengthen that joint, like with some plastic card or square rod glued out of sight?
 
Hey Jakko! Yes will try to add some support, however my concern is the alignment with the remaining assemblies: cabin, hood, etc..
Will have to continue the build to check and then try to add some support...
This kit is very detailed and nice, however, the missing instructions and lack of support for some parts such as this assembly or other small parts, make it quite challenging, at least for me...
 
It looks like it would be challenging for most people. Those parts F18 and F19 are a good example of the reason why: they look like something else sits against them, but they get installed "in a vacuum" here without any way to really see if they're right or not. Takom also has a habit of making you do this, and I think the only real solution is to have enough experience to see this is probably not going to work. (I use the instructions mostly to tell me where parts go, not in which order to assemble them.)
 
Last edited:
Yep, will continue the build and try to figure out how everything fits before gluing.
Learning everyday.
Thanks.
 
Back
Top