Quaralane
Well-Known Member
- Joined
- May 22, 2009
- Messages
- 11,263
All right, next up for the BSC is one I actually shot the first video for before deciding to work on the Heartbreaker instead.
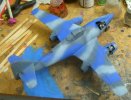
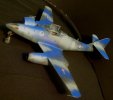
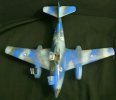
It's the Revell 1/48 Messerschmitt Me262-A1a.
Not sure about the boxing date, but the imprints on the kit itself date the molds at 1978.
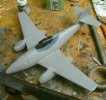
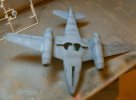
Required proof of start pic
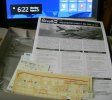
Started out by painting in parts of the fuselage and cockpit with a medium grey
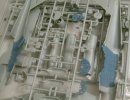
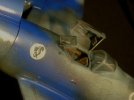
Assembled the cockpit and painted it up in the same grey.
Painted the seat in a very light brown, followed by a black wash for detail.
Instrument panel was decalled
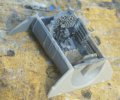
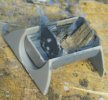
Cemented the fuselage halves together
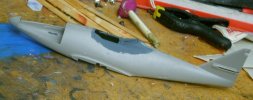
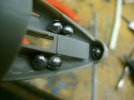
I inserted the nosegear well into the nose, then added some fishing weights to aid balancing on the onsewheel later
Machine gun bay was assembled stock.
I painted the interior pieces grey with a couple of black highlights.
The guns were done with black, then drybrushed silver
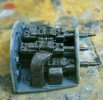
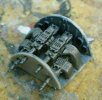
That assembly was inserted into the nose of the plane.
Using a needle file, I opened up the gun openings in the cowling.
I also opted to keep one side of the gunbay open by cutting mostly through the door piece to allow it to be bent
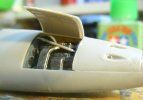
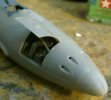
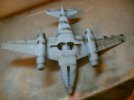
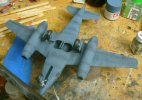
The port engine nacelle was entirely closed in, while the starboard one allowed it to be open for display.
On this side, I again cut the door opening to allow it to be opened.
The engine itself was painted with black, and then drybrushed silver and mounted onto the wing
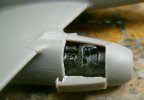
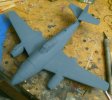
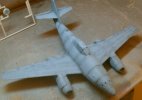
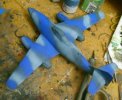
I glued the engines to the wings, and then glued the wings to the fuselage.
Surprisingly, there weren't any huge seam issues.
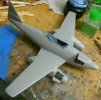
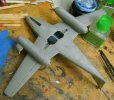
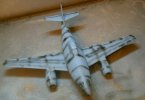
The last bit done was adding the tailwings and rudders
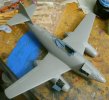
Youtube link:
http://www.youtube.com/watch?v=DLa88PR4PAg
It's the Revell 1/48 Messerschmitt Me262-A1a.
Not sure about the boxing date, but the imprints on the kit itself date the molds at 1978.
Required proof of start pic

Started out by painting in parts of the fuselage and cockpit with a medium grey

Assembled the cockpit and painted it up in the same grey.
Painted the seat in a very light brown, followed by a black wash for detail.
Instrument panel was decalled


Cemented the fuselage halves together

I inserted the nosegear well into the nose, then added some fishing weights to aid balancing on the onsewheel later

Machine gun bay was assembled stock.
I painted the interior pieces grey with a couple of black highlights.
The guns were done with black, then drybrushed silver


That assembly was inserted into the nose of the plane.
Using a needle file, I opened up the gun openings in the cowling.
I also opted to keep one side of the gunbay open by cutting mostly through the door piece to allow it to be bent


The port engine nacelle was entirely closed in, while the starboard one allowed it to be open for display.
On this side, I again cut the door opening to allow it to be opened.
The engine itself was painted with black, and then drybrushed silver and mounted onto the wing

I glued the engines to the wings, and then glued the wings to the fuselage.
Surprisingly, there weren't any huge seam issues.


The last bit done was adding the tailwings and rudders

Youtube link:
http://www.youtube.com/watch?v=DLa88PR4PAg

