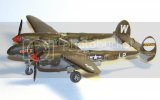
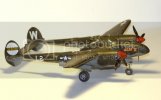
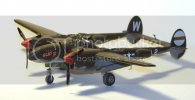
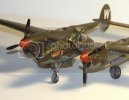
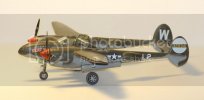
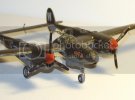
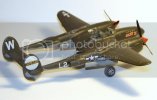
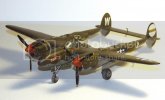
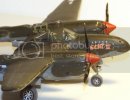
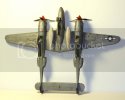
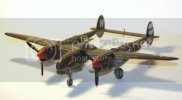
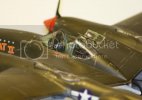
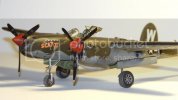
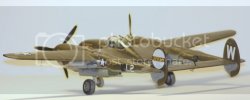
Minicraft P-38J Lightning

Darkblade88 said:
wow she looks like she's been though hell and back
Well it was WWII. That and admittedly I have a heavy hand with weathering to a fault. I could do worse things with my off time then modeling.

billb said:
If you are going to hot soak it maybe try putting the spreader in first.

btw, this is too late and the wrong variant but they're cool photos :)
http://clubhyper.com/reference/showandtell3droopsnootdb_1.htm

Excellent pics, thanks.
So I did end up trying the stretcher and hot water idea like you said Bill and it actually did widen the canopy a bit. Not perfect but better. I did attach the canopy parts and right now their drying. I also attached two drop tanks and all the landing gear doors. Last is a hinge mechanism/arm for the nose gear door then the nose guns which look God awful. I'll post pics and you guys tell me what you think.
 
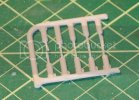
OK I'm 98.652% finished with this puppy. Last two things to do is to attend to the nose guns and then fashion a base. First the nose guns. These are the pieces still connected to their sprue.

Noseguns_zpsfefa049f.jpg

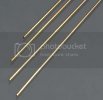
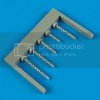
Nothing more then 1mm wide pieces of styrene with tiny indentations on them to represent the holes on the barrels. To be honest they're the worst part of this kit next to the landing gear. So my options are 1mm Brass Tubing for $5.95, shipping included, from EBay, or Resin P-38 Lightning Gun Barrels also from EBay for $11.17, also shipping included. What would you guys do. Accuracy aside would brass tubing fit the bill? Or should I just bite the bullet and dump the $11 on the resin? These suckers are small and at least I'd get 4-10" lengths of brass at half the price and could use them on future projects.

1mmtubing_zps771efa67.jpg
Resingunbarrels_zps231dfe26.jpg

I'm all ears gentlemen.

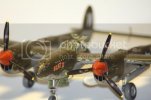
So these are some final pics sans guns. Some look like duplicates but I was having fun with the camera and decided you guys love your pictures.

Noseandprops_zps109ecbc6.jpg
Sideview4_zps2fa5b512.jpg
Sideview2_zps141cf12b.jpg
Sideview3_zpsaa61ff8d.jpg
Frontview4_zps5d77723d.jpg
Sideview1a_zpsacbfd570.jpg
Frontview3_zpsd8e6c23f.jpg
Rearquarterside_zps50f91483.jpg
Frontview2_zps4248f429.jpg
Frontsideview3_zpscb5fa885.jpg
Bottomview_zps055328d5.jpg
Frontview_zpsce8010b9.jpg
Cockpit_zpsd827e5d6.jpg
Frontsideview2_zpsdede2d38.jpg
Backview_zpsec7e091d.jpg

I'd love to know what you guys think on the nose guns. As always comments welcome.


[attachment deleted by admin]
 
Very nice indeed! I especially like the staining/shading on the undersurfaces!
Very minor thing, just because you asked for comment, there's a gap were the front canopy glues to the fuselage. Maybe a smear of white glue, wipe it off and when dry touch it up with pastels. Same thing where the back canopy piece attaches might also blend that in a little more.
Lovely work though :)

On the guns, the photo of Arkansas Traveller that you posted further up the page actually appears to have unperforated barrels. Not sure if it's unique to that airframe (it's a 38J like yours) or what but looks like it gives you the leeway to use the brass tube if you'd like and still be accurate :)
Here's another period shot of the same aircraft:
http://www.dragon-isle.net/kwilhite/ark_trvlr.html

This photo (although it's a restored aircraft), shows the same thing:
p38-lightning-2.jpg

http://www.thenewsherald.com/articles/2010/06/29/news/doc4c2a4df1117af375901959.txt
 
Looks really good. Me, I'd go with the tubing that can be used for other projects as well
 
billb said:
Very minor thing, just because you asked for comment, there's a gap were the front canopy glues to the fuselage.

Bill thanks for the pic and noticing the front canopy. Makes me feel better about spending less on the guns now. The front canopy is a chip mark that took a life of it's own and grew on me. Like I mentioned earlier in the thread I have a heavy hand with weathering and I clearly lost my mind. It bothers me too so that's something I'll address.

Quaralane said:
Looks really good. Me, I'd go with the tubing that can be used for other projects as well

Thanks Pat, and yeah I'm going with the brass tube. I just ordered them tonight so I'm hoping to have them here, painted, cut, fitted and installed before the BSC.

Cheers guys.
 
Anthony my man !! Sweet build ....very sweet ! ;D ,Fantastic finish all round sir , you really nailed that one ... Just perfect :)

Whats next then ??

Chris.
 
Chris S said:
Anthony my man !! Sweet build ....very sweet ! ;D ,Fantastic finish all round sir , you really nailed that one ... Just perfect :)

Whats next then ??

Chris.
Chris in the house!! BSC. I have a few ideas.

Cash said:
nice details

Thanks a whole bunch Cash.
 
Back
Top