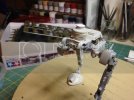
MPC AT-ST or Making a Silk Purse From a Sow's Ear

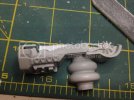
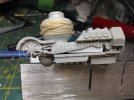
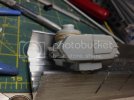
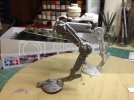
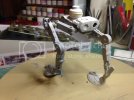
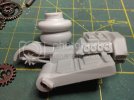
Progress over the weekend...I started working on the body assembly. First thing I did was to try and clear out the blob of molding around the sprocket...this was definitely an improvement but still a bit sloppy, so I tore a few clocks apart and got a bag of little gears at the LHS and I'll be replacing this (at some point) with a much cleaner looking part.

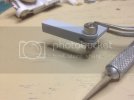
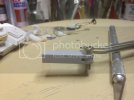
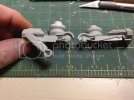
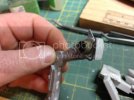
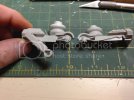
Next up, the hip joints....after looking at these I realized how horribly inaccurate they actually are. So, they have to go! After carefully removing the joint and sanding the area smooth, I glued a piece of styrene in behind as a sort of backer so that once I have the entire assembly together I can come back in with epoxy-sculpt and make a nice seamless transition. Then I started fabricating a new hip joint. After a few tries I think I finally got it where I want it. THIS IS ONLY A PROTOTYPE! I'll actually build a much cleaner version with surface detail over the next few days.

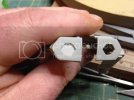
Lastly, I began filing and sanding off the detail at the rear of the body, which I'll modify by adding some styrene detail and cutting out and framing the hexagonal exhaust ports (possibly adding some louver detail behind them)

Thanks for looking guys!!
IMG_0103_zpsan77jlur.jpg
IMG_0105_zpszmqtscwi.jpg
IMG_0107_zpsw1gwn6lh.jpg
IMG_0111_zpskwj4o2mu.jpg
IMG_0112_zpspufs9ejx.jpg
IMG_0108_zpsnbrk3sgt.jpg
 
Nice, nice, nice. I'm very happy to see you're replacing those joints. This kit looks best when the default pose is changed.
 
Thank you sir! Yeah, I just figured since I'm putting in the hours anyway, why not....Besides, the more I looked at the joint, the more I hated it.
 
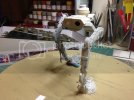
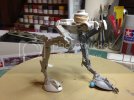
Hey guys...progress over the weekend....I got the rest of the junk cleaned out around the spokes and "idler arm"(?) on the main body and all the empty voids filled in, sanded and primered.

I got the exhaust vents cut out and made some louvered inserts for them. Then, I finished up the hip joint (although I still need to add a few details then finish sand) and robbed a few parts from an old Tamiya tank and worked out the connection points to the leg and body. (temporarily attached to check fit and distances)

I am fairly certain I still need to bring the hip joint closer to the body as well as the leg assembly, but you get the idea.

Any comments or suggestions are very welcome and thanks for looking!!!

By the way, I caved in and ordered the Bandai AT-ST which should be arriving this evening.....

IMG_0124_zpscc0deuwj.jpg
IMG_0128_zpsdiaulipo.jpg
IMG_0126_zpsaxpywdeo.jpg
IMG_0131_zpsypsf63zz.jpg
IMG_0132_zpsrkqhevei.jpg
IMG_0133_zpsyvh1ivv7.jpg
IMG_0134_zpsiehpo2zj.jpg
IMG_0135_zpsrmltsa6z.jpg
 
Nice work on this man. Keep at it. Once that Bandai kit arrives you might want to crack into it....
 
Thanks Scott! Yeah, part of me wants to tear into the Bandai and build it as soon as I get it and use it as a reference to finish this one...but that kinda seems like cheating, LOL! The other part of me wants to leave the Bandai sealed up and finish this one, THEN open the Bandai, compare and see how close I came with nothing but photos and diagrams as reference.....I'm torn!
 
If I were you I'd keep the Bandai sealed as you say....

I made up this part on the Bandai last night,....Your pic below:
IMG_0124_zpscc0deuwj.jpg

.....and there is a considerable difference in detail

Best to finish your build,.....give her a cracker paint job and be proud of her

Think of it as the MPC Falcon compared to the FineMolds,....there are fantastic MPC Falcons done,.....look at Jakes

J
 
I really agree and think you need to finish this one. It's going to be awesome man...really it will be.
 
Thanks guys! Your advice and confidence is greatly appreciated! I think I'll try my best to resist the urge and just leave it packaged up until this one is done (Aaaarrggghh!)
 
Thanks Quaralane! It's definitely been a challenge....I have done the 1:350 TOS along with half a dozen other ST ships, Moebius figures, tanks, planes, etc, but I can honestly say that this is the very first kit I have ever done this much scratch work on and I love it! It has consistently kept my attention and has been a joy to build so far!
 
Back
Top