Glorfindel
Active Member
- Joined
- May 2, 2011
- Messages
- 1,504
Picked this kit up last summer to build during the winter and now that winter is here....
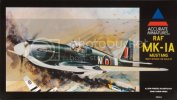
....I finally opened up the box to see what appears to be a very easy build. I'm looking at three tree's of sprue and a single sheet of instructions printed on both sides that have four horribly drawn illustrations and construction in paragraph form. I have the fuselage assembled and there are extra parts (clearly for a different version model) with no information to go along with them. So today I'm researching Accu Minny and I found out that they have gone out of business. Guess who's late to the party! ;D
Got this kit for $15.00, so I can't really complain.
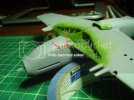
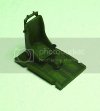
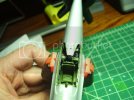
Well it actually is an easy build with a lot of pre-painting done before assembly. I finished off the interior by preshading the walls and toothpicking the buttons on the side panel controls. The camera mount was neat as I put a drop of Future on the lens to help it pop and look like glass.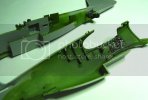
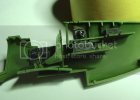
Finished off the wheel wells with a pastel wash after high lighting the tubing with a silver pen and colored pencils.
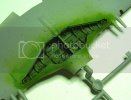
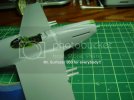
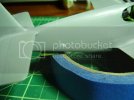
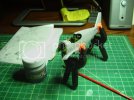
Had a bit of fit issues with the fuselage and couldn't figure out where and what was preventing the halves to clam shell nicely together. Hello Mr.Clamps and 5 minute epoxy!
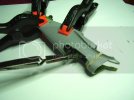
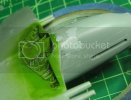
After 5 minutes it was time for some seam work with Mr. Clamps and Mr. Epoxy's bench mate....Mr. Surfacer 1000....Thank you, thank you very much.
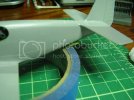
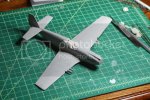
So last night I finished with getting the tail thingies on then called it a night.
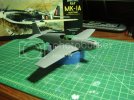
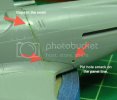
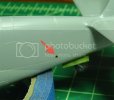
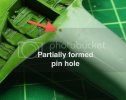
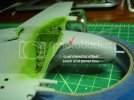
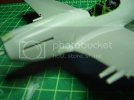
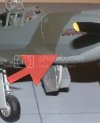
I have some nasty looking seam things going on with both sides of the front leading edge of the wings at the wing root. The problem is more on the, dare I say cowling, then the wing. I just ordered up some Aves 2-part Epoxy Paste as some of the guys at SSM seem to love the stuff as a putty. I have to wait for that to come in before I start any more body work. Until then it's landing gear time.
Thanks for checking this out.

....I finally opened up the box to see what appears to be a very easy build. I'm looking at three tree's of sprue and a single sheet of instructions printed on both sides that have four horribly drawn illustrations and construction in paragraph form. I have the fuselage assembled and there are extra parts (clearly for a different version model) with no information to go along with them. So today I'm researching Accu Minny and I found out that they have gone out of business. Guess who's late to the party! ;D
Got this kit for $15.00, so I can't really complain.
Well it actually is an easy build with a lot of pre-painting done before assembly. I finished off the interior by preshading the walls and toothpicking the buttons on the side panel controls. The camera mount was neat as I put a drop of Future on the lens to help it pop and look like glass.


Finished off the wheel wells with a pastel wash after high lighting the tubing with a silver pen and colored pencils.

Had a bit of fit issues with the fuselage and couldn't figure out where and what was preventing the halves to clam shell nicely together. Hello Mr.Clamps and 5 minute epoxy!

After 5 minutes it was time for some seam work with Mr. Clamps and Mr. Epoxy's bench mate....Mr. Surfacer 1000....Thank you, thank you very much.


So last night I finished with getting the tail thingies on then called it a night.

I have some nasty looking seam things going on with both sides of the front leading edge of the wings at the wing root. The problem is more on the, dare I say cowling, then the wing. I just ordered up some Aves 2-part Epoxy Paste as some of the guys at SSM seem to love the stuff as a putty. I have to wait for that to come in before I start any more body work. Until then it's landing gear time.
Thanks for checking this out.

