Re: NYLON GAG MK 1?
Evenin all,
Thank you so much for your kind words guys, I realy appreciate you stopping by and commenting it means alot to me so, Thanks everyone.
Well, on with the cockpit today.
It was all about the details, wiring and displays.
The main challenge was the heads up display, i wasn't sure if my idea would work.....?
Lets have a look.
PIX
Did a quick light test of the underwalkway lighting before gluing it in place. I had to open up two new holes either side of the walk way to accomodate the wires. In their original position the walkway wouldin't sit down correctly
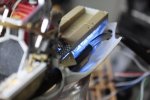
Tested the lights in the side pod instrument panels, i will fill the holes with various colours later, the fiber optics will be all flashing, i hope. :

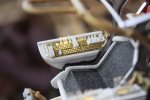
Added side details behind the seating area on both sides
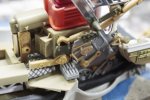
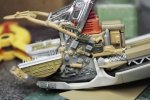
Quick test fit
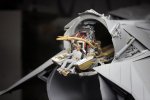
Then i started on the heads up display projector unit. Added heatshrink as a light block
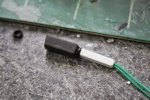
Glued the screen in position on the accessories rail, i covered it in masking tape to protect its surface, it will eventually have a translucent decal applied later, this took me alot of time to get the positioning correct. The LED had to be the correct depth inside the square tube to 'project' a correct size square to fit the screen size.
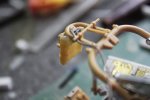
Fitted two smaller drop down displays/control boxes.
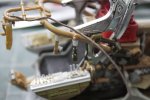
HUD light test.
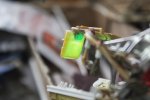
Projector in position, it works perfectly. I'm so chuffed right now. ;D
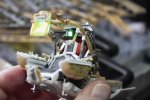
Another control box with floppy disc material behind the PE
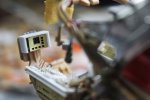
Ready for masking then on to..........primer.
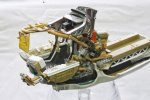
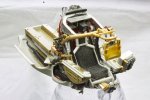
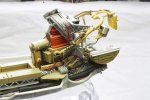
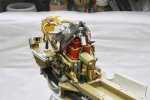
Test fit with Kiko, my pilot (my father-in-law calls me Kiko, don't ask me why cuz i don't know)
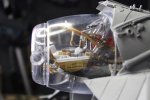
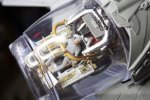
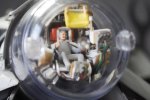
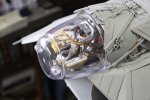
Masked everything up and now, you guessed it, Primer, Mmmmmmmmmmmmmmmmmm Primer
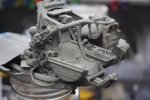
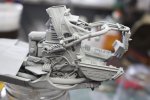
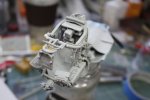
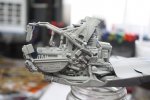
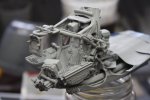
Thats all so far, hopefully i will get some more up later in the weekend.
Next is the corridor section of the cockpit.
Take care
Gag
[attachment deleted by admin]


... bl**dy hell ...
