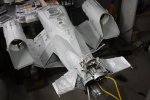
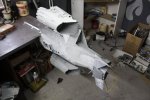
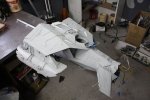
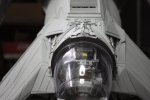
The Nylon Gag
New Member
- Joined
- Nov 14, 2011
- Messages
- 829
Re: NYLON GAG MK 1?
Evenin All,
Thank you so much for stopping by and leaving a comment guys, it really does motivate me to keep going.
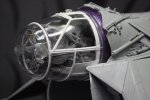
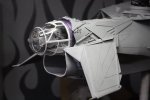
So... rear cockpit hatch area bit.
Lets have a look, eyes down for a full house.
PIX
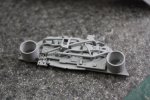
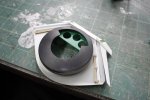
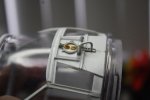
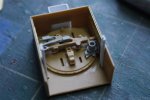
Made a door out of a trailer box and a round gun support plate with some other greeblies for the locking mechanism and a bit of PE on the side walls.
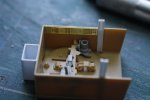
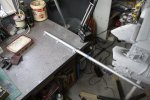
Added a square top beam to brace back from the seat assembly
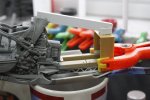
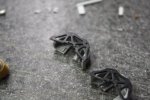
Attached some control boxes to each side wall
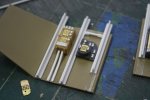
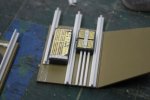
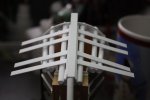
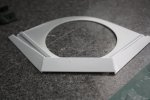
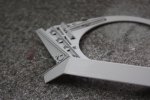
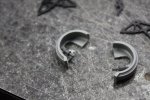
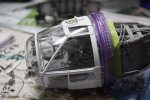
Fabricated this half ring to fill the transition and support the side walls
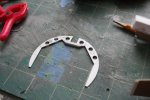
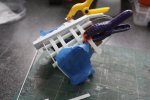
Added the side walls and put these braces on the back side to strengthen the assembly
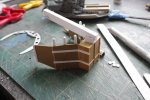
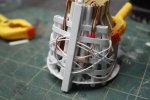
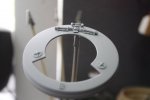
Fitted the half ring in position
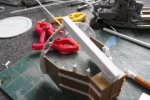
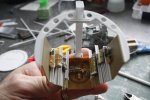
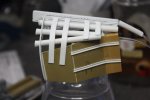
Started filling in the over head are of the corridor
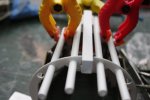
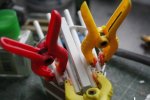
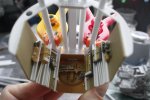
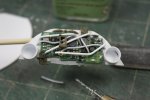
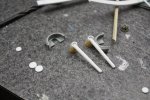
Drilled holes and installed overhead fiber optics for the corridor lighting
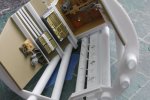
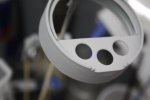
Also put two larger diameter fiber optics on the rear door, these will be attached to flashing LEDs.
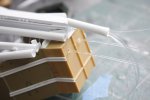
Obviously these will be trimmed down after painting
Spent a few hours messing about with the wiring and finalising what goes where, the LEDs in the side pods
could be brighter but i want it to be subtle so maybe it will look better when its all assembled and i've cleaned all the holes out in the PE
I will be adding more details in the ceiling of the corridor next, overhead pipes and wiring, so stay tuned
Take care
Gag out ;D
Evenin All,
Thank you so much for stopping by and leaving a comment guys, it really does motivate me to keep going.
So... rear cockpit hatch area bit.
Lets have a look, eyes down for a full house.
PIX
Made a door out of a trailer box and a round gun support plate with some other greeblies for the locking mechanism and a bit of PE on the side walls.


Added a square top beam to brace back from the seat assembly

Attached some control boxes to each side wall


Fabricated this half ring to fill the transition and support the side walls

Added the side walls and put these braces on the back side to strengthen the assembly

Fitted the half ring in position


Started filling in the over head are of the corridor


Drilled holes and installed overhead fiber optics for the corridor lighting

Also put two larger diameter fiber optics on the rear door, these will be attached to flashing LEDs.

Obviously these will be trimmed down after painting
Spent a few hours messing about with the wiring and finalising what goes where, the LEDs in the side pods
could be brighter but i want it to be subtle so maybe it will look better when its all assembled and i've cleaned all the holes out in the PE
I will be adding more details in the ceiling of the corridor next, overhead pipes and wiring, so stay tuned
Take care
Gag out ;D

