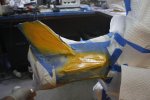
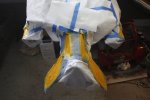
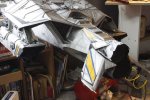
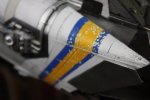
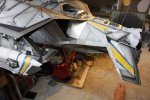
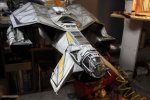
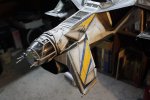
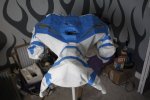
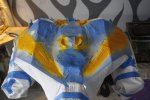
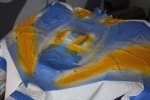
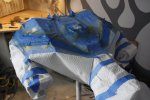
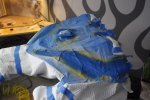
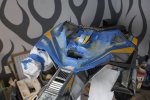
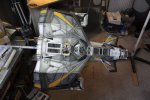
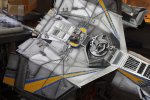
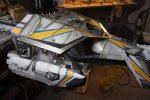
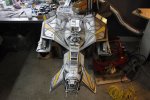
NYLON GAG MK 1 - FINISHED

Re: NYLON GAG MK 1?

FANFRICKINTABULOUS!
We can almost see the finish line!
AWESOMESAUCE!!!!
;D ;D ;D ;D ;D
 
Re: NYLON GAG MK 1?

I bow to your scratch building skills !!!! Absolutely..... freakin....... PHENOMENAL!!!!!!!!!
 
Re: NYLON GAG MK 1?

stretch said:
oh my god... its beautiful...

( Admins, can you put a new emoticon in please. We're now in need of something special..)

Couldn't agree more, Gag, i wish i have the chance to see this masterpiece someday.
awesome journey, what else to say....
 
Re: NYLON GAG MK 1?

Ello Peeps

Thank you for the comments guys, i value your input, glad your enjoying this with me

So no time for chit chat,

Decided to stop over thinking the design, slap on some masking and just go for it.

first under wing details

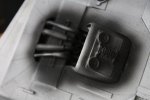
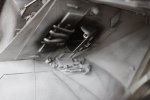
Four heat lines with shield made from dental floss box
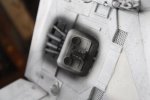
Picture%2520277.jpg


Picture%2520278.jpg


Picture%2520280.jpg


Removed some paint from my actuator drives to expose the gold plated finish underneath, looks just like a pneumatic ram
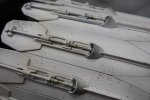
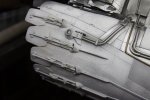
Picture%2520281.jpg


Picture%2520283.jpg


Then it was time to be bold
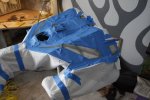
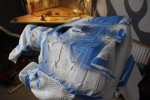
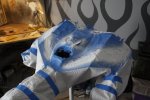
Masked of for just the side stripes, engine fairing and the front wing pattern.
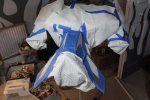
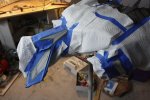
Picture%2520284.jpg


Picture%2520285.jpg


Then it was time for the hairspray Course Kosher Salt
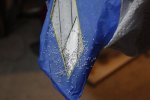


Picture%2520286.jpg


Picture%2520287.jpg


I then hit it with a few coats of flat white to make the colours pop better.
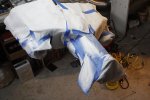


Picture%2520288.jpg


Picture%2520289.jpg


Then several layers of the decanted (what a mess) Camel Yellow (TS-34)
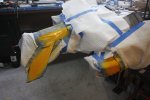

Picture%2520291.jpg


Picture%2520292.jpg


Picture%2520293.jpg


Whilst that was drying i gave my pilot 'Kiko' some attention with some oils
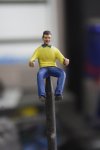

Picture%2520298.jpg


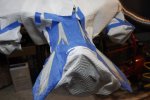
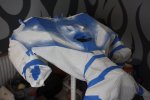
Then i maksed off for the decanted outer Brilliant blue stripes (TS-44) and gave then several coats
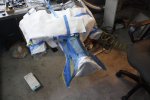
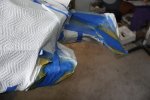

Picture%2520294.jpg


Picture%2520296.jpg


Then the moment of truth, off with the masking
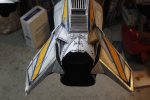

Picture%2520300.jpg


Picture%2520301.jpg


I then removed the salt with water a stiff brush and a sharpened chop stick
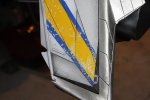

Picture%2520302.jpg


Picture%2520306.jpg


Picture%2520310.jpg


Picture%2520315.jpg


Picture%2520318.jpg

I like it, its not over powering, simple but striking. The top of the wing should hopefully be eaisier now to balance it all out. I still have washes and weathering to go on top so it will be calmed down even further.


What do you think?

Got to get up at 4:30am to get the misses from the airport so thats it for me.

Stay tuned for more

Take care

Gag
 
Re: NYLON GAG MK 1?

Beautiful!!!!! Phenomenal build. Can't say it enough.....I bow to your styrene skills!
 
Re: NYLON GAG MK 1?

WOW I remember when u first started this......
so much work ........AWESOME. She needs a
movie to star in!
 
Re: NYLON GAG MK 1?

Your choice of colors was spot on!
I can't say it enough......Absolutely beautiful!
 
Re: NYLON GAG MK 1?

Jamaicanmodels69 said:
WOW I remember when u first started this......
so much work ........AWESOME. She needs a
movie to star in!

This is exactly what I was thinking....
 
Re: NYLON GAG MK 1?

Afternoon Folks,

Well, Vacation is posponed for a night due to things out of our control.

So let me do the usual blow by blow update.

Thanks for the kind works everyone, it's own movie eh, that would be cool to see.

Let's get on with it and see how we got to the video.

Just decided to do what flowed with the stuff i had already done.
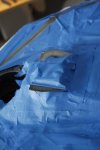
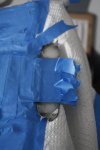
Masked everything up, oversray at this stage would be very bad indeed.
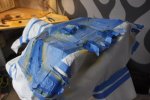

Picture%2520319.jpg


Picture%2520320.jpg


Wanted some colour on the little wings on the top and on the central tail section

Picture%2520322.jpg


Picture%2520321.jpg


Then hairspray and course kosher salt


Picture%2520325.jpg


Picture%2520324.jpg


Then a layer of matt white


Picture%2520326.jpg


Picture%2520327.jpg


Picture%2520328.jpg


Then the same decanted camel yellow as was used on the other details.


Picture%2520332.jpg


Picture%2520330.jpg


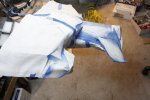
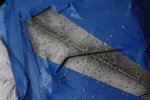
Then i masked off the center of the stripes, added a different pattern on the central wing and rear wing just to add interest for those areas and hit it with the brilliant blue


Picture%2520333.jpg


Picture%2520334.jpg


Picture%2520335.jpg


Then it was off with the masking and see what we got


Picture%2520336.jpg


I then attacked the salty stripes with my sharpened chop stick and stiff brush and water

And this is what i was left with


Picture%2520353.jpg


Picture%2520349.jpg


Picture%2520341.jpg


Picture%2520342.jpg


I'm going to try and get a layer of future on it before i go on vacation tomorrow at 3pm then it will have until Sunday to dry up properly

So until Sunday

Take care

Gagster out
 

Latest posts

Back
Top