The Nylon Gag
New Member
- Joined
- Nov 14, 2011
- Messages
- 829
Re: NYLON GAG MK 1?
Morning Everyone
I want to Thank each and every one of you for commenting.
Your encouragement at this final stage of the build is what I need at the moment to keep going to the end.
I seem to do a lot of work with intense focus and,
"POW" it's five hours later and the thing just looks dirtier, sometimes it is difficult to know what I've done, and conversly, when to stop the process.
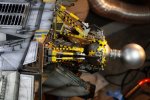
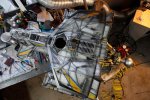
I made the ship pretty filthy because, like with the colour scheme, I figure that this is my ship, and as I am the most terrible person at keeping stuff clean and well maintained, so if this thing WAS mine it would look this bad, if not worse.
Well, what's been doin lately then my peeps.
So, I'm not too bright, as I've pointed out in the past, so I totally forgot to apply my decals :
Nice one professor.
I wanted just a few decals in key spots.
My good friend from theRPF, MikeJ had very kindly sent me a few of his spare decals and some brand new ones still in the packet. MikeJ, official Top Bloke Award ;D , Thanks again mate.
I had a few of my own lying around so, here's what I did..........,
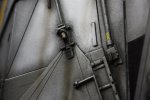
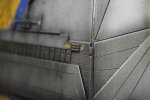
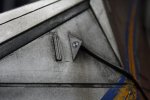
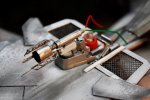
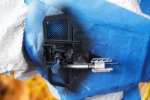
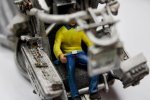
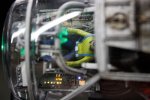
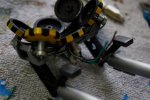
Added a couple to my HUD, anyone recognise the top one?
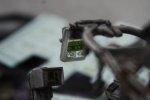
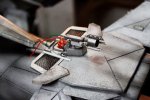
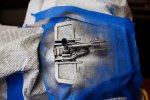
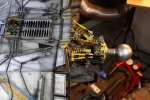
I wanted to add some identification numbers to the underside. I didn't have anything the right size so I made my own.
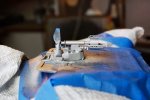
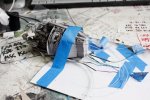
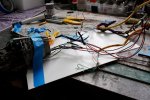
I sketched out my numbers onto two strips of masking tape, then cut them out with a scalpel.
The number is a shout-out to my Mom, it's her date of birth
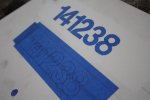
I then applied them to the underside of the wings with a close framework to create the compact look i wanted.
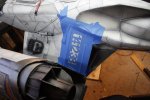
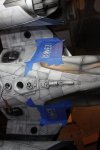
I AB'ed them with a light misting with matt black, heavier at the front, fading slightly towards the back.
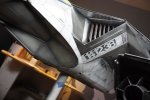
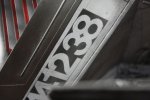
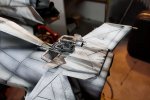
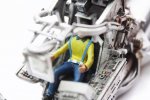
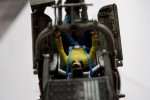
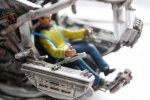
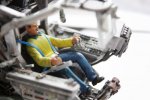
I cut some of the donor decals to create some matching front wingtop identification numbers, added various others around the cockpit frame.
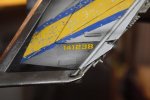
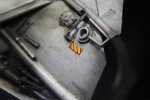
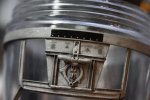
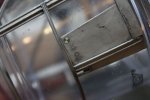
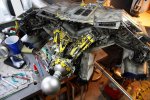
Next came the underside of the main body and wings with AK products.
Streaking grime and engine oil, like i said very, very dirty.
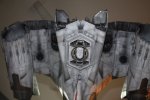
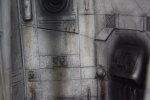
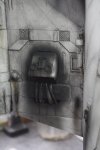
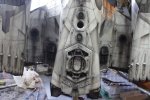
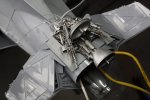
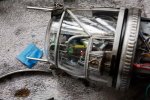
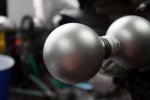
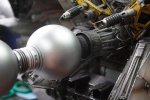
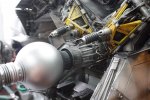
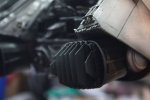
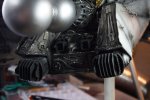
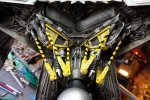
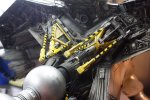
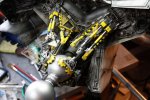
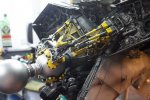
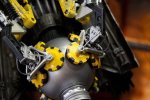
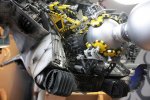
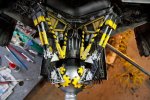
Then I moved on to the engine fairings, didn't get many pictures because I was in the "zone" and its the same thing over and over, building the layers but here's what I ended up with.
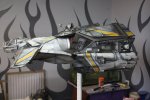
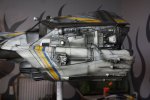
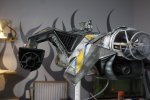
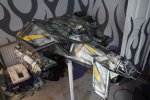
And that's the story so far.
Well, I'm off to England for a quick visit on Friday for a week
So, the MK.1 will be on hold for a week,
so I will see you soon my friends.
Take care everyone
Gag
[attachment deleted by admin]
Morning Everyone
I want to Thank each and every one of you for commenting.
Your encouragement at this final stage of the build is what I need at the moment to keep going to the end.
I seem to do a lot of work with intense focus and,
"POW" it's five hours later and the thing just looks dirtier, sometimes it is difficult to know what I've done, and conversly, when to stop the process.
I made the ship pretty filthy because, like with the colour scheme, I figure that this is my ship, and as I am the most terrible person at keeping stuff clean and well maintained, so if this thing WAS mine it would look this bad, if not worse.
Well, what's been doin lately then my peeps.
So, I'm not too bright, as I've pointed out in the past, so I totally forgot to apply my decals :
Nice one professor.
I wanted just a few decals in key spots.
My good friend from theRPF, MikeJ had very kindly sent me a few of his spare decals and some brand new ones still in the packet. MikeJ, official Top Bloke Award ;D , Thanks again mate.
I had a few of my own lying around so, here's what I did..........,


Added a couple to my HUD, anyone recognise the top one?

I wanted to add some identification numbers to the underside. I didn't have anything the right size so I made my own.
I sketched out my numbers onto two strips of masking tape, then cut them out with a scalpel.
The number is a shout-out to my Mom, it's her date of birth

I then applied them to the underside of the wings with a close framework to create the compact look i wanted.


I AB'ed them with a light misting with matt black, heavier at the front, fading slightly towards the back.


I cut some of the donor decals to create some matching front wingtop identification numbers, added various others around the cockpit frame.


Next came the underside of the main body and wings with AK products.
Streaking grime and engine oil, like i said very, very dirty.


Then I moved on to the engine fairings, didn't get many pictures because I was in the "zone" and its the same thing over and over, building the layers but here's what I ended up with.


And that's the story so far.
Well, I'm off to England for a quick visit on Friday for a week
So, the MK.1 will be on hold for a week,
so I will see you soon my friends.
Take care everyone
Gag
[attachment deleted by admin]

