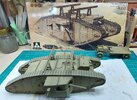
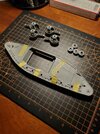
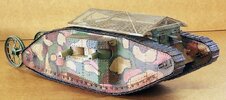
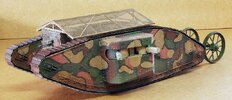
Old male armour

Gary, looks super to me. Going to try copying you track weathering in the next couple days.

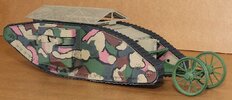
Okay so from what I read these tanks only had camo on the front, cab and sides. That is whay I did it in pieces.

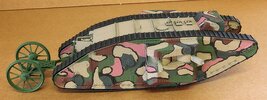
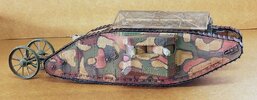
I used the masking putty from Andy's HHQ. First time I tried it and I love it. I primed last night then, this morning at about 7am I put the base coat of brown on everything. I did some Saturday chores. An hour and a half later I put the first putty on for the light brown, then sprayed the pink and dark brown. Half hour later more putty over the Pink and Brown, sprayed green etc. I can put the putty on 30 minutes after the last coat and it sticks to the model but doesn't take the paint off. I went back and forth between the model and other things and here is what I have at 4 in the afternoon. The paint was all Vallejo or Tamiya acrylic. It is a bit bright but the wethering always tones it down a bunch.

I intentionally did more pink than the example from Takom just to emphasize that they actually used pink. This still needs some brush work on separating some of the color sections to better match the picture.

I'm really happy with it, you could say I'm tickled pink! Sorry; I just had to say it. :D

View attachment 114166
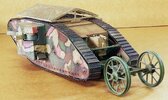
Can't get enough pink in a build. Pantherman
 
Top coat done so will leave it for a few days to dry out and set. Then the weathering.

Thought I would use some Vallejo "old wood" for the cart base but it's almost the same colour as the khaki brown I used for the top coats. Might have to rethink this one or weather it down alot so it's different to the metal work. Pantherman
View attachment 113805View attachment 113806View attachment 113807View attachment 113808View attachment 113809View attachment 113810
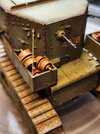
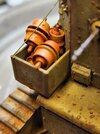
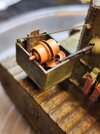
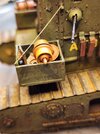
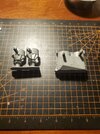
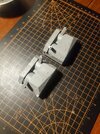
Just got to finish the hoists and weathering. Pantherman

20240225_202624.jpg
 
I did the brush painted black between some of the areas like the example on the Takom box and assembled the main body. I'm going to do some more weathering but not exactly sure how. I'll think up something and take a swing at it. Probably a light filter of brown to help unify everything and then I've been wanting to try a airbrush pin wash I saw demonstrated a few years ago. The roof is not attached yet so I still have access to everything for weathering.


BMKF-003-L.jpg

BMKF-001-L.jpg

BMKF-002-L.jpg
 
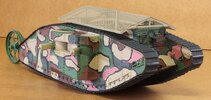
I'm calling my Mark 1 Female completed. I decided to just experiment and wing it on the weathering. On what you can see I did a lightened wash, not really a filter. I air brushed a lot of the darker weathering like on the very bottom of the side. Did brown tan and black pigments some dry brushing. Kind of a menagerie of things for experimental purposes. I also did the fog coat with Tamiya Buff. Thought I over did that but like how it turned out. I wanted this to look used but not beat up. I have plans to put this in a diorama eventually so I didn't want to overdo mud etc and not have it match the diorama scene. I did turn the track on the drivers side around the correct way and flatten it out. Didn't notice it was backward till I downloaded the photos.

BMKF-020-L.jpg

BMKF-021-L.jpg

BMKF-022-L.jpg

BMKF-023-L.jpg

Thinking about building the Meng A7V to go on a diorana with this now.
 
Back
Top