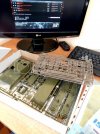
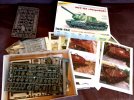
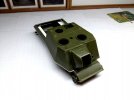
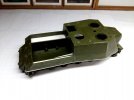
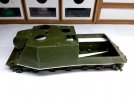
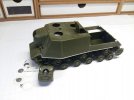
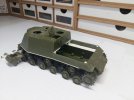
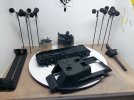
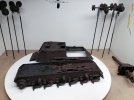
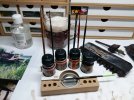
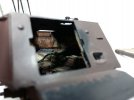
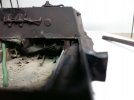
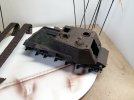
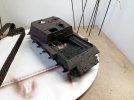
All thou the kit is ready for painting process I have decided to make some test of chipping fluids and methods first. So that I will be able to choose the best method and specifics for certain areas.
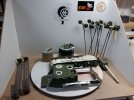
This is how the test plate looks.
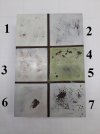
The plate was first covered with black primer and then with the mix of Tamiya Black and Hull Red.
Here is the descriptions of what I have used.
1 - Worn Effect from Ak-Interactive on which I airbrushed Tamiya White broken with Grey and Yellow paints diluted with water. After few minutes the plate was moistened with water and the chips were made with toothpick and two different brushes.
2 - Hair spray, on which I airbrushed Tamiya White broken with Grey and Yellow paints diluted with water. After few minutes the plate was moistened with water and the chips were made with toothpick and two different brushes.
3 â€" Tamiya White broken with Grey and Yellow paints diluted with water. After few minutes the plate was moistened with mixture of 30% of Cleaner for Acrylic paints from Wamod company and 70% water. Chips were made with toothpick and two different brushes.
4 - Worn Effect from Ak-Interactive on which I airbrushed AK- Interactive paint from 4BO modulation set. After few minutes the plate was moistened with water and the chips were made with toothpick and two different brushes.
5 - AK- Interactive paint from 4BO modulation set. After few minutes I used Clin (Windows and Glass) and stiff brush.
6 - Tamiya White broken with Grey and Yellow paints diluted with water. After few minutes I used Clin (Windows and Glass) and stiff brush.
7 â€" Heavy Chipping from Ak-Interactive on which I airbrushed Tamiya White broken with Grey and Yellow paints diluted with water. After few minutes the plate was moistened with water and the chips were made with toothpick and two different brushes.
I have spent the same amount of time for removing paint for each technique and I have used the same tools. This allows me better to see what results can be achieved by using each specifics and techniques.
In 2 case the Hair Spray gave some interesting results but unfortunately it has reacted with the base colours.
Also interesting effect were achieved with Acrylic paint cleaner from Wamod. But the solution needs to be softer. Something around 10% Cleaner and 90% water.
Using Clin solutions also gives interesting effects and it is a much more controlled process of creating chips. The bigger chips occurred around places previously damaged by toothpick
Each of this techniques and solutions give interesting effect that can be applied in specific places and in specific way.
For chips in the interior of my ISU I will be using Clin. As for the external surfaces I will be using combination of all of this techniques. Depending on the places and effect that I want.
