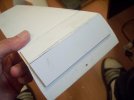
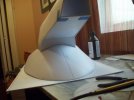
Well I have been moving forward and back on this.....
to make a long story short, the rear skirt was a bit to
short to make the distance I needed. Also the fenders
were a bit to wide so I have been working on them.
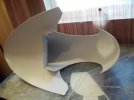
I went ahead and formed the fuselages again this
time in 2.5mm I like this the best. After I had them trimmed
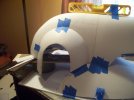
up and fitting pretty good together I mocked them up
to sit on the front skirt to get the shape. The it was sanded
now it's ready to form.
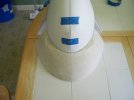
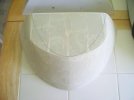
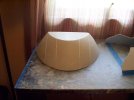
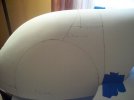
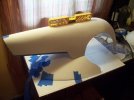
I cut the tail around 350mm I think....and I have it running
back down on the bottom towards the fender about 250mm?
You can see the pencil line drawn on the angle where it was
to be cut out.
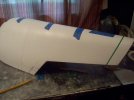
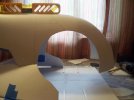
I found out the rear skirt was going to have to be able
to come around a bit more, to be able to have the gap
for the fenders correct. So I added some MDF and blended
it in. I also added the the height of the fender part by adding
to that as well on the bottom, because I needed room to adjust
it up and down between the skirts and cut outs.
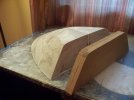
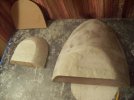
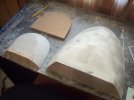
You can see I have that much more skirt to work with now on the sides.
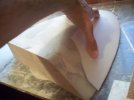
Vacuum forming the skirt.
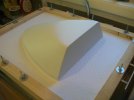
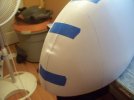
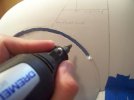
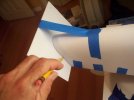
Using some pin stripe tape to help mark out
some of the flash to be cut away...
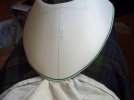
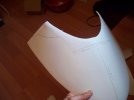
I figured make it go together as close to the kit as possible....
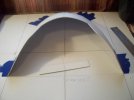
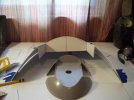
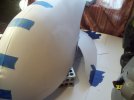
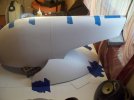
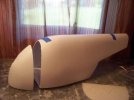
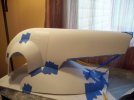
Just added some temp steps to hold the fuselage
in place.
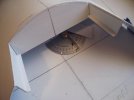
Looks good right? Not so fast found out the fenders are
a bit to wide I need them to be around 187mm's and they
are 202mm's.
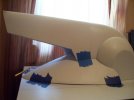
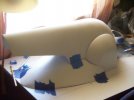
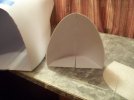
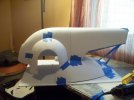
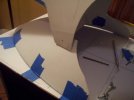
Marking out the tail cap that goes inside,
and the landing ramp.
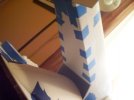
A more better type Jig thing to keep
stuff in place....
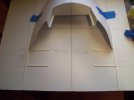
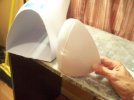
Ok the fender that was to big.....I marked the center
cut it in the middle and then subtracted from each side,
as you can see with the pencil marks. Belt sander palm
sander and then hand sander! LOL
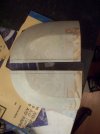
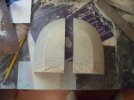
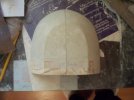
Thats it i can form some new fenders and maybe make
the cut outs for them. I am out of plastic I need to pick
up some more. I have one more part to make the wrap
around piece that goes over the nose, then I have to form
a front skirt and see if it will all fit together?


